
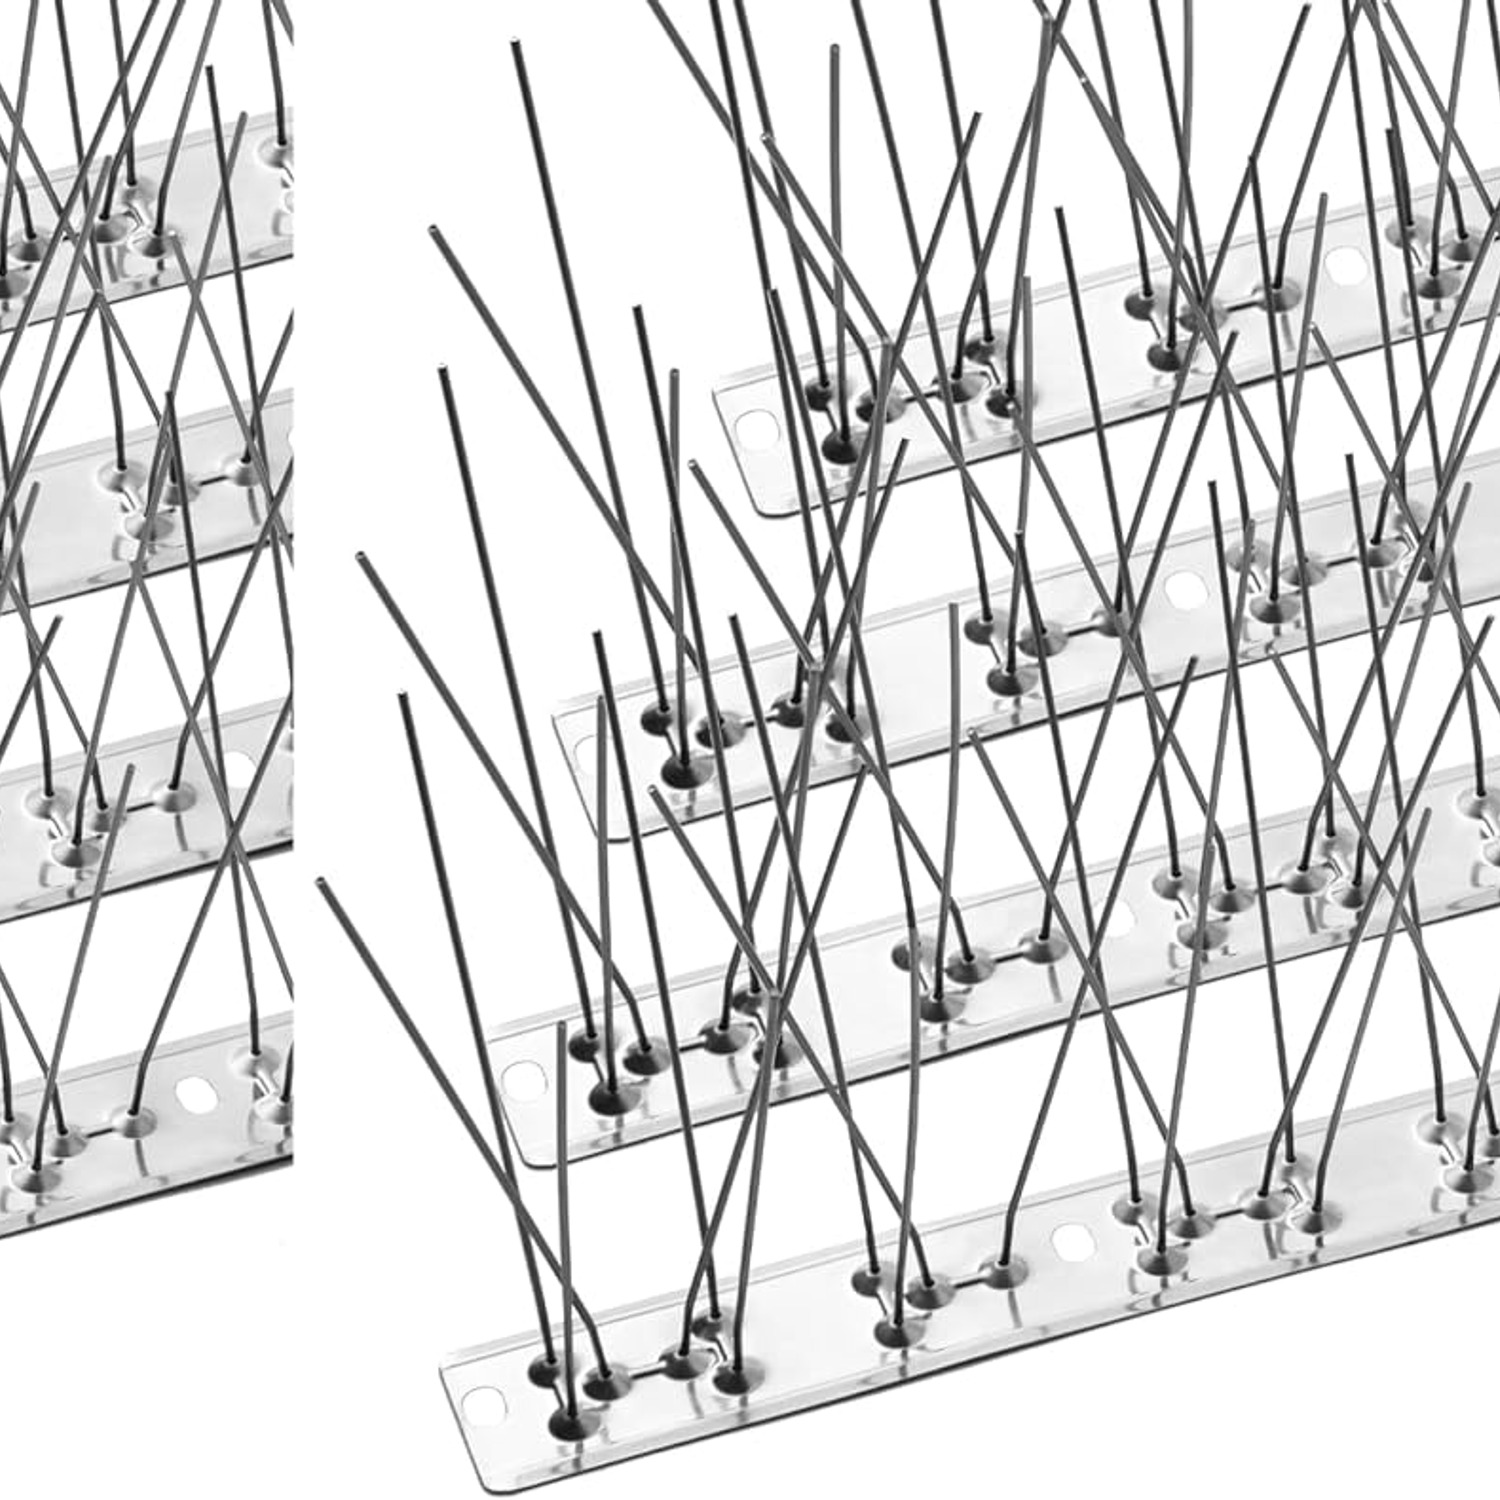
The complete guide
How to Choose and Fit Bird Spikes That Actually Keep Pigeons Off
The problem is not the mess, it is the perch
Most people buy bird spikes after they have already tried cleaning. You scrub the sill, hose down the balcony, maybe put out a plastic owl, and within a fortnight the droppings are back in exactly the same place. That repetition is the clue. Birds are not randomly fouling your building. They have chosen a specific ledge because it is flat, stable, safe from cats, and has a good view of the surroundings.
Until that perch stops being comfortable, nothing changes. Cleaning removes the evidence. It does not remove the reason.
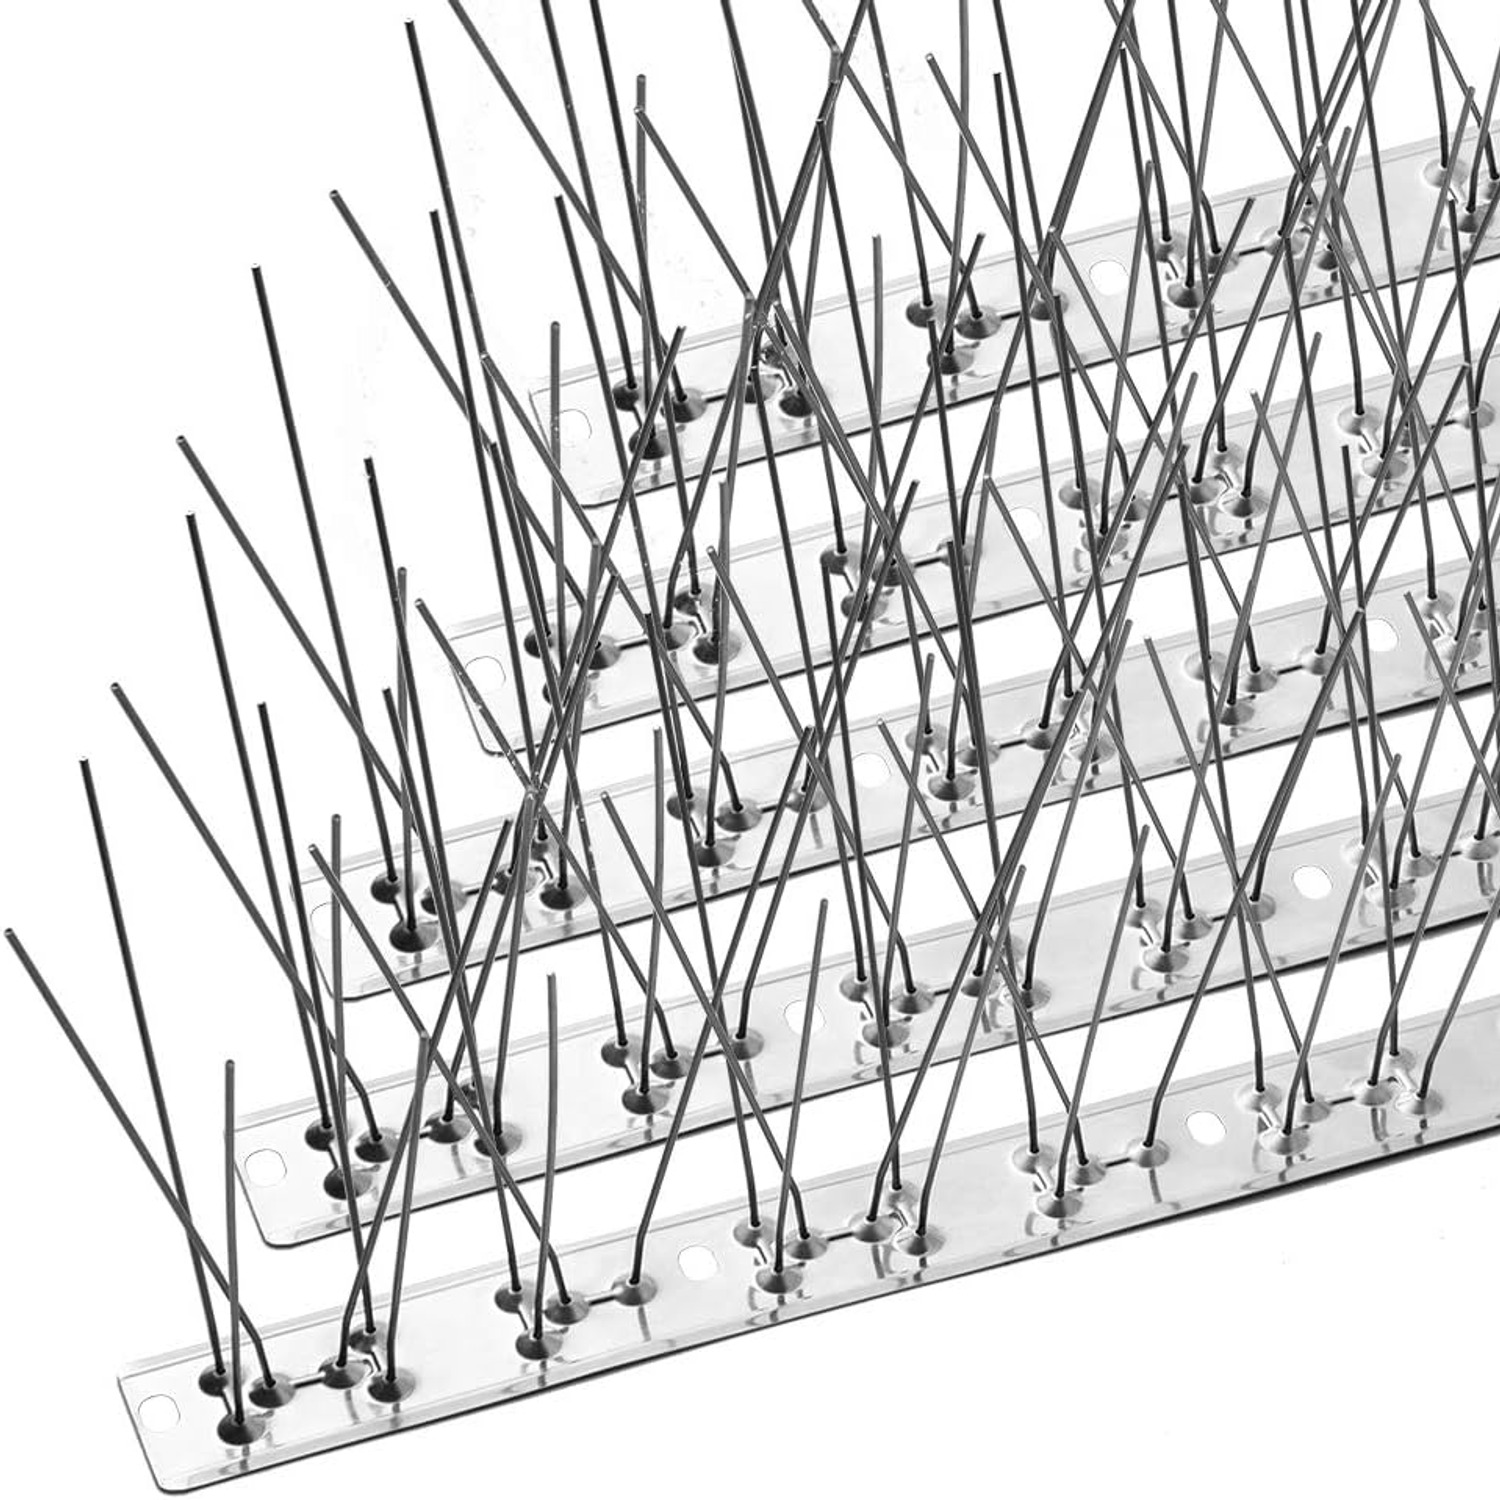
That is why physical deterrents work when scarers do not. A stainless steel bird spikes 10 ft kit does one simple job. It fills the landing space with points that a bird cannot stand on, so the bird goes elsewhere. No batteries, no refills, no noise complaints from the neighbors.
How spikes actually work
There is a common misconception that spikes injure birds. They do not, and they are not designed to. Pigeons and gulls are cautious landers. They approach a ledge, hover, and put a foot down to test the surface. If that surface is unstable or obstructed, they abort the landing and look for the next option.
Spikes exploit that habit. The points create an uneven field the bird cannot balance on. After two or three failed attempts, the site drops off the bird's mental map of good roosts. Done properly, you will notice the birds circling for a day or two and then simply not coming back.
The second thing spikes do is prevent nest building. A bird needs a flat base to assemble twigs on. Spike groups break that base up, so even if a bird tolerates standing briefly, it cannot start construction. That matters most in gutters, behind signage and under eaves, where a nest causes blockages and damp as well as mess.
Why width matters more than height
Here is where a lot of cheap kits fall down. Plenty of bird deterrent spikes for outside have a single narrow row of two or three points. They look fine in the photo. On a real window sill, they leave a bare strip on either side, and a pigeon will happily land on that strip with its tail over the spikes.
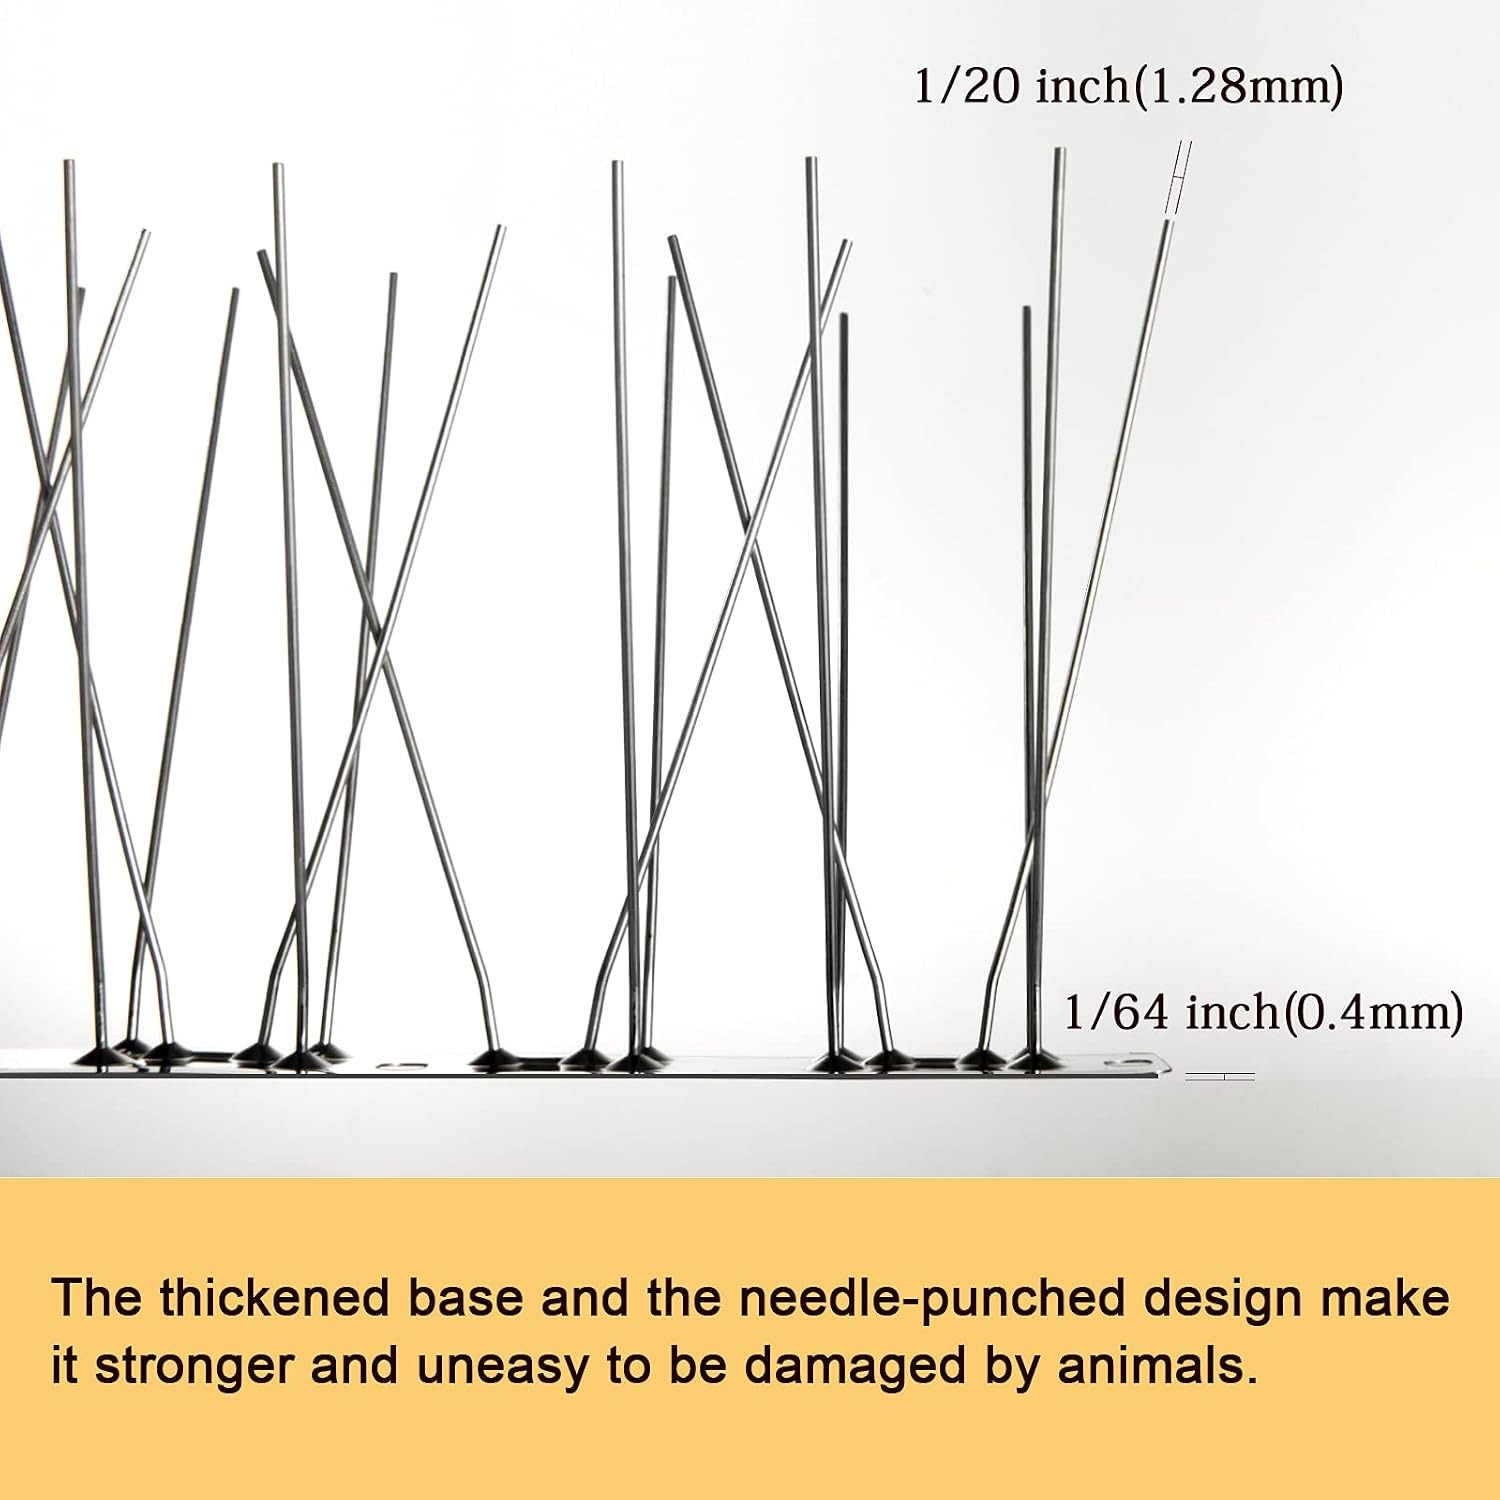
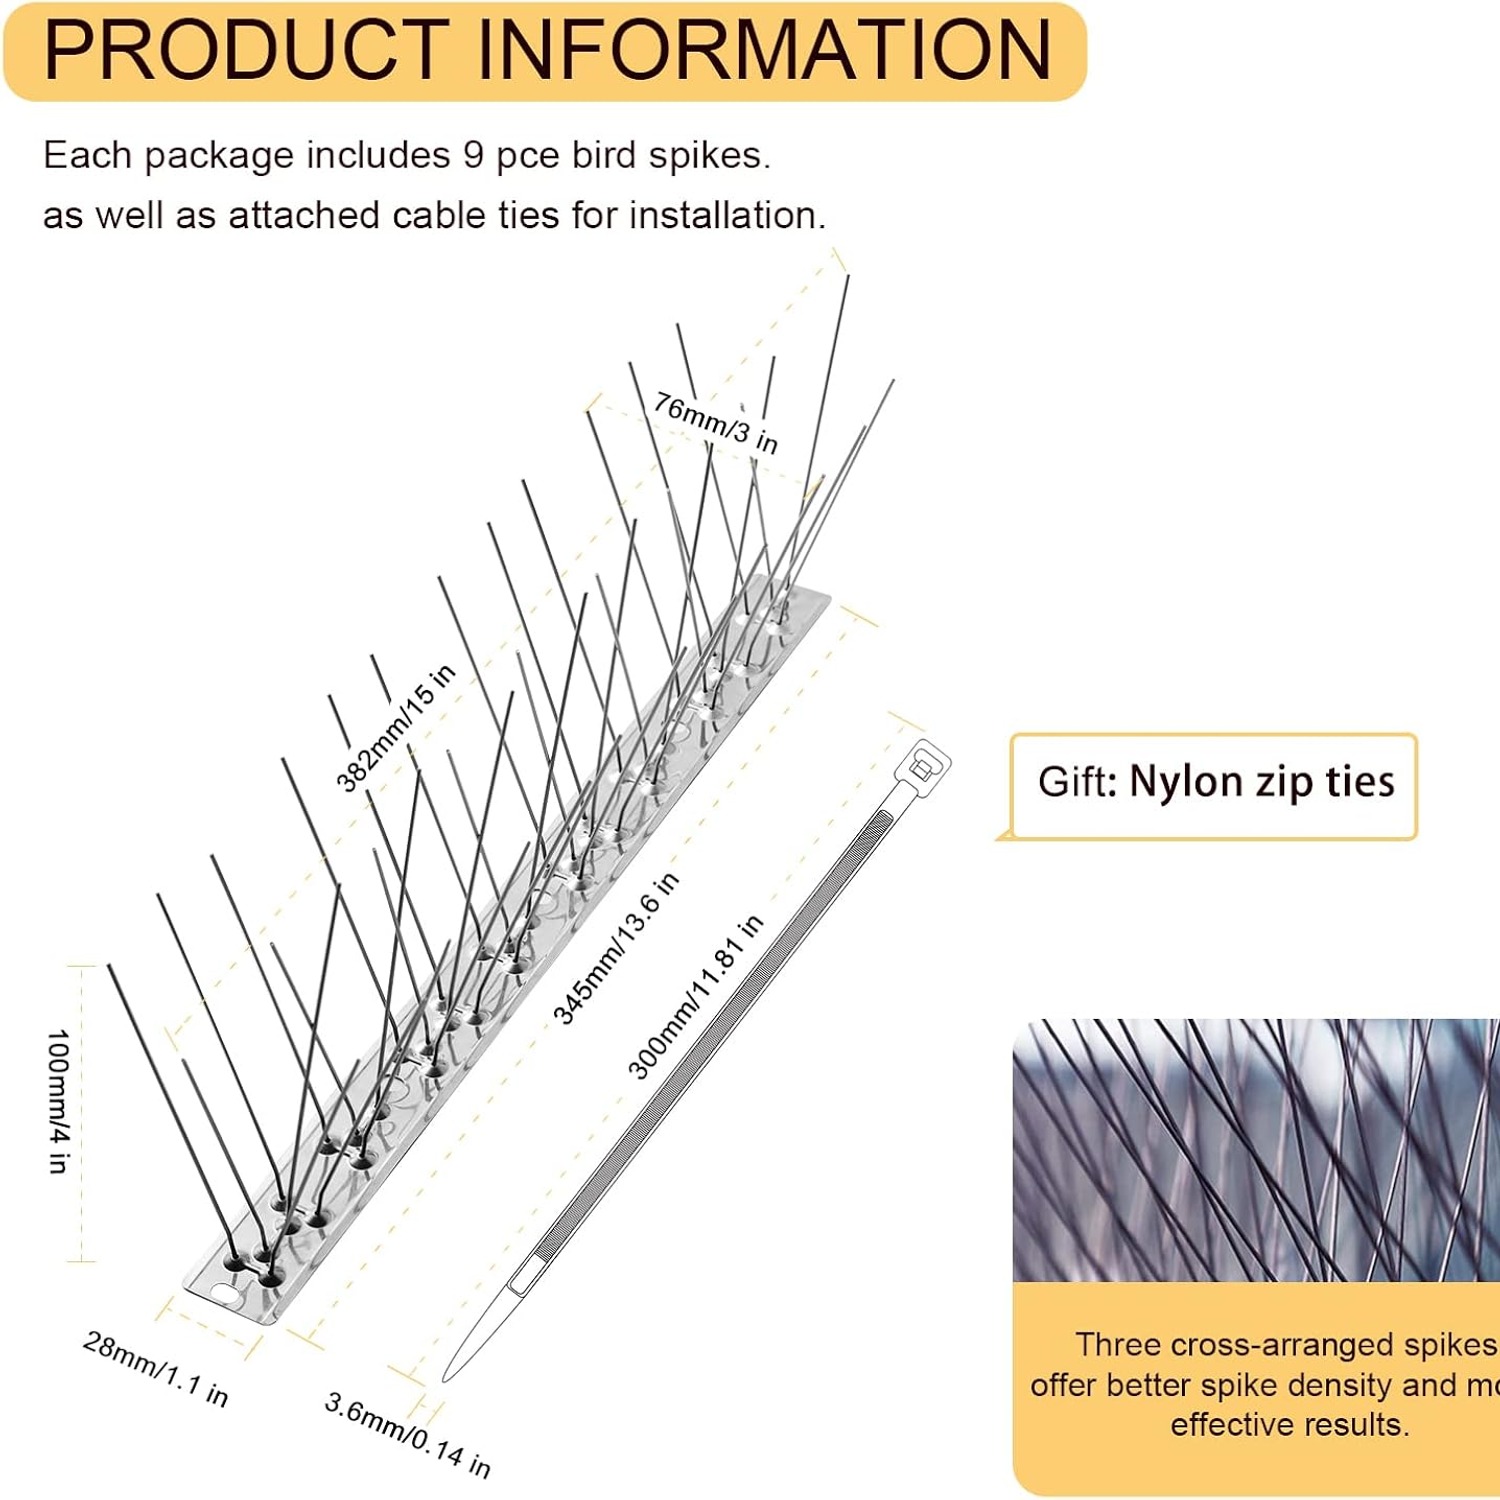
This kit uses groups of six points fanning out across the full 3.1 inch width of the strip. On a standard 4 inch sill, that covers nearly the whole depth, leaving no comfortable perch either in front of or behind the spikes. The 4.1 inch height stops a bird simply stepping over.
When you compare products, look at the covered width first and the spike count second. A wide, well-spread strip beats a tall, narrow one almost every time.
The base material question
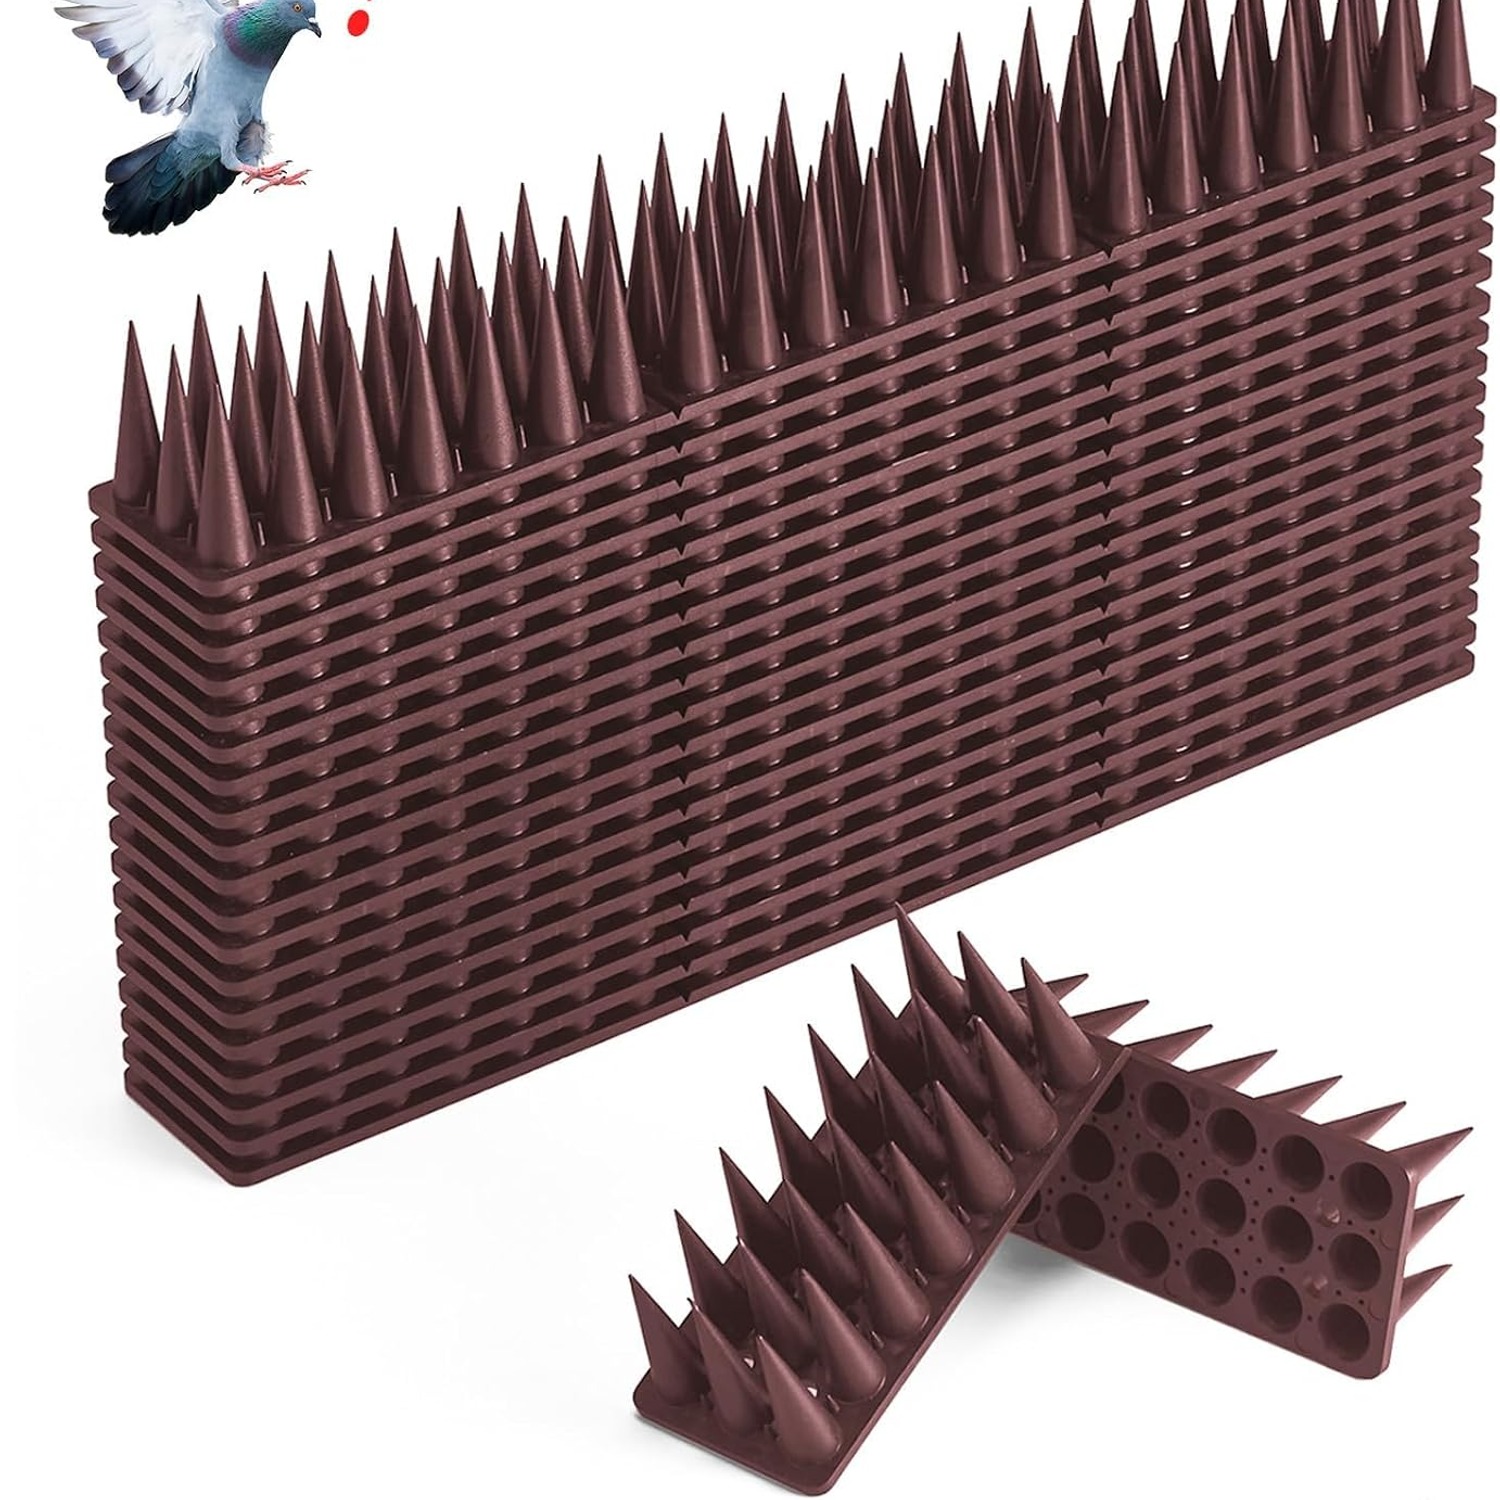
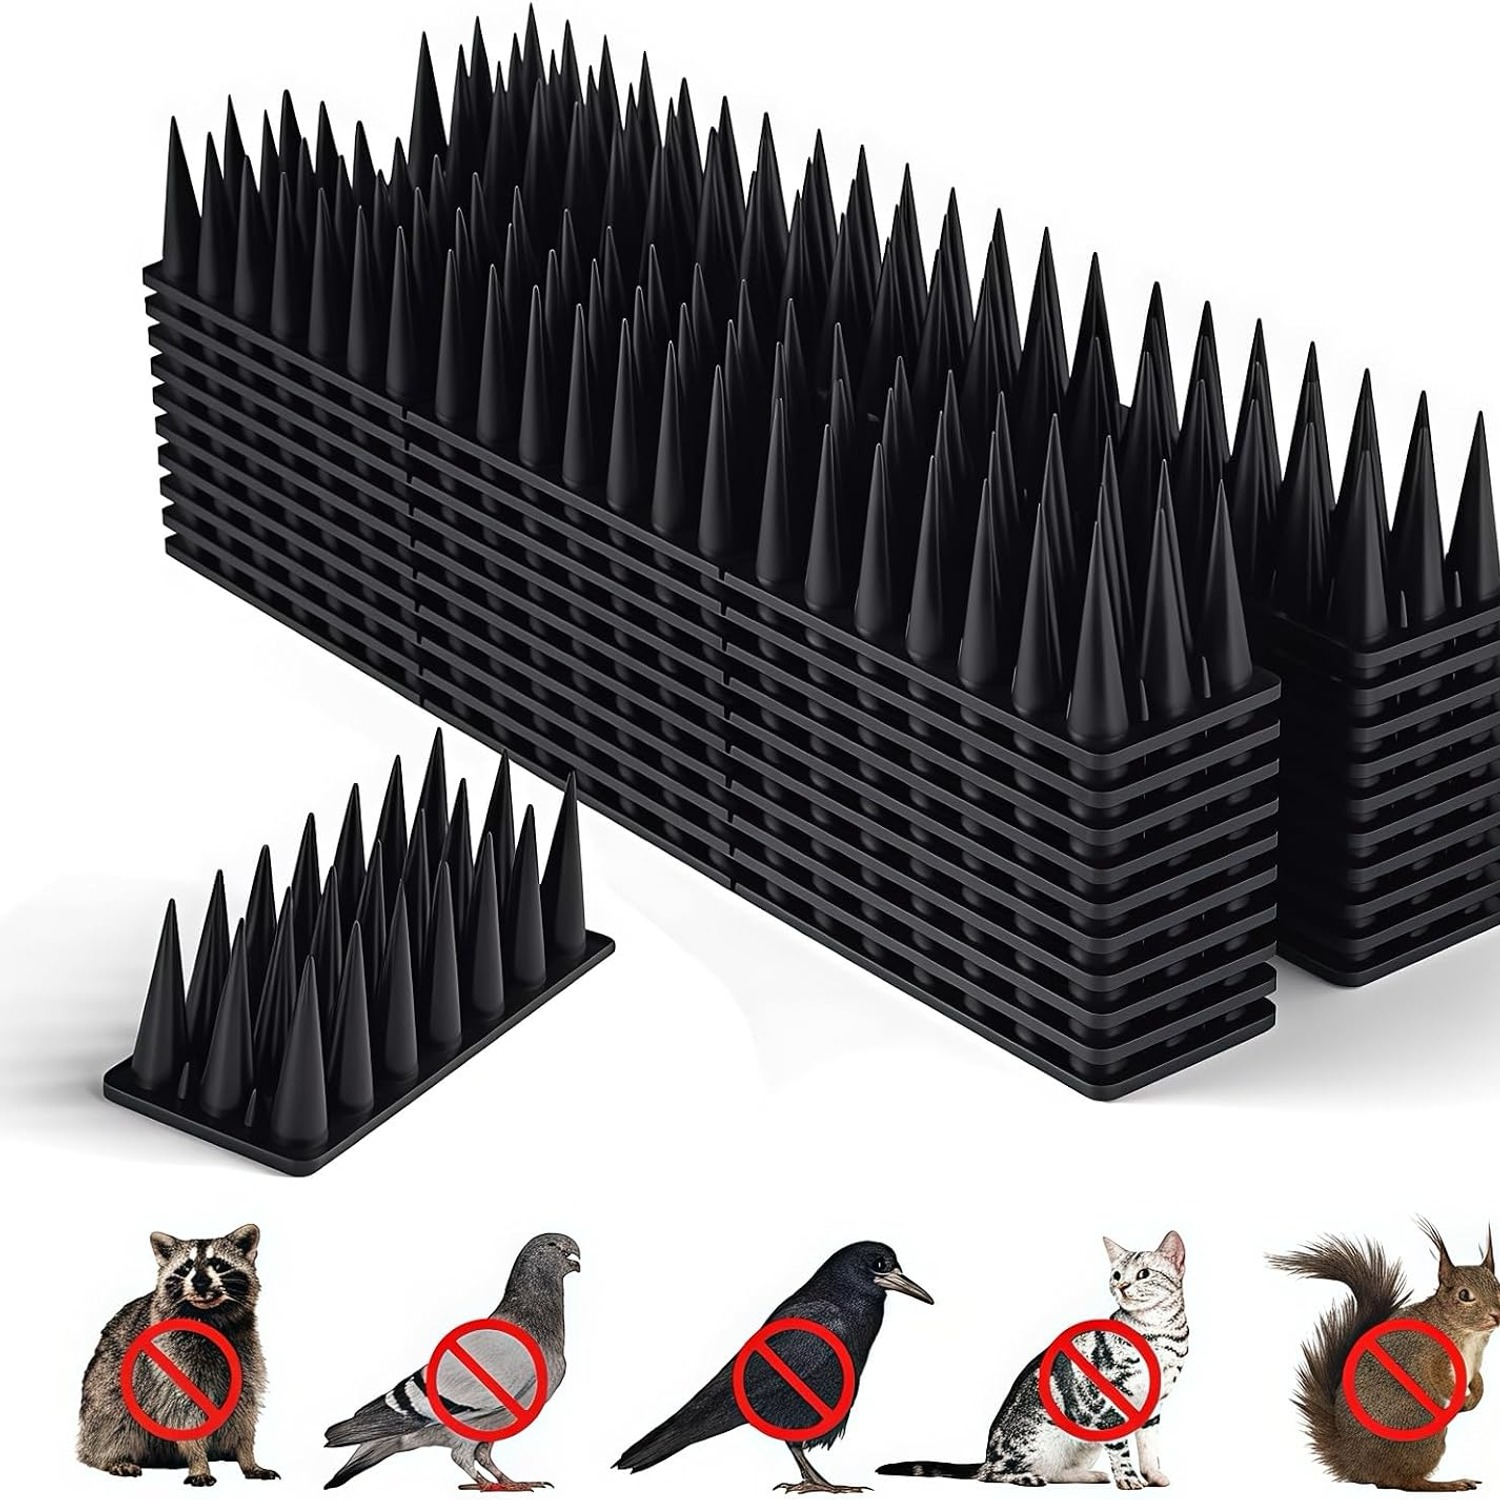
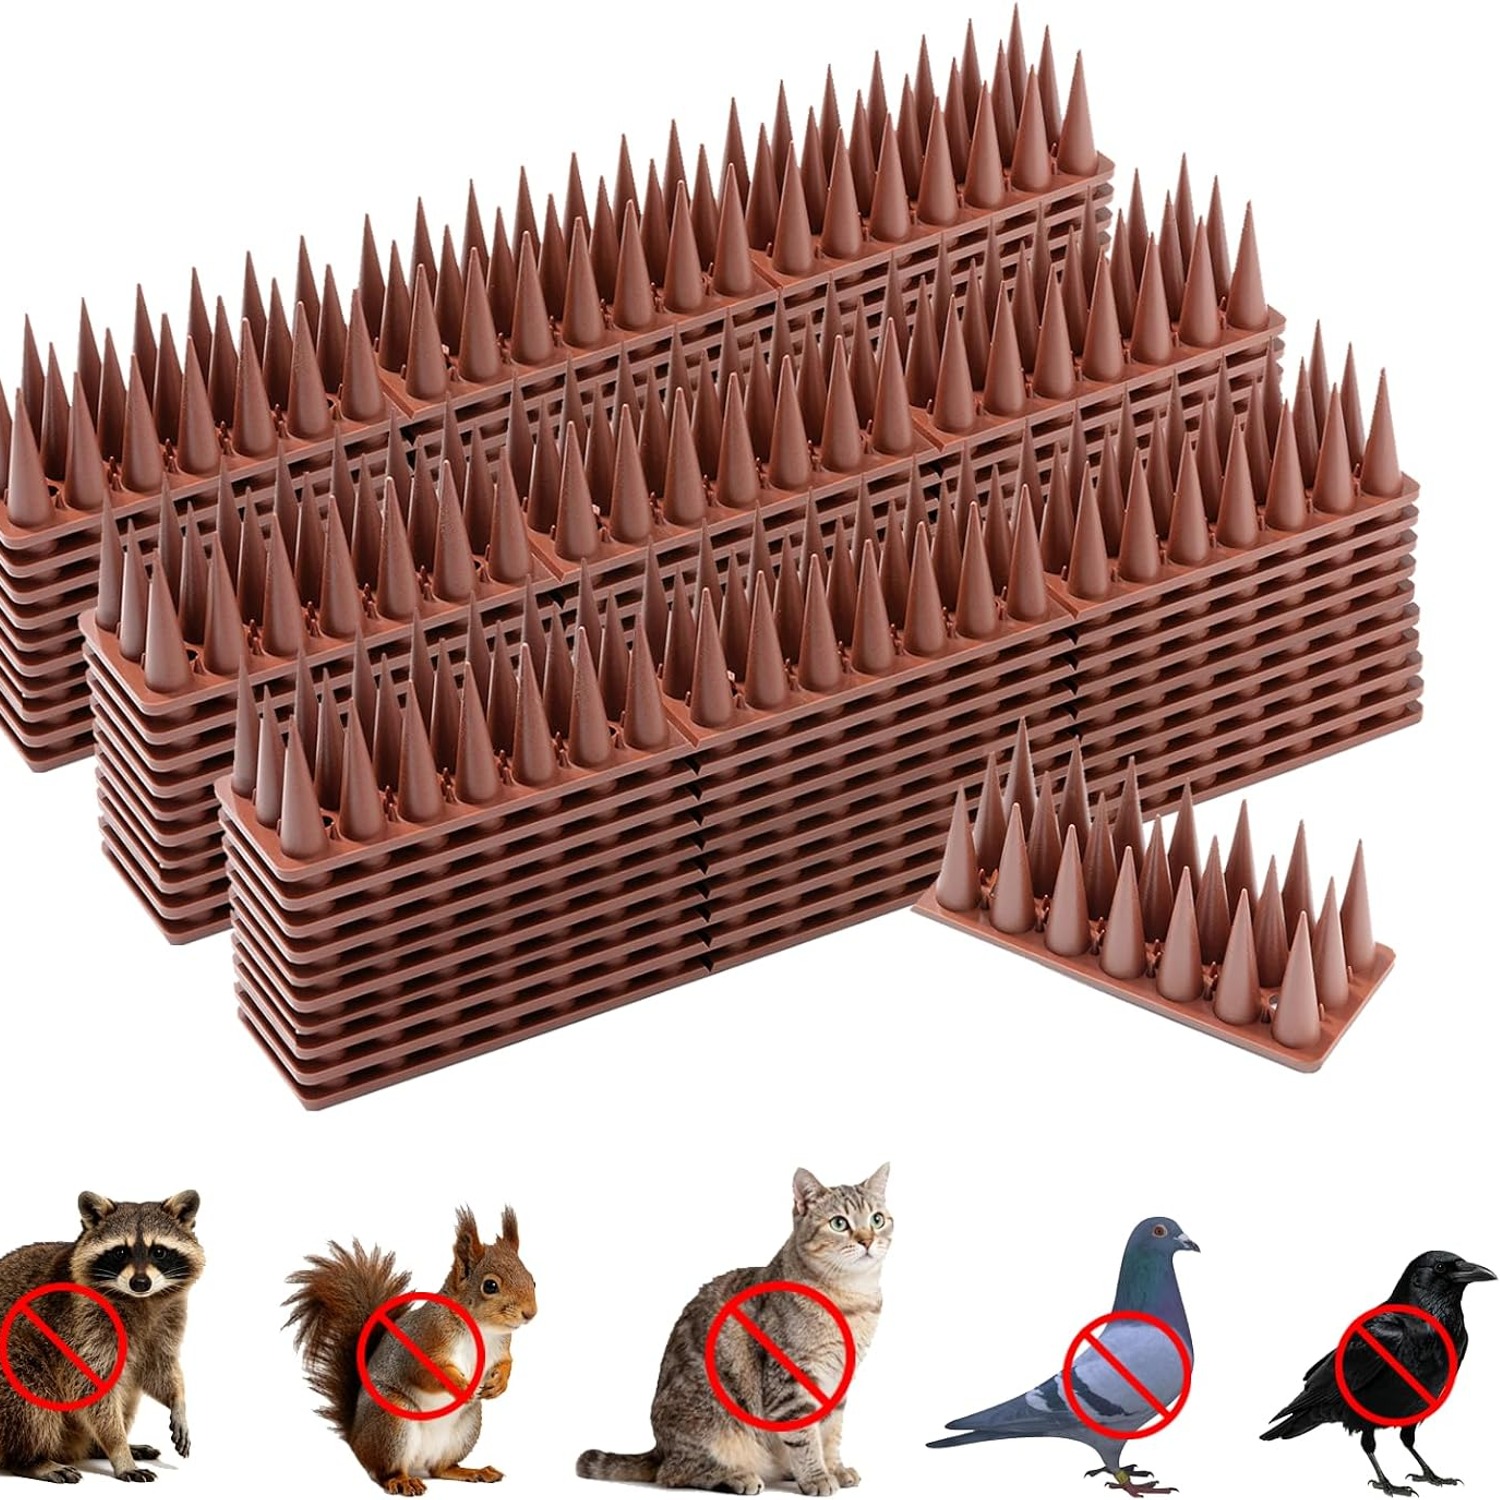
Spike strips come in two broad types, metal points on a plastic base, or metal points on a metal base. The plastic version is cheaper and it works fine for the first season.
The trouble arrives later. Ultraviolet light breaks plastic down. It goes chalky, loses flex, and then one cold night or one hard gust snaps it. You end up with half a strip hanging off a gutter and birds landing in the gap. Replacing them means getting the ladder out again.
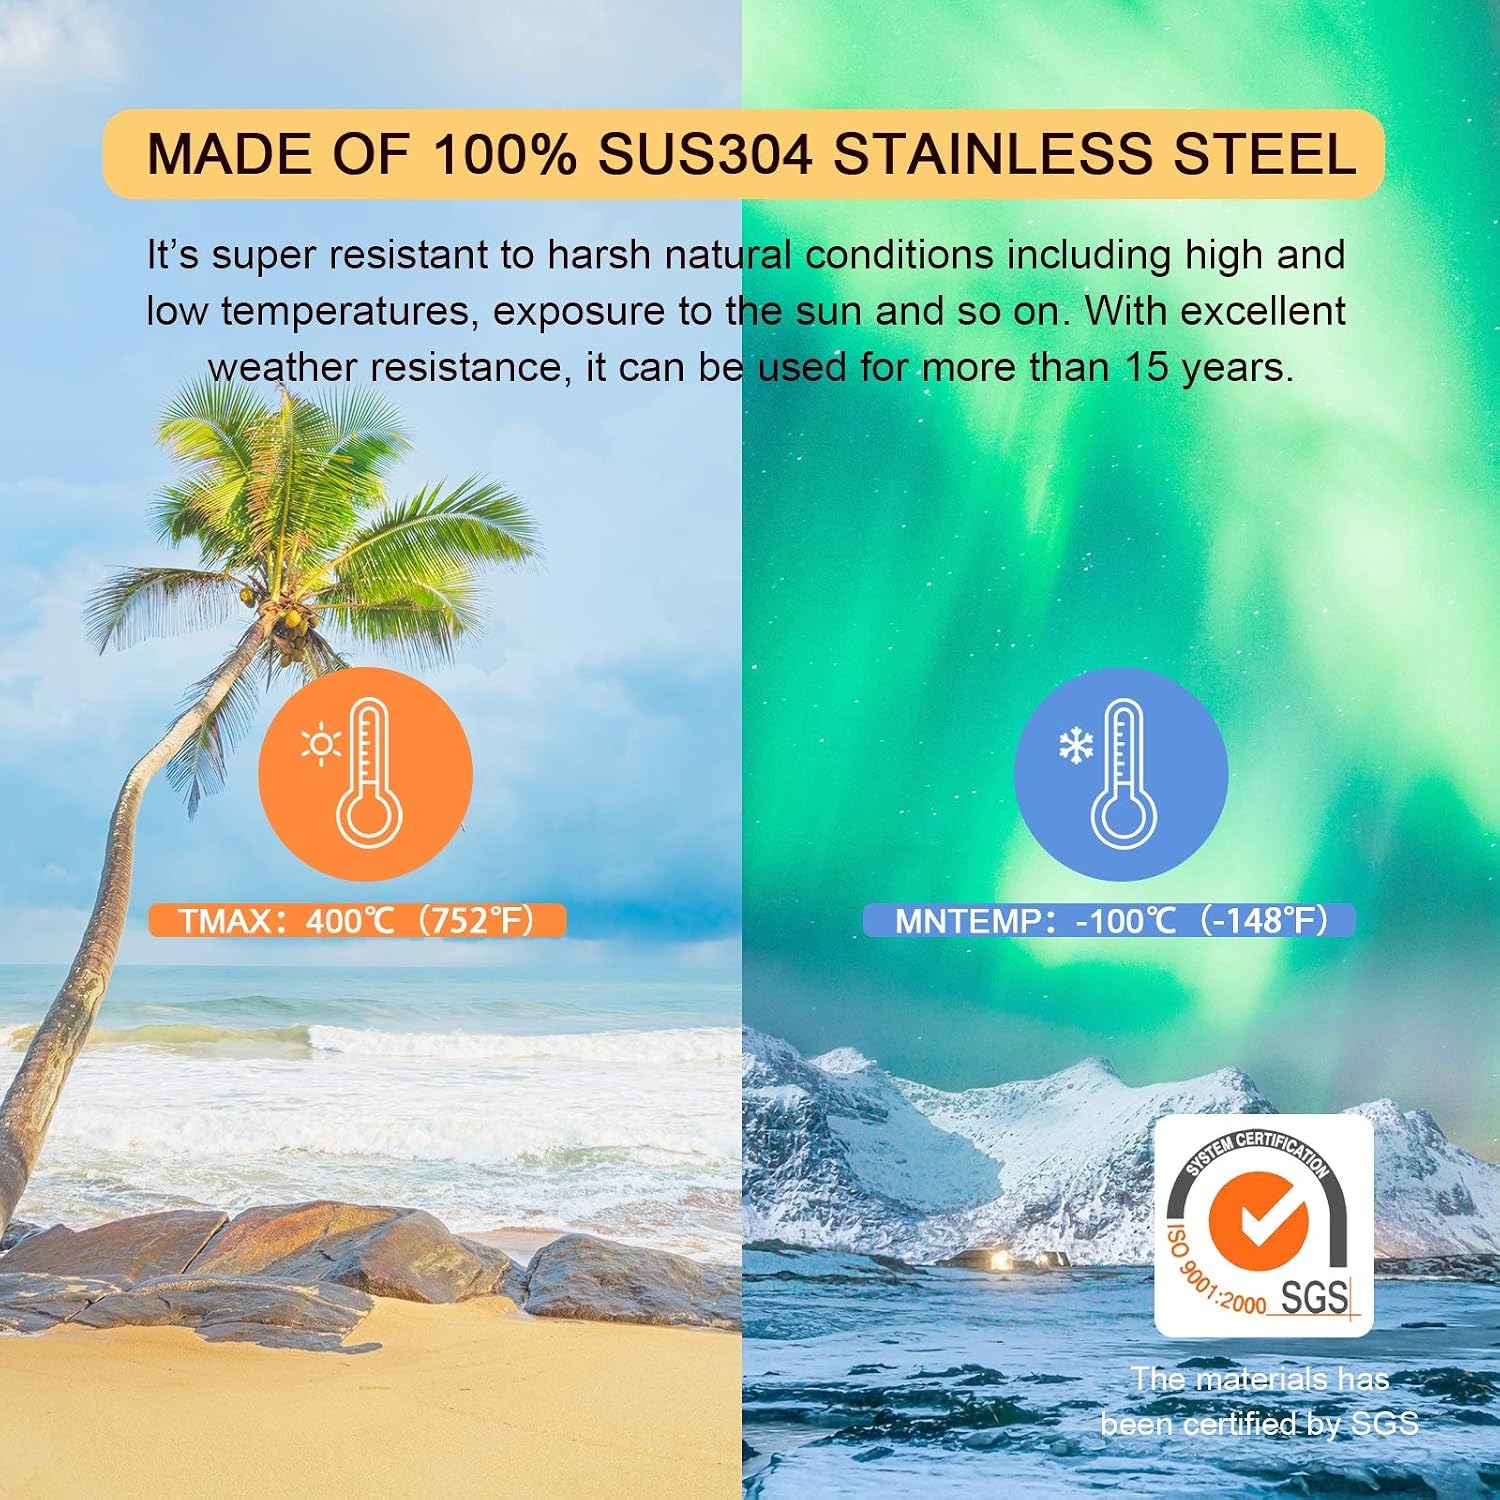
Stainless steel does not have that failure mode. It handles summer heat, winter frost, driving rain and salt air without changing shape, and it does not go yellow where the sun hits. Stainless steel pigeon spikes cost a little more up front and then stay where you put them. On anything above head height, where access is a hassle, that is the sensible trade.
Working out how many you need
This part is simple arithmetic that people routinely get wrong, usually by underestimating.
Measure the full length of the surface you want protected. Not the section where the droppings are worst, the full length. Birds will shuffle sideways to the first unspiked inch they find, and a 6 inch gap is plenty for a pigeon.
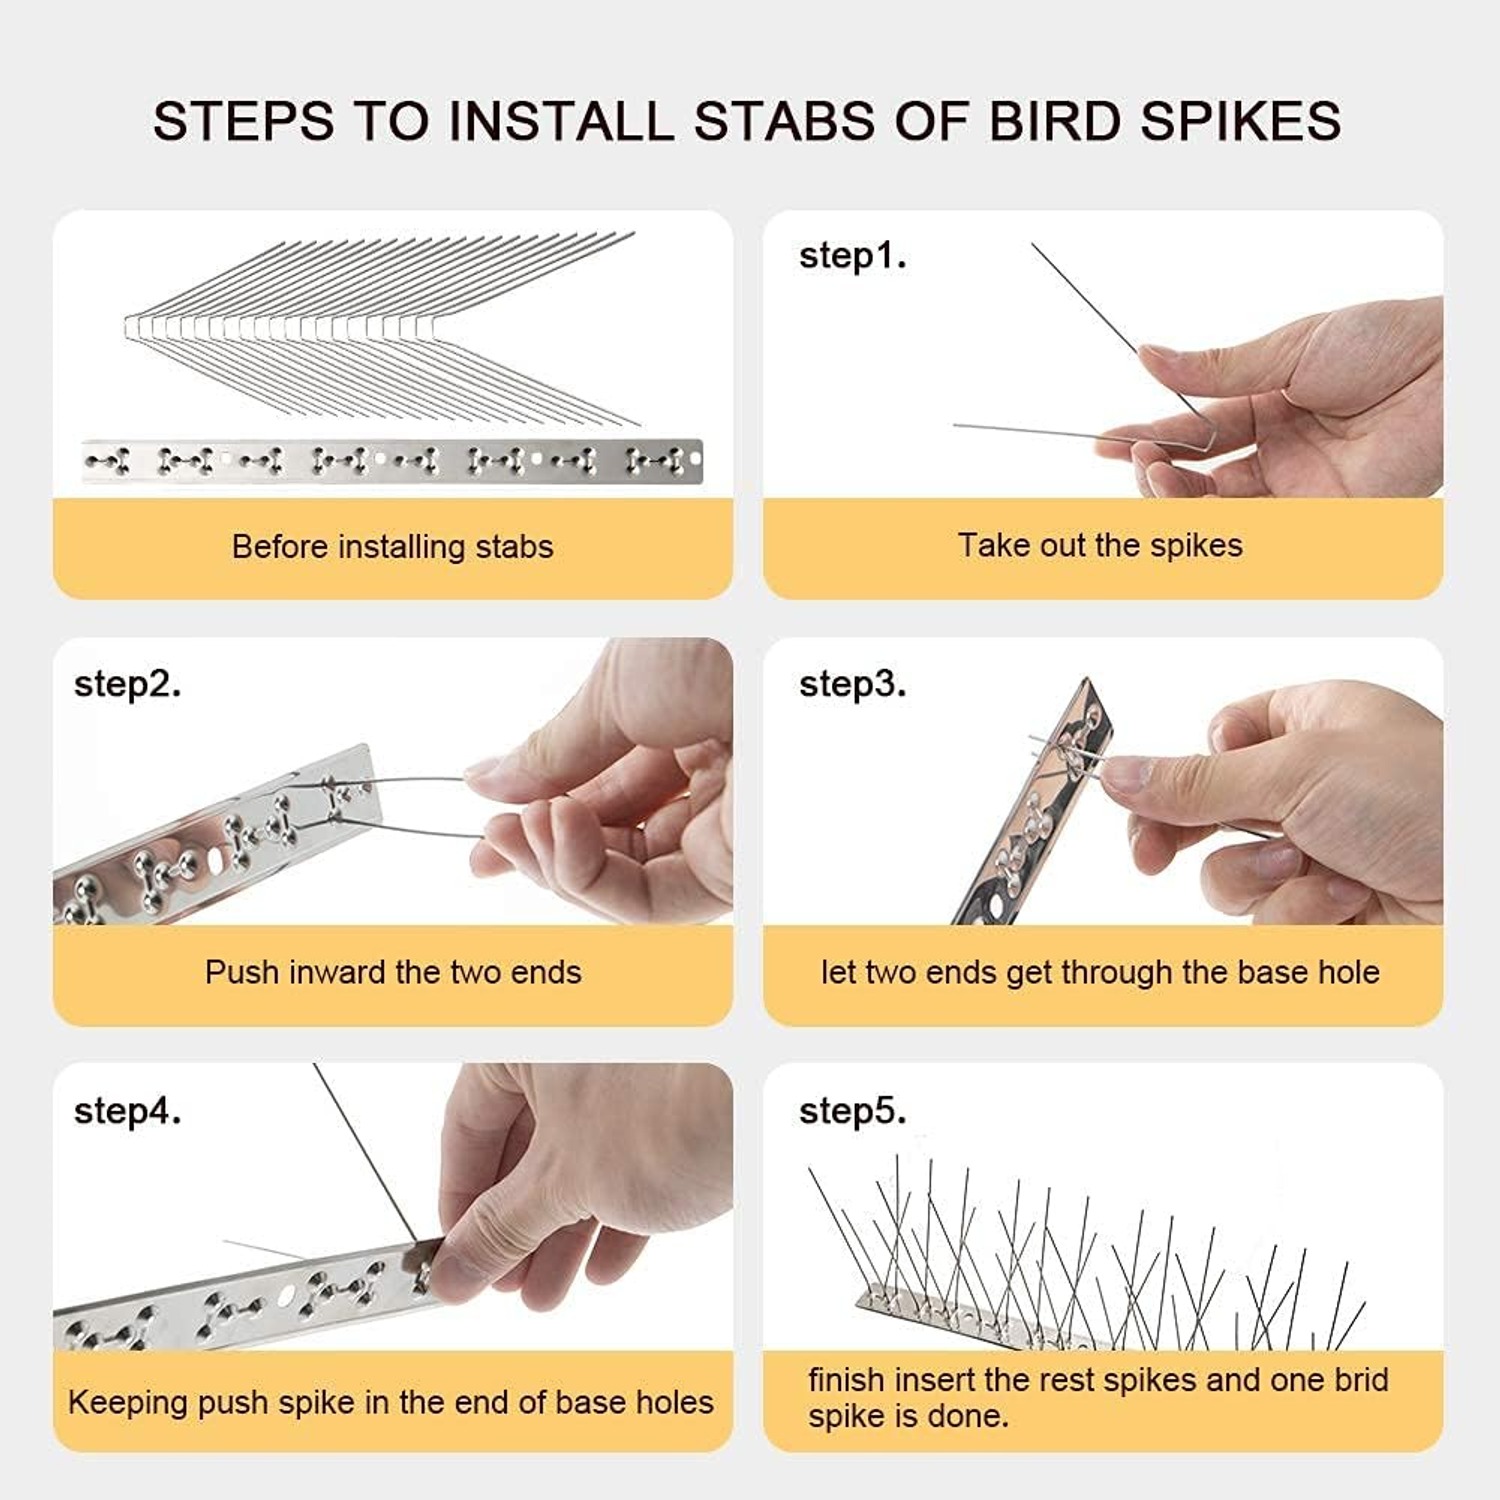
Each strip here is about 13.5 inches long, a little over a foot. Nine strips in the kit give you close to 10 feet of run. So a 10 foot sill, a short gutter section, or four separate 2.5 foot ledges all fit comfortably within one kit. If your run is 14 feet, order two kits rather than trying to space the strips out. Spacing creates gaps, and gaps create perches.
Do not forget vertical surfaces people overlook. Security light housings, the tops of downpipe brackets, air conditioner units and the flat top edge of signage are all favorite roosts, and they often need only one or two strips each.
Fixing them down properly
You have three realistic options, and the right one depends on the surface.
Adhesive suits concrete sills, render, brick, stone and glass. Use an exterior-grade construction adhesive or a neutral-cure silicone. Clean the surface thoroughly first, because old droppings and dust stop the bond forming, and let it dry. Run a continuous bead along the full base, not three dots. Give it the full cure time stated on the tube before you expect it to hold in wind.
Screws suit timber fascia, fence capping and thicker metal. This is the most secure method and the one to choose anywhere high or exposed. Drill pilot holes and use stainless fixings, otherwise you will get rust streaks down the wall within a year.
Cable ties suit railings, pipes, aerials and anything round. Choose UV-stable black ties rather than cheap white ones, which go brittle fast. Trim the tails flush so they do not flap.
Whichever method you use, fit the strips right at the front edge of the ledge. Set back even an inch and you have given the bird a landing strip.
Clean the site first
This is the step most people skip, and it is the one that causes the most callbacks.
Birds navigate partly by scent and by sight of existing droppings. A heavily fouled ledge advertises itself as a known safe roost. If you fit spikes over the top of that mess, you are fighting the site's own history.
Scrape and wash the area down, ideally with a mild disinfectant, and let it dry fully. If there is an old nest, remove it before you start, and check your local rules first, because many places protect nesting birds during breeding season. Fitting spikes over an active nest does not work and can be an offence depending on where you live.
Wear gloves and a mask for the cleaning stage. Dried droppings are not pleasant to breathe in.
Keeping them working
Maintenance is minimal but not zero. Twice a year, have a look along the run. You are checking for three things: debris caught between the points, any strip that has come loose, and any new gap where the birds have started landing again.
Rinse with water and a soft brush if leaves or dirt build up. Avoid steel wool and scouring pads, which scratch the finish. Check fixings after any serious storm.
If birds reappear, they will almost always be on an unspiked section rather than on the spikes themselves. Find that section and cover it.
Where spikes are not the answer
Honesty helps here. Spikes are brilliant on edges, ledges, rails and narrow runs. They are the wrong tool for a large open flat roof, where you would need an impractical number of strips, and for enclosed cavities where netting or mesh does a better job. Under solar panels, mesh skirting around the perimeter is the standard fix, with spikes handling the surrounding rails.
If your problem is birds landing on a wide expanse rather than along a line, say so when you contact us and we will point you at the right approach.
The short version
Birds come back to the same ledge because it suits them. Take away the flat landing surface and they go elsewhere, usually within a few days.
Look for full-width coverage rather than a single thin row, and choose a metal base over plastic if the spot is hard to reach. Measure the whole run, not just the dirty part, and buy enough strips to cover every inch of it. Clean the surface before you fix anything down, and use adhesive, screws or UV-stable cable ties depending on what you are mounting to.
Do that once, properly, and the job stays done for years.