
The complete guide
How to Choose a Solar Panel Critter Guard That Actually Keeps Pests Out
The problem nobody mentions when you buy solar
Solar panels sit roughly 10 to 15 cm above the roof surface. That space exists for airflow, which keeps the cells cooler and the output steadier. It is a sensible design decision and it works well.
It is also, from a pigeon's point of view, a penthouse. Dry, shaded, out of the wind, invisible from above, and with a clear flight path in from every side. Rats and squirrels reach the same conclusion by a different route. They are looking for somewhere warm that predators cannot reach, and a roof cavity under a sheet of glass is about as good as it gets.
Once something moves in, the damage starts quietly. Nesting material builds up and blocks airflow, which can take the edge off your output on hot days. Droppings accumulate and they are acidic, which stains tiles and attacks metal fixings over time. Rodents chew cable insulation, and a chewed DC cable on a roof is not a minor repair. Then there is the noise, the smell and the mites, which tend to be what finally pushes people to do something.
The annoying part is that the fix is simple and cheap compared to the repair bill. You close the gap.
How a critter guard works
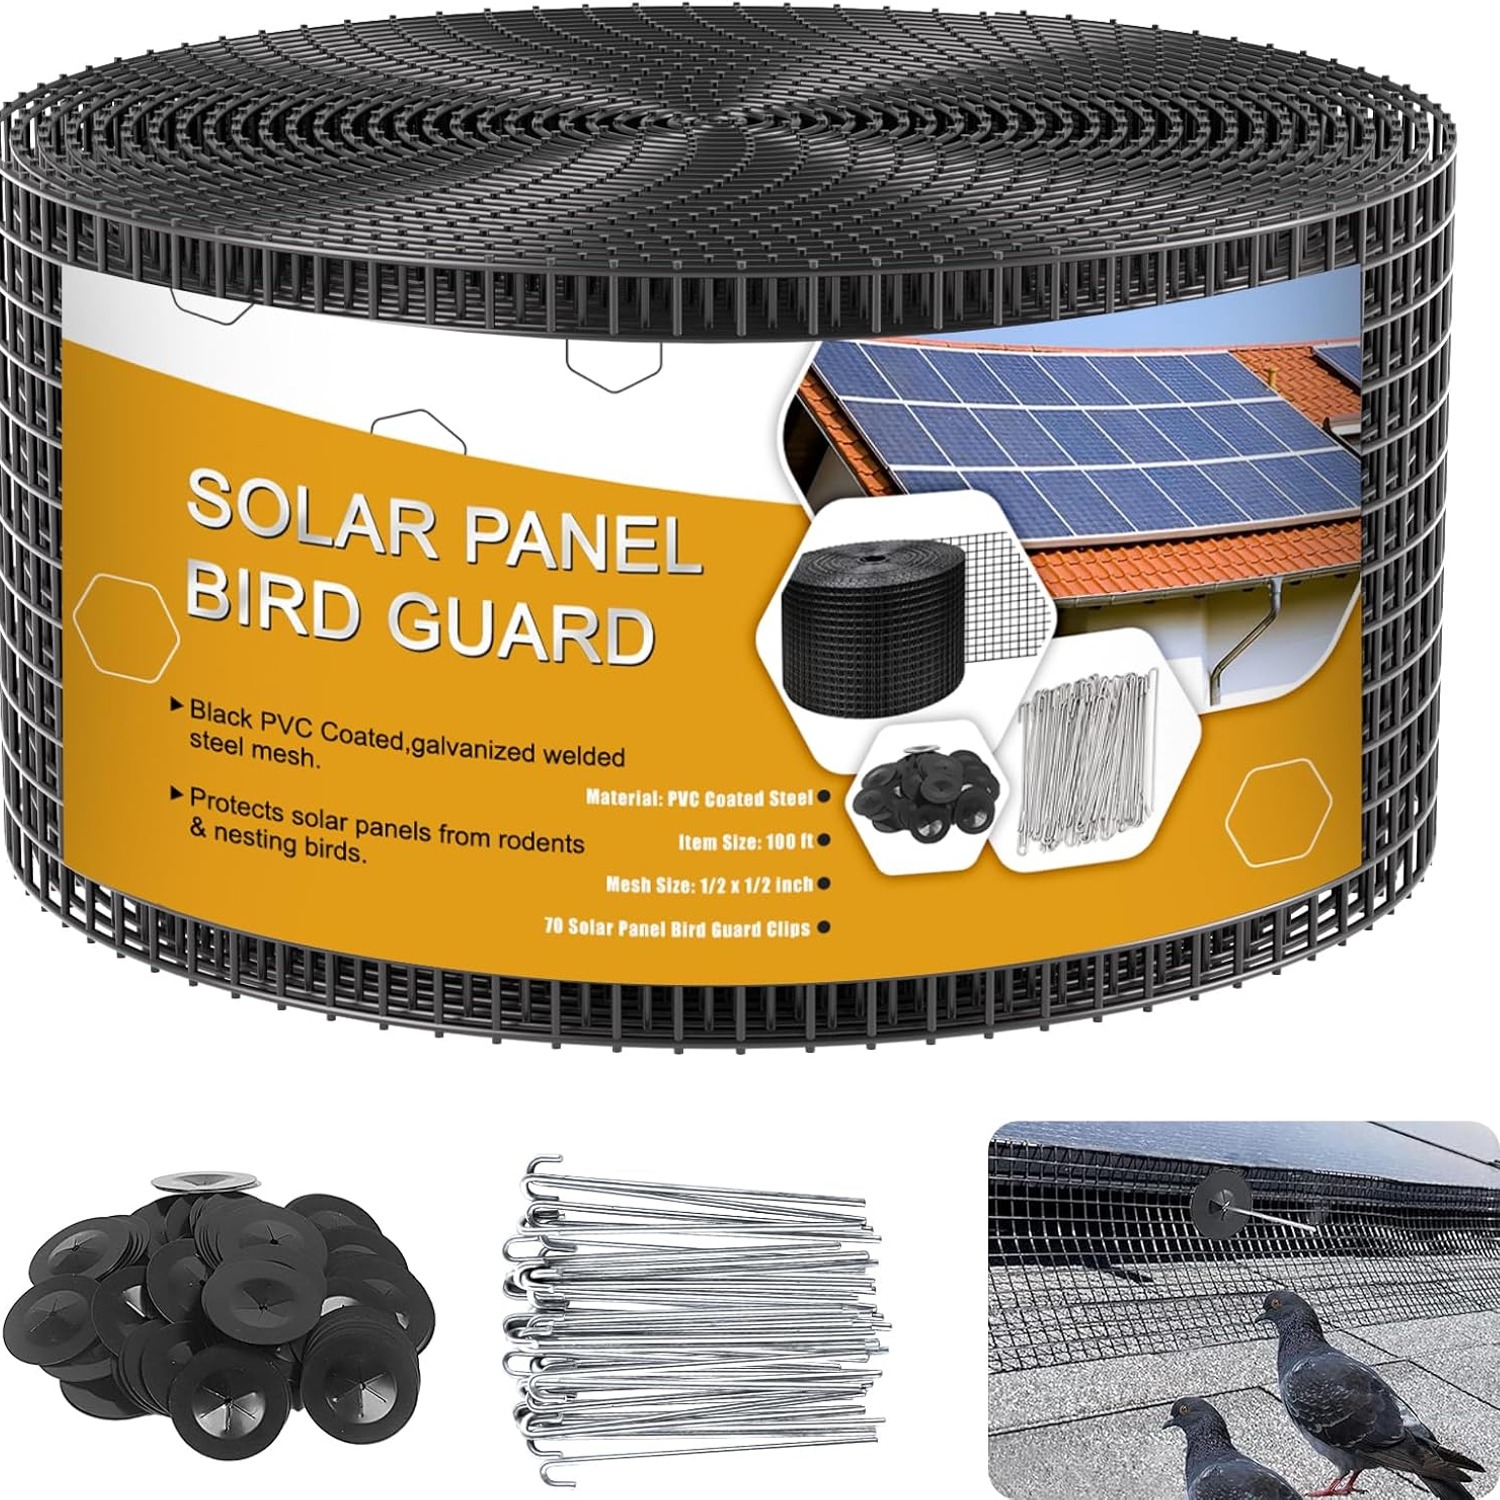
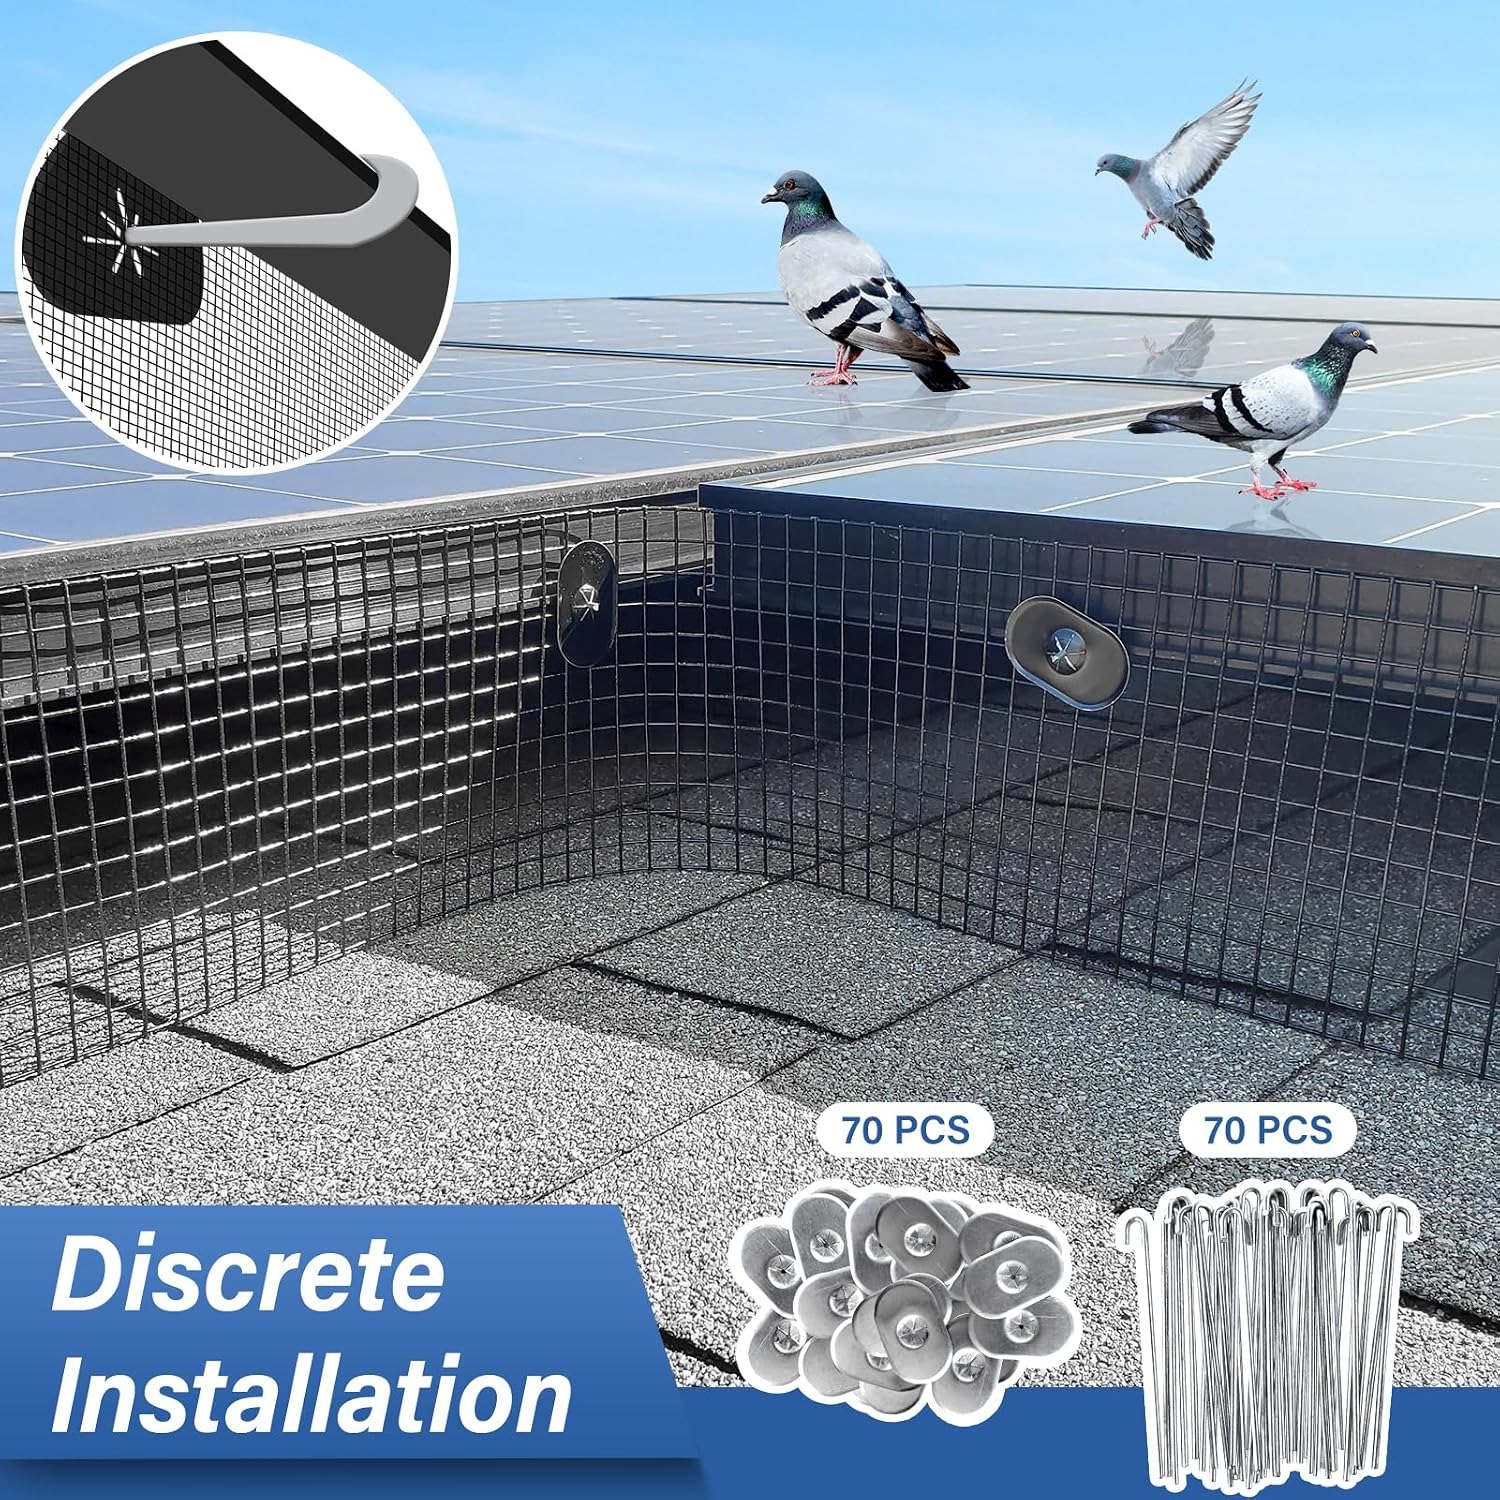
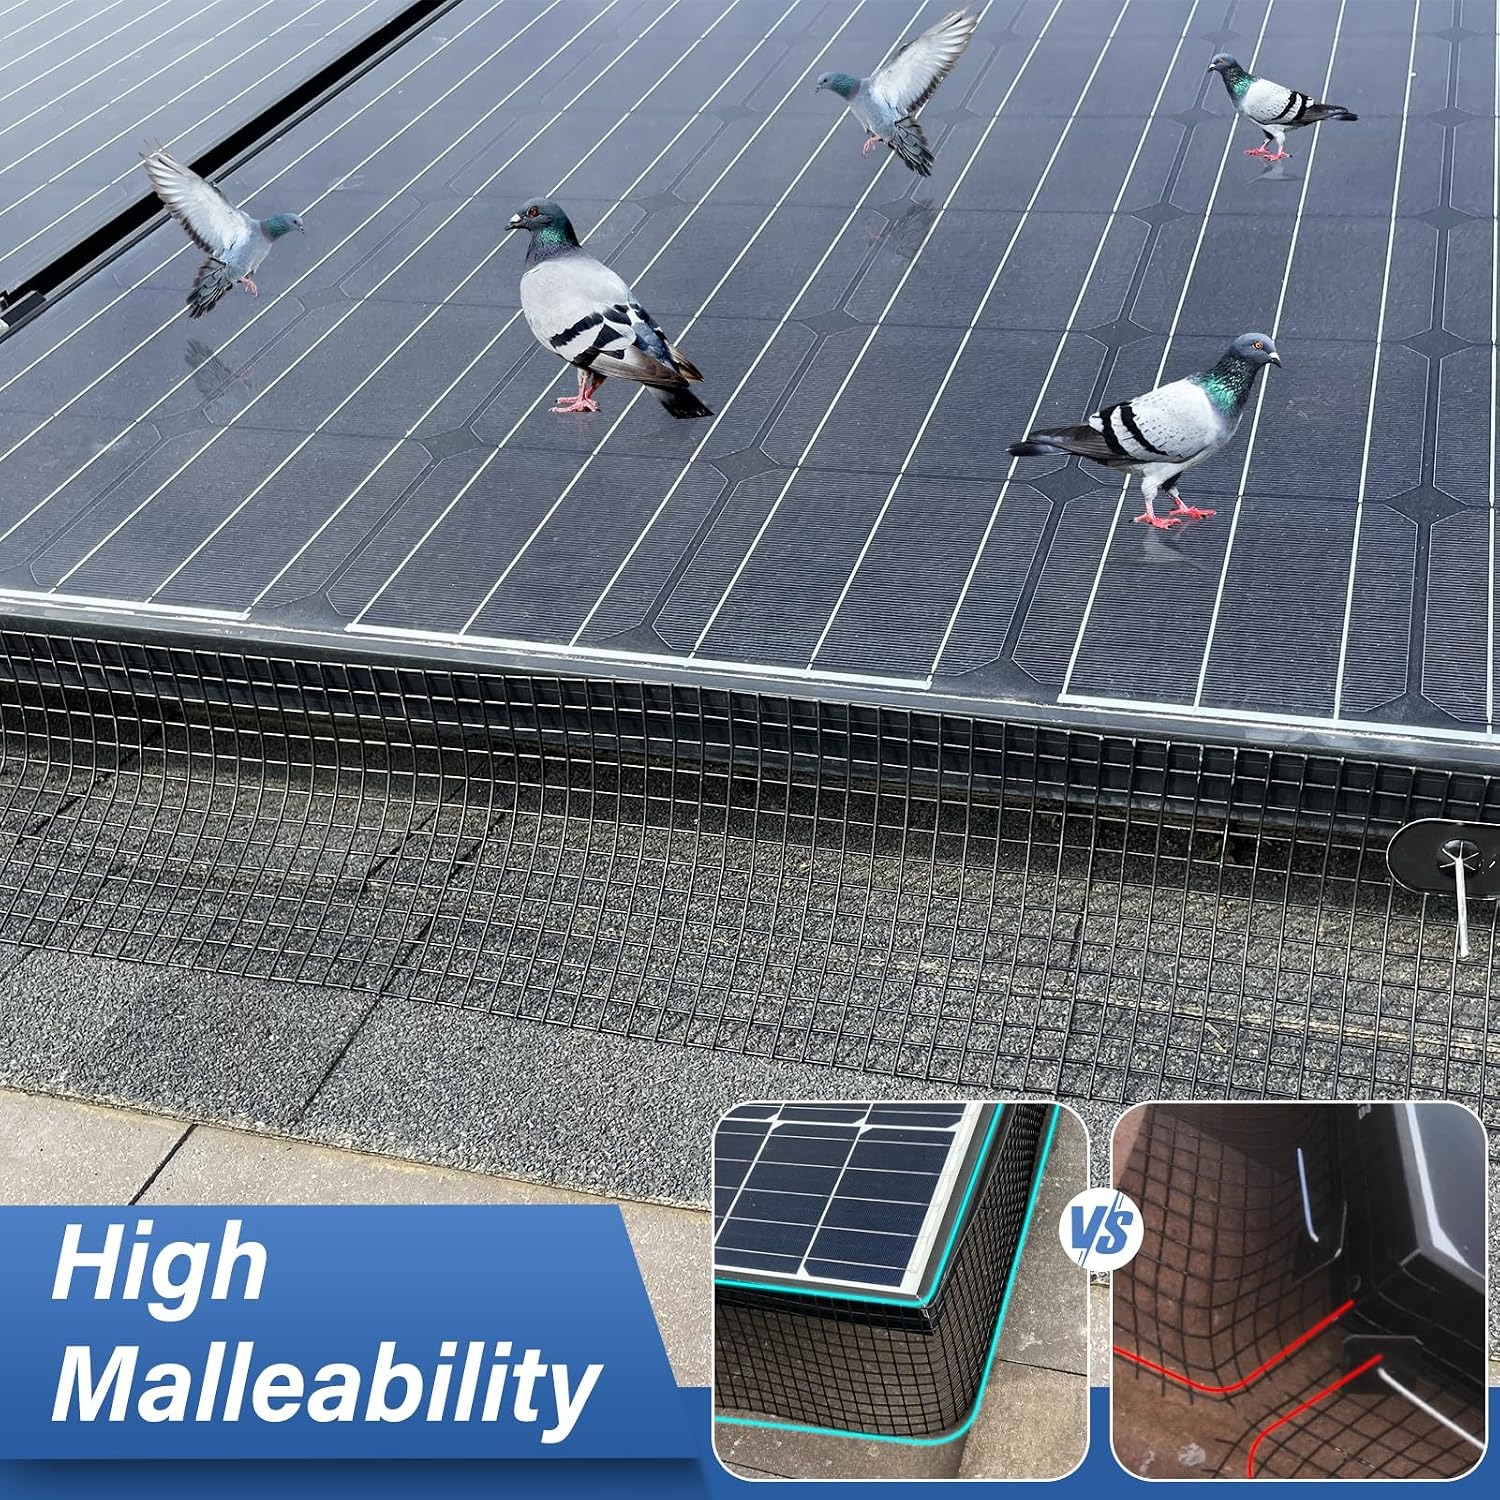
A critter guard is a strip of mesh that runs around the open perimeter of your array, clipped to the lip of the panel frames and pressed down against the roof surface. There is nothing clever about it. It is a physical barrier.
What makes one guard better than another comes down to three things. The first is the mesh opening. Half an inch square is the standard for a reason. Go bigger and juvenile birds and young rats slip through. Go much smaller and the mesh clogs with leaves and becomes a gutter instead of a screen.
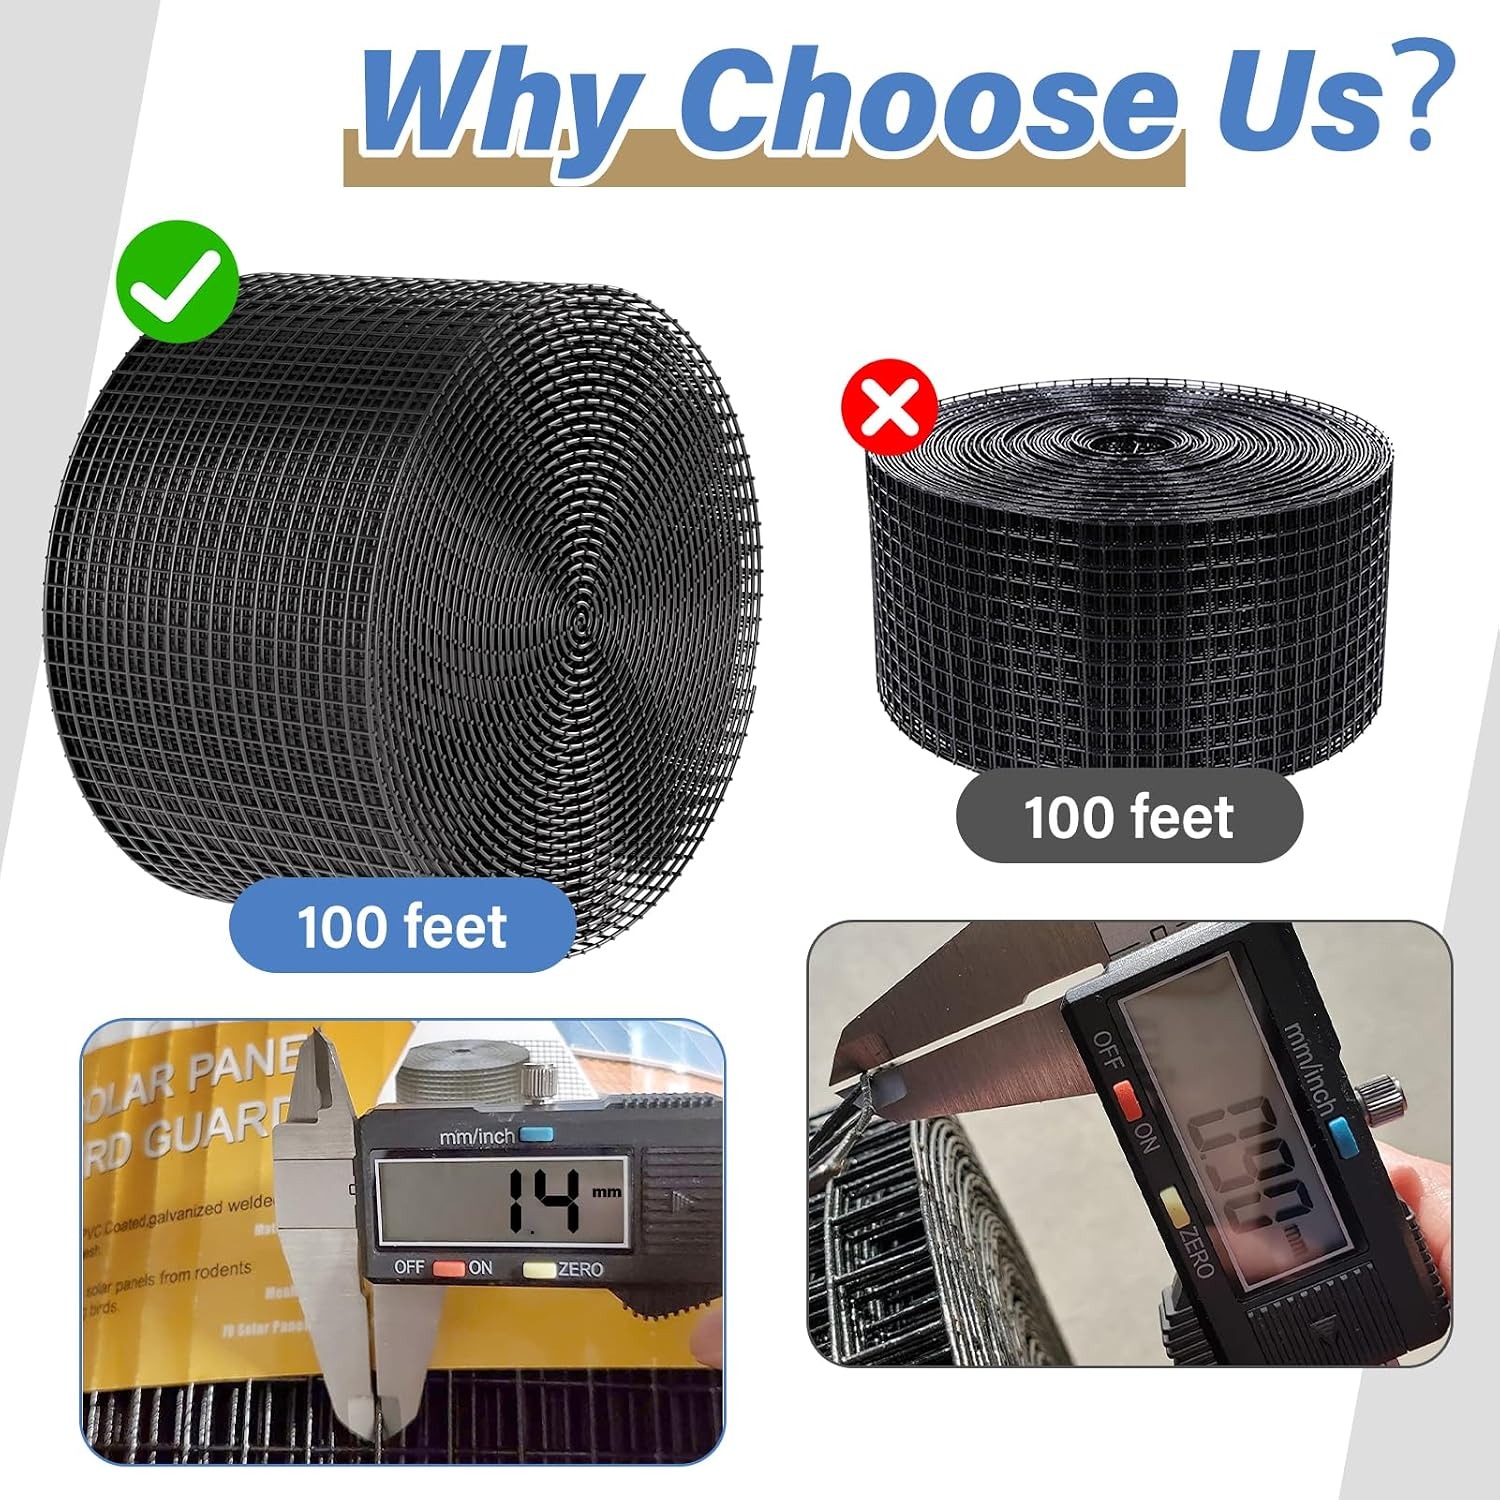
The second is the material. This kit uses galvanized panel steel with a black PVC coating on top, with a wire thickness of 1.4 mm. That combination matters. Galvanising handles the base corrosion protection, the PVC adds a second skin against rain and salt, and the 1.4 mm gauge gives the mesh enough backbone that a squirrel cannot simply push it aside. The joints are flux welded, which helps stop cut points rusting out, and that is usually the first place cheap mesh fails.
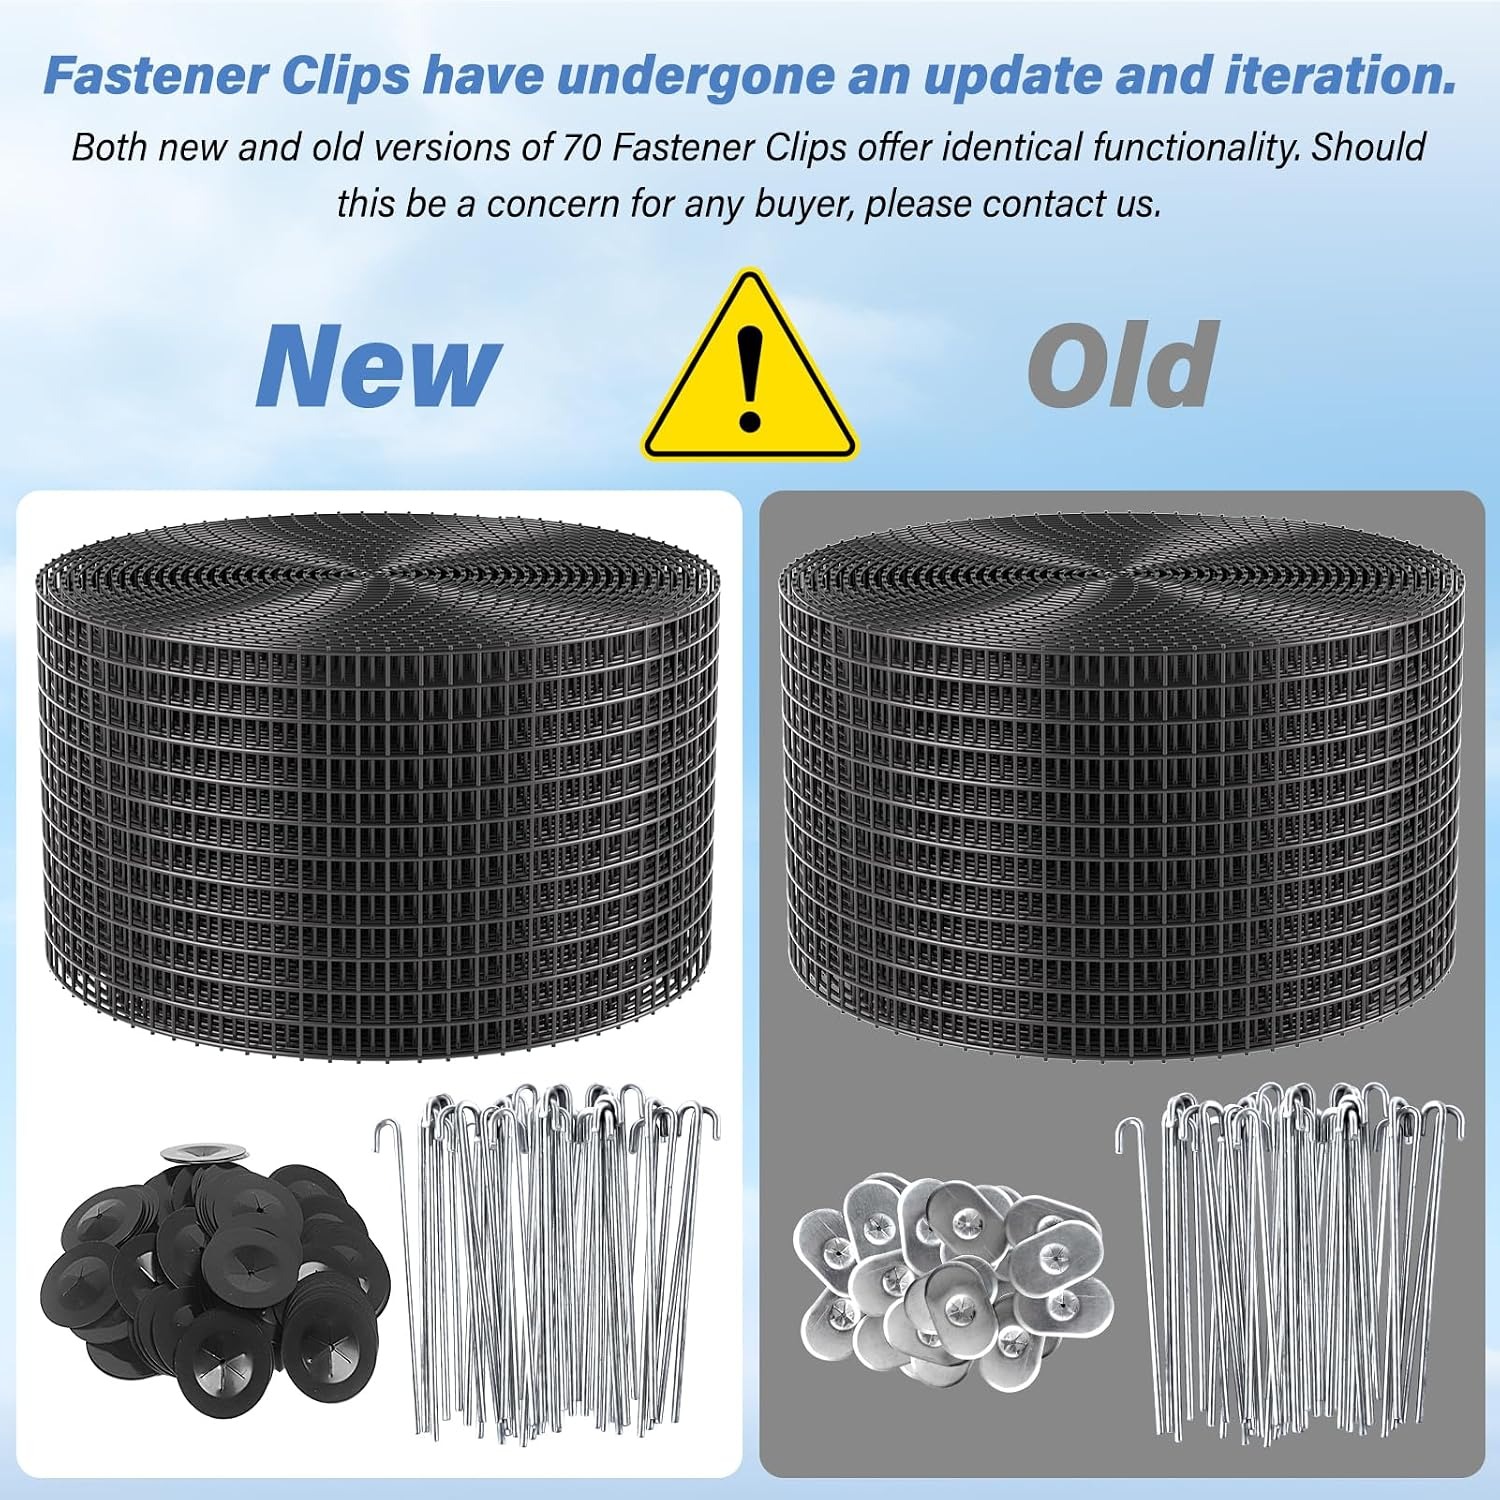
The third is the fastening system. This kit includes 70 thickened fastener clips. They grip the panel frame rather than penetrating it, so you are not drilling into your panels (which can void a manufacturer warranty) or into your roof (which can create a leak). The clip pins have a moderate hardness, so you can bend the ends over once the mesh is seated for a firmer hold.
Who this suits
If you have roof-mounted panels and an open gap at the edges, this applies to you. It does not matter whether you already have a bird problem or not. Pest proofing done before the first nest is far easier than cleaning up afterward.
It is especially worth doing if you live near mature trees, near a park, in a built-up area with an established pigeon population, or anywhere squirrels are common. Coastal homes benefit too, though you should expect to rinse the mesh a bit more often.
Ground-mounted arrays and panels on flat roofs with no under-gap generally do not need it. Neither do systems where every edge sits flush against a wall or ridge with no clearance, though those are rare.
The one group who should pause is anyone with a steep roof, a high roof, or no safe access. This is not a difficult job in terms of skill, but it is a job done at height. If you are not confident on a roof, pay someone. The kit still saves you money because the mesh is the expensive part of a professional quote.
Choosing the right amount
Measure before you buy. Walk the array and measure every side that has an open gap to the roof. Add the lengths together, then add about 15 percent for corners, overlap and mistakes. That is your figure.
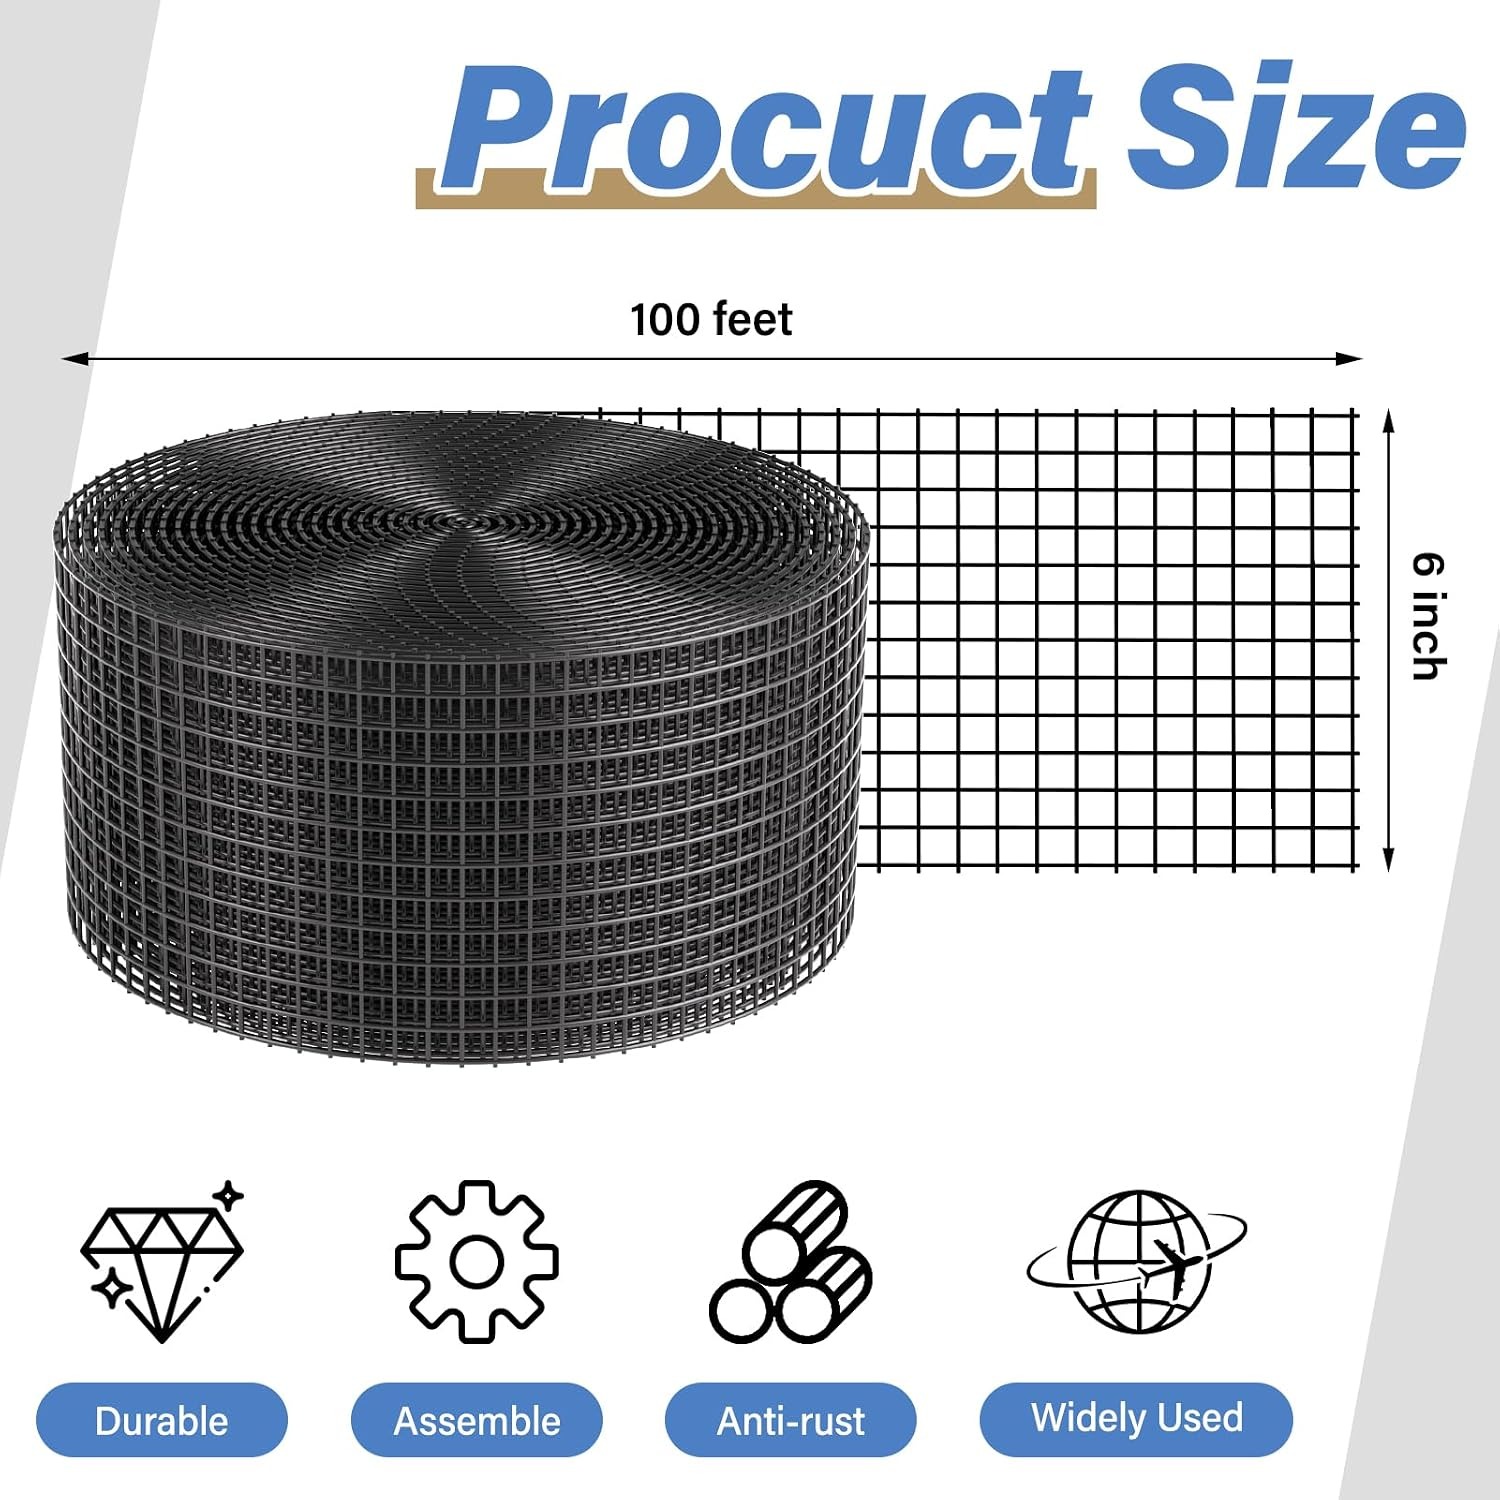
The roll dimensions are not stated in this product record, so check the quantity shown on the listing against your measured number. If you have a large array it is better to order generously than to stop halfway through on a Saturday afternoon.
On clips, work out your spacing first. Most people run a clip every 30 to 40 cm. Closer spacing holds better in wind and looks tidier. With 70 clips included you have room to be reasonably generous, which is one of the practical advantages of this kit over ones that ship with a bare minimum.
Installing it without regret
Clear the cavity first. This part is not optional and it is the step people skip. If there is an existing nest, droppings or dead material under the panels, sealing it in creates a smell problem that lasts months and attracts insects. Wear a mask and gloves, clear it all out, and wash the area down.
If birds are actively nesting with eggs or chicks, stop. Many countries protect nesting birds by law, and beyond the legal issue, sealing live birds in is a horrible outcome. Wait until the nest is empty.
Then work one panel edge at a time. Cut a length of mesh with snips, offer it up to the frame lip, and clip it on. Press the lower edge down against the roof surface as you go so there is no daylight showing underneath. A gap of even two centimeters is enough for a rat.
Corners are where the mesh is most malleable and most useful. Bend a single piece around the corner rather than butting two pieces together, because a butt joint is a weak point unless you overlap it well. The wire takes a bend and holds it, which is exactly what you want here.
Finish by bending the clip pin ends over. It takes an extra minute per clip and it is the difference between a guard that survives a gale and one that does not.
Keeping it working
The maintenance load is light. Rinse the mesh with a hose a couple of times a year to clear leaf litter and dust. Skip solvents and harsh cleaners, since they shorten the life of the PVC coating. A soft brush deals with anything the hose leaves behind.
Inspect once or twice a year and after any big storm. You are looking for two things: clips that have worked loose, and sections that have lifted away from the roof line. Both are a five minute fix if you catch them early and a nest if you do not.
If you ever cut into the mesh for a new pipe or fixture, tuck the cut ends inward. The flux welding handles the corrosion side, but tucked ends are tidier and nothing snags on them.
Other places it earns its keep
Leftover mesh rarely goes to waste. The same coated steel works around pipe penetrations, under decking, across vent openings, at the base of railings and around outdoor electrical boxes. Anywhere a small animal is finding a way in, a shaped piece of half inch mesh is usually the simplest answer available. People often end up buying a second roll after discovering how handy the first one was.
The short version
The gap under your solar panels is the problem, and mesh around the perimeter is the solution. Look for half inch openings, coated galvanized steel at a decent gauge, welded joints, and clips that attach to the frame instead of drilling through anything. This kit covers all four, with 1.4 mm PVC-coated galvanized mesh and 70 fasteners in the box.
Clear the cavity before you seal it, measure your perimeter properly, space your clips closer than you think you need to, and bend the pin ends over. Do that and you will not think about it again except for an annual rinse.