

The complete guide
Anti-Climb Animal Spikes Buyer's Guide
The problem starts with one comfortable ledge
Animal nuisance almost never begins with the animal. It begins with a surface. A flat fence cap, a wide window sill, the top rail of a balcony, the edge of a pergola beam. Something lands there once, finds it stable and safe, and comes back. Within a few weeks you have droppings on the paving, scratch marks on the paint, and a cat using your fence as a highway at two in the morning.
Chasing the animal does nothing, because the surface is still there and so is the appeal. What actually changes the outcome is removing the comfortable footing. That is the whole idea behind anti-climb animal spikes. You are not fighting the animal. You are editing the architecture so the spot stops being worth the trip.
How spiked strips work
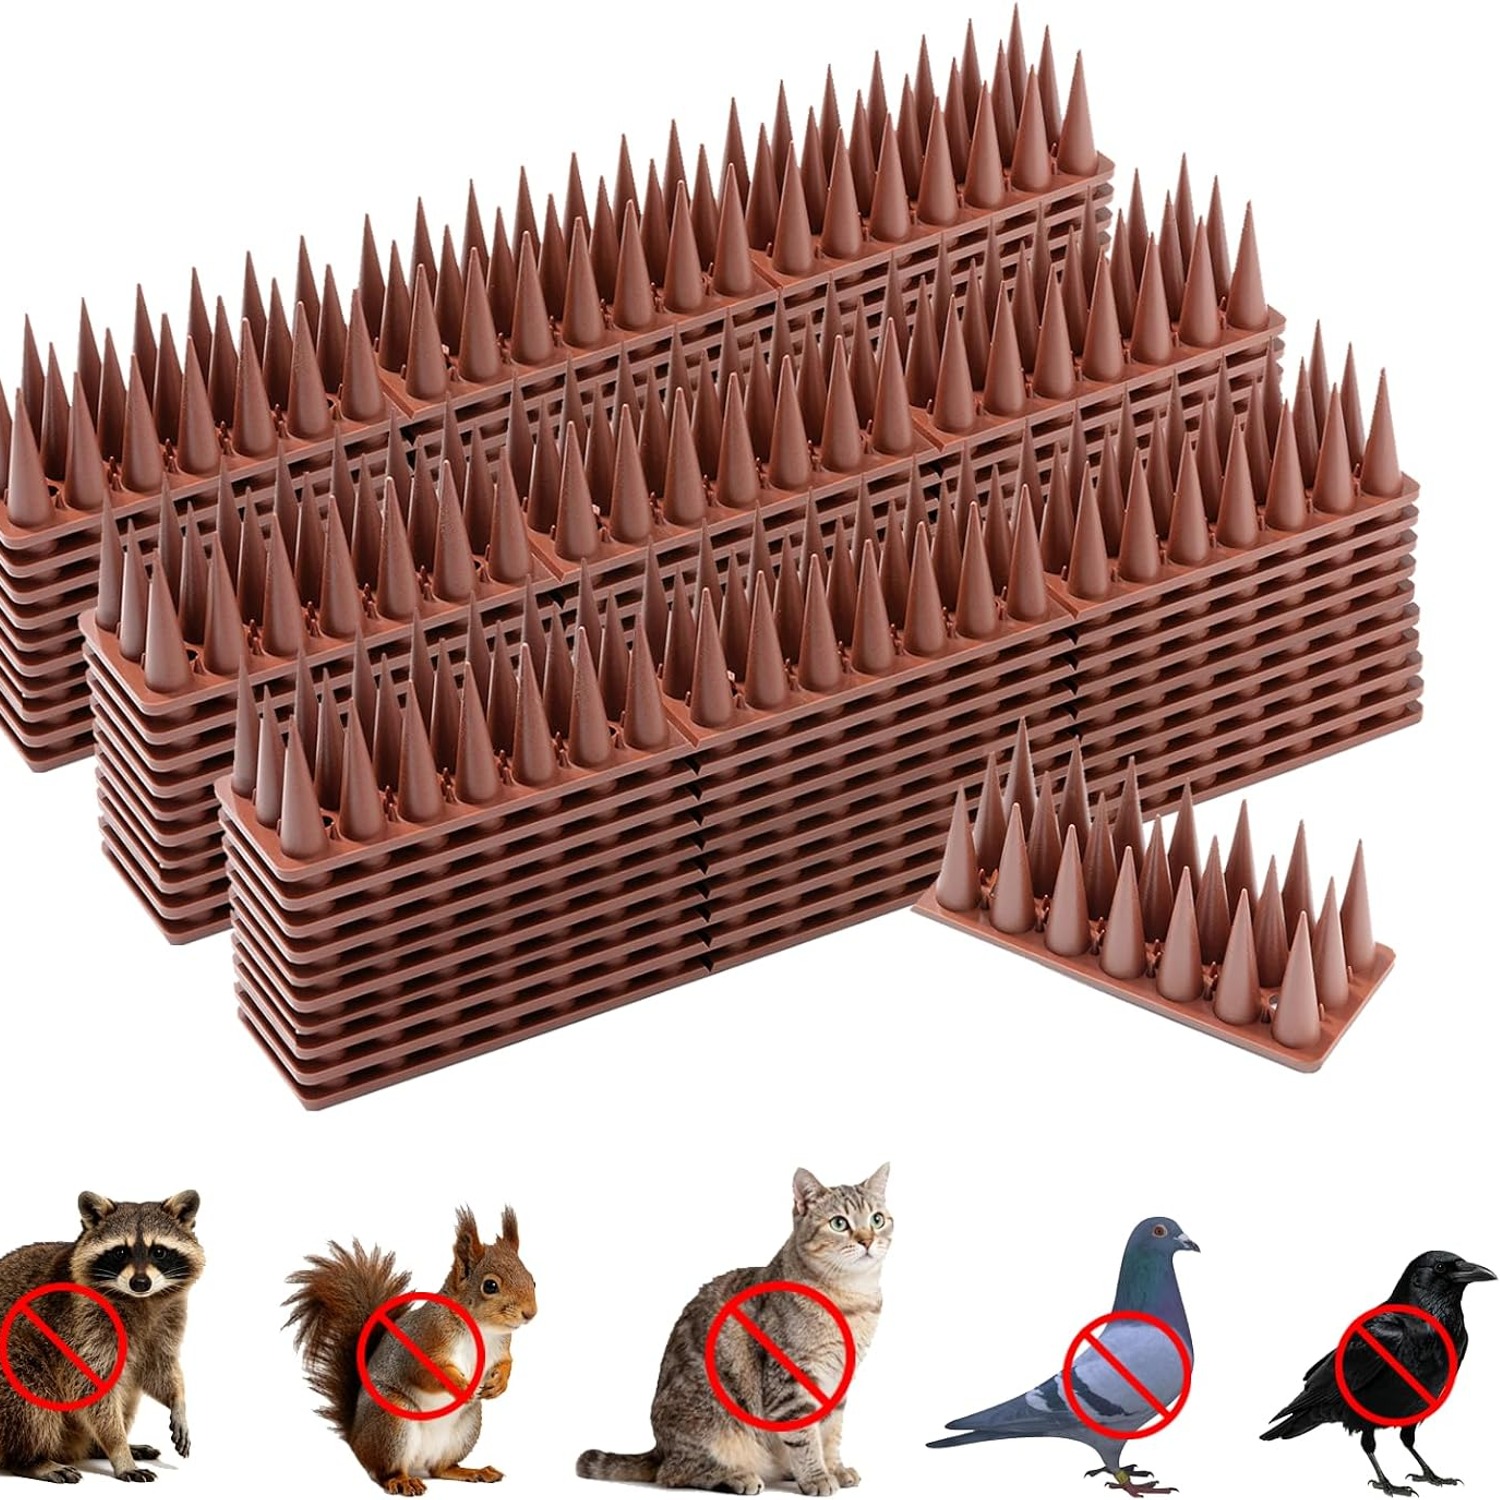
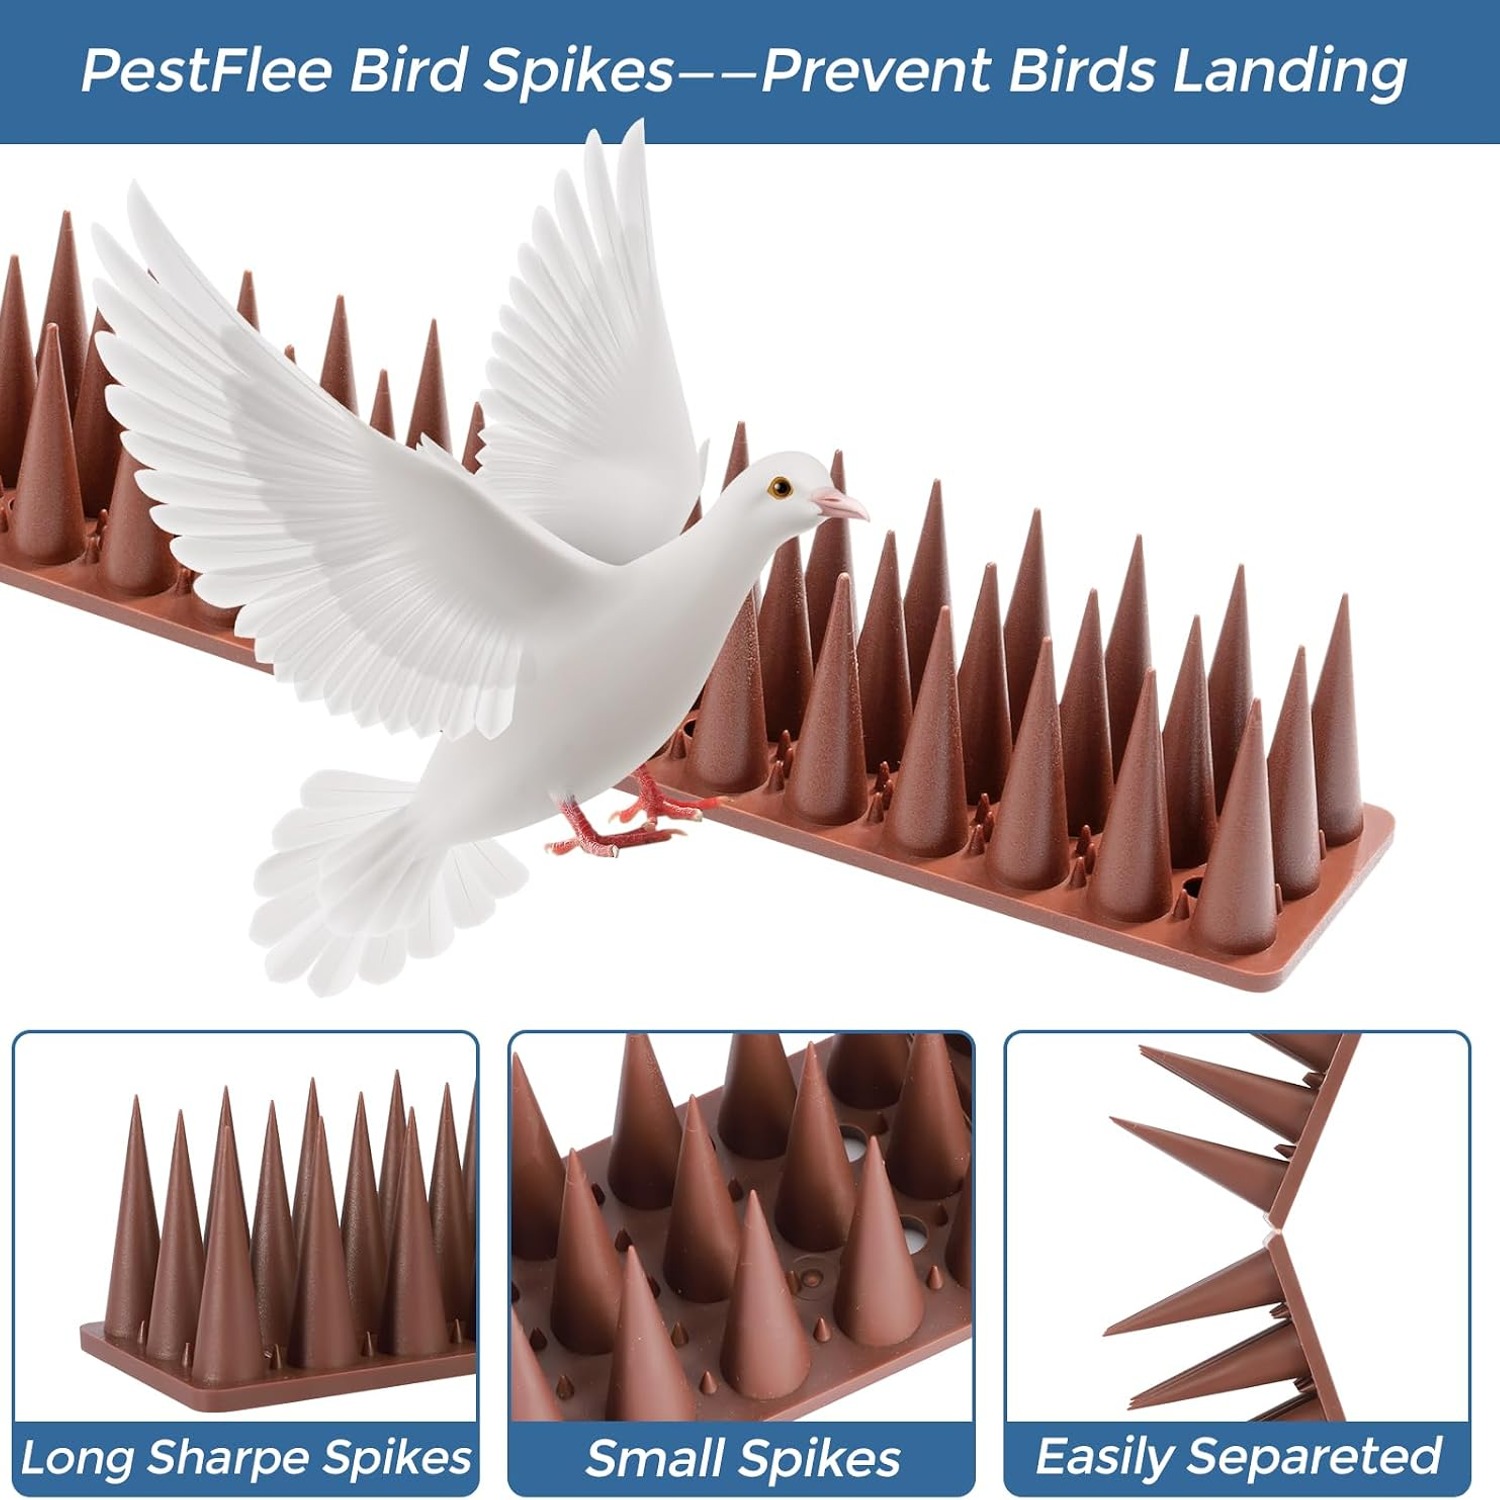
Cats, raccoons and squirrels all need the same thing to climb: a grip and a place to put their weight while they reposition. A fence cap gives them both. Cover that cap with closely spaced points and the animal has nowhere to plant a paw. It tests the surface, finds it unpleasant and unstable, and goes around.
Birds work slightly differently but the result is the same. A pigeon needs a flat landing zone before it settles. Fill that zone and it cannot commit to the landing, so it drifts off to the neighbor's aerial instead.
The key word is deterrent. These strips are not meant to catch or hold anything. They make contact uncomfortable at the moment an animal is deciding whether to proceed, and that is enough. Animals are efficient. Given a harder route and an easier one, they take the easier one every time.
What is in this pack
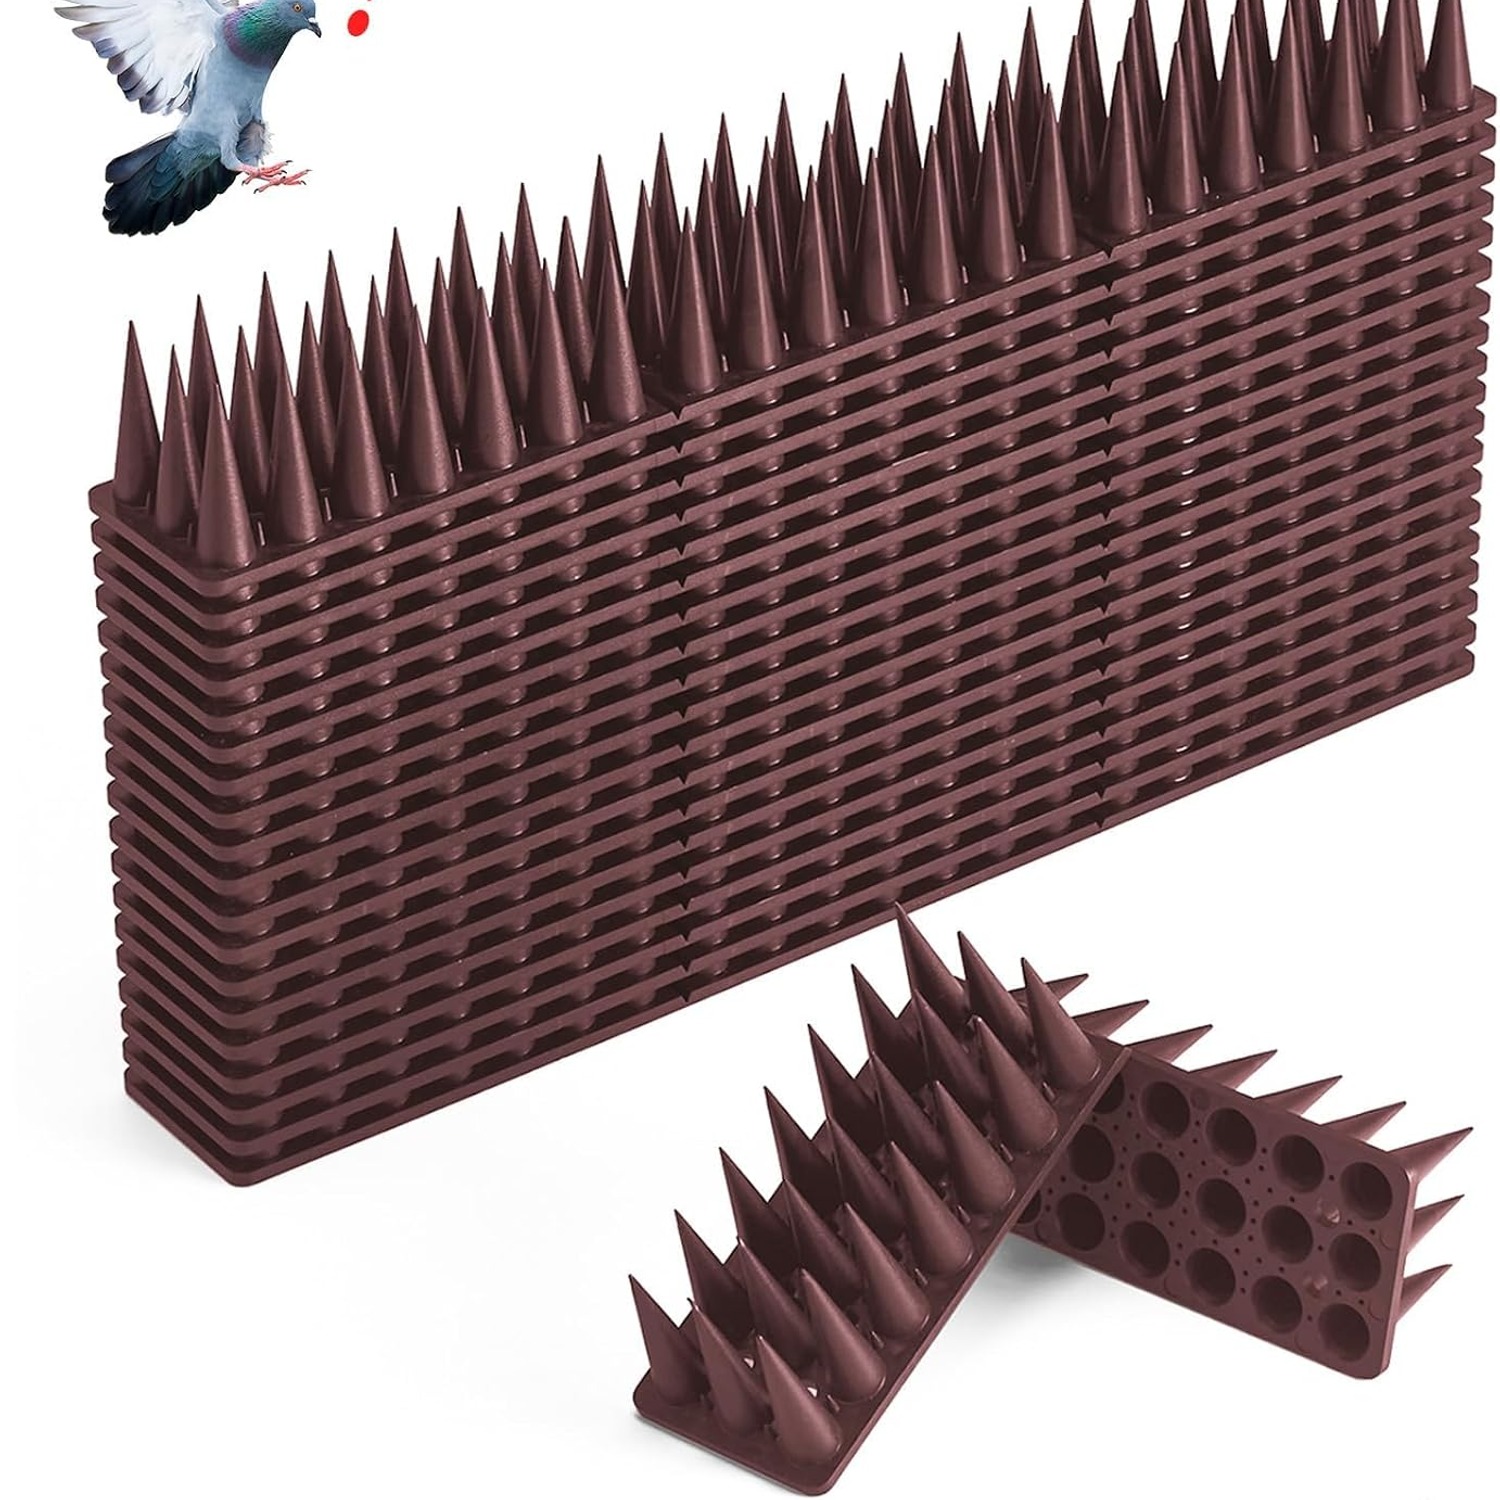
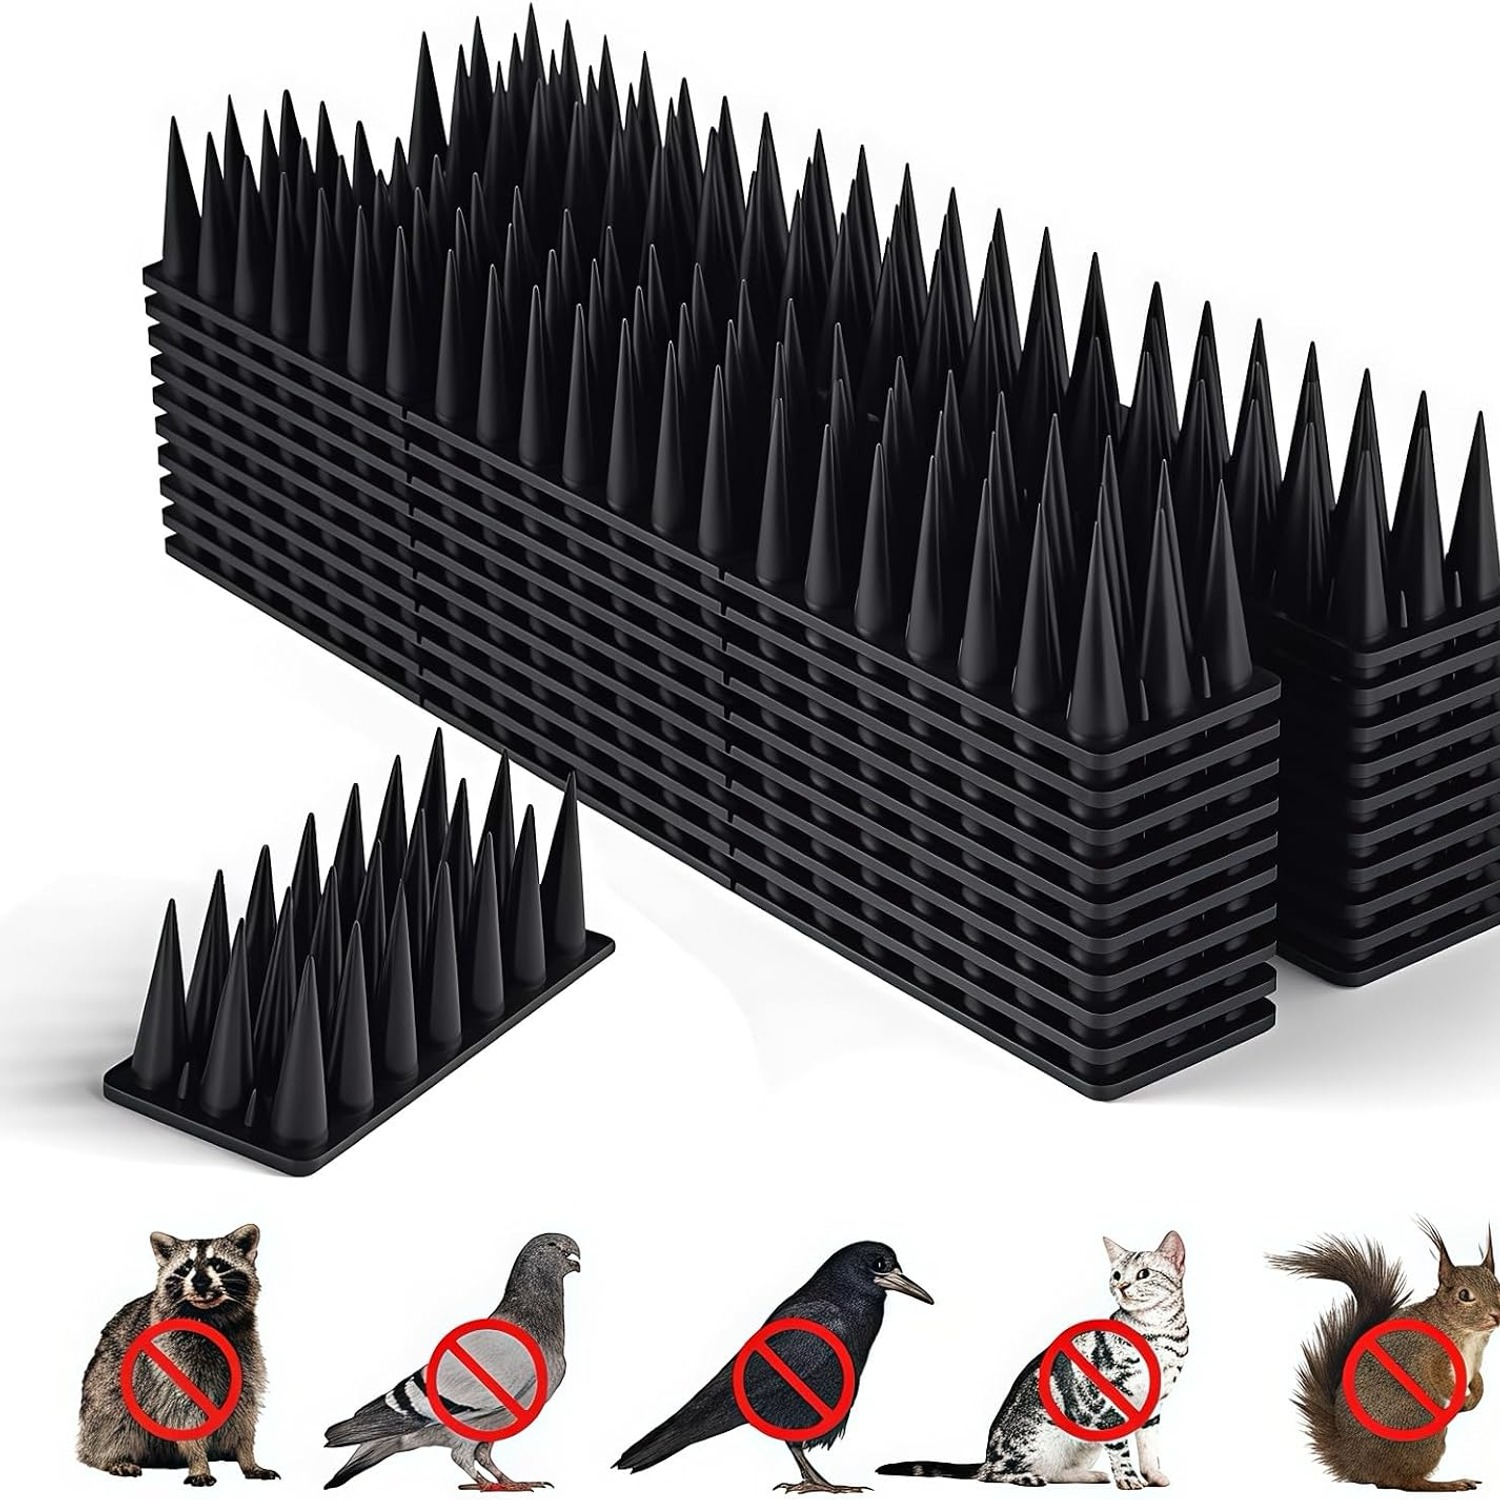
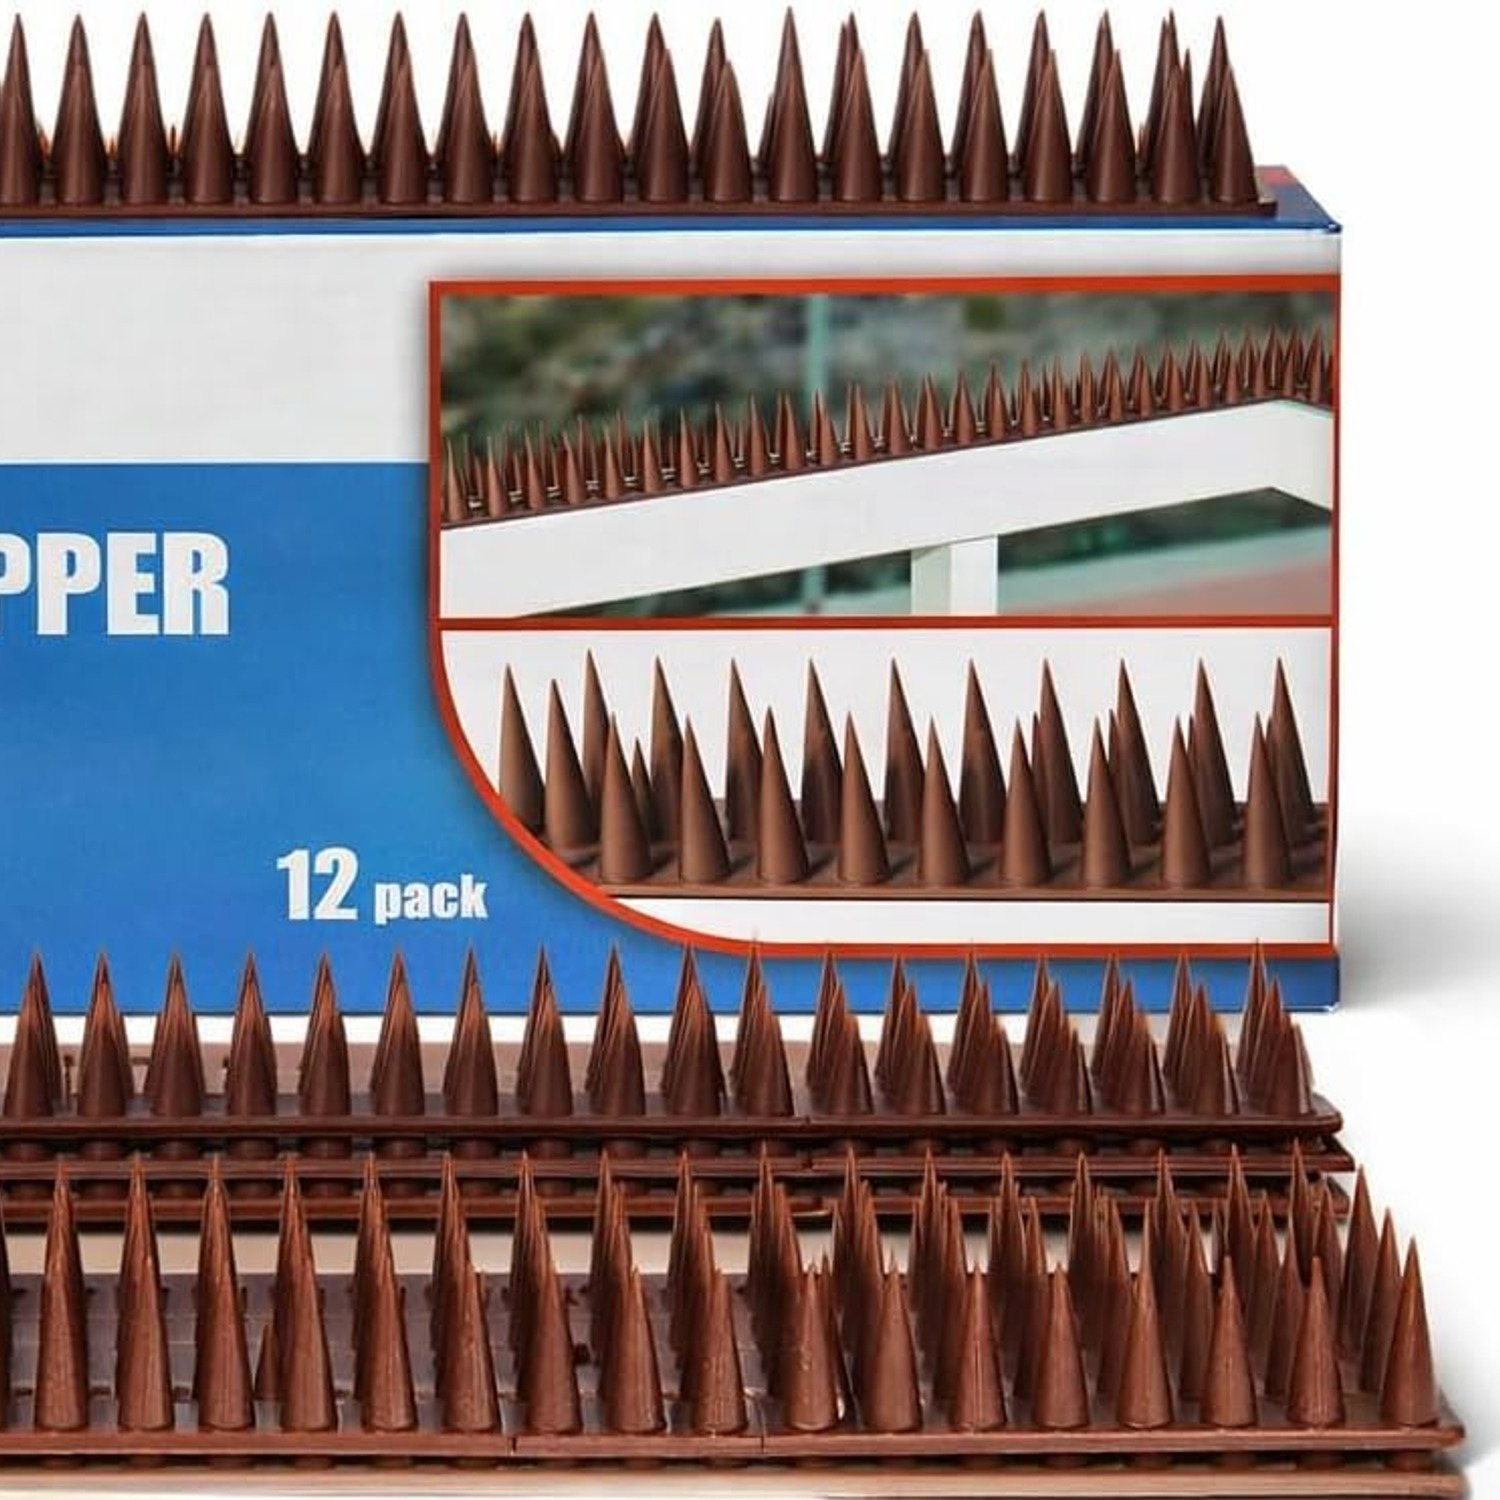
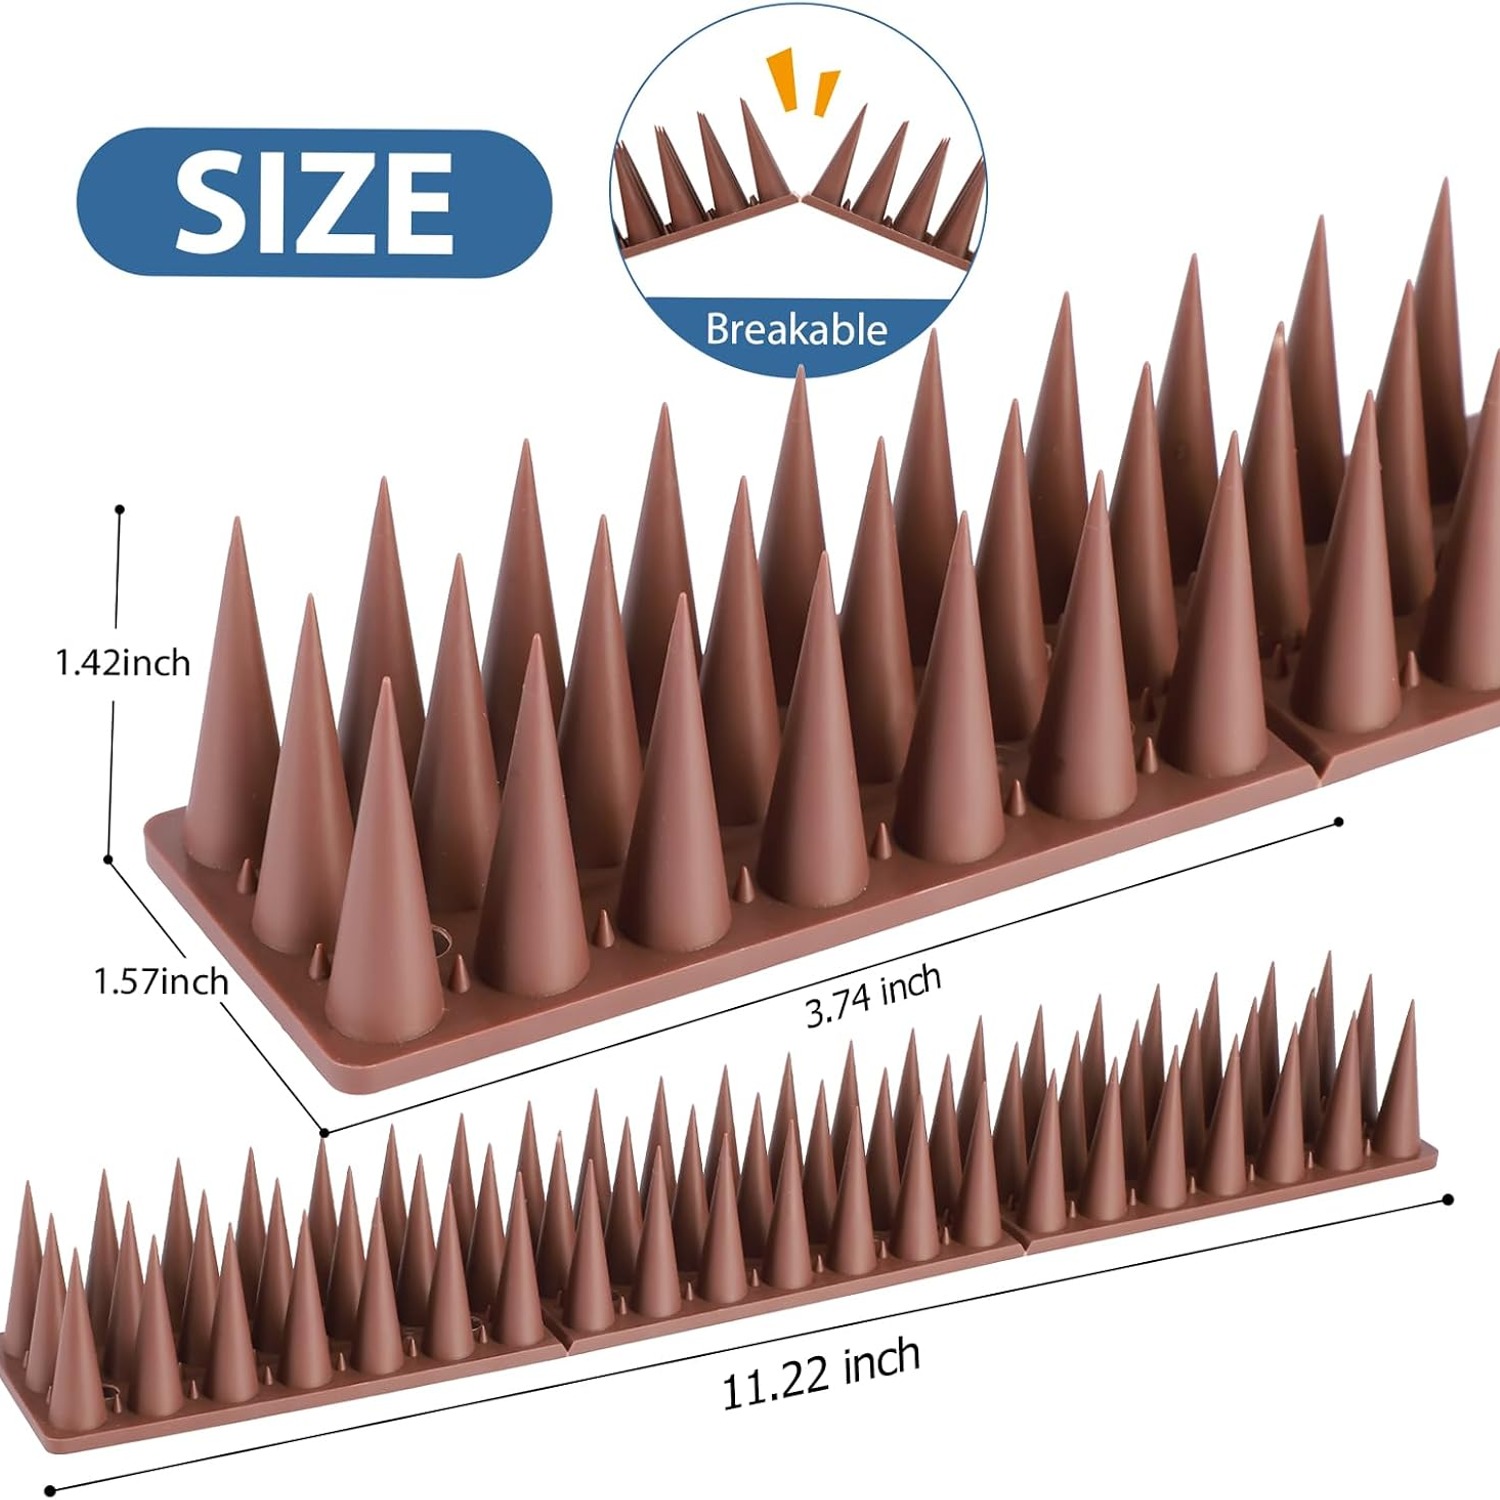
This is a 20 pack. Each strip measures about 11.22 inches long and arrives pre-scored into three sections of roughly 3.74 inches. You snap them apart by hand, no tools needed.
That detail sounds small and it is not. Real houses are full of surfaces that do not match a standard strip length. A gate post top. A thirty centimeter stretch of sill. The flat lip over a doorway. If your only option is a full-length strip, you either leave a gap or you overhang the edge, and both look wrong. Being able to snap off a third means you finish the job neatly.
The strips are made from high-strength PP plastic rather than bare metal. The practical benefit shows up a winter or two later. Metal spikes on a white sill or rendered wall can leave rust streaks that are a nuisance to clean. Plastic does not do that. It is also lighter, which helps if you are working one-handed at the top of a ladder or bonding to a surface that cannot carry much weight.
Matching the fixing to the surface
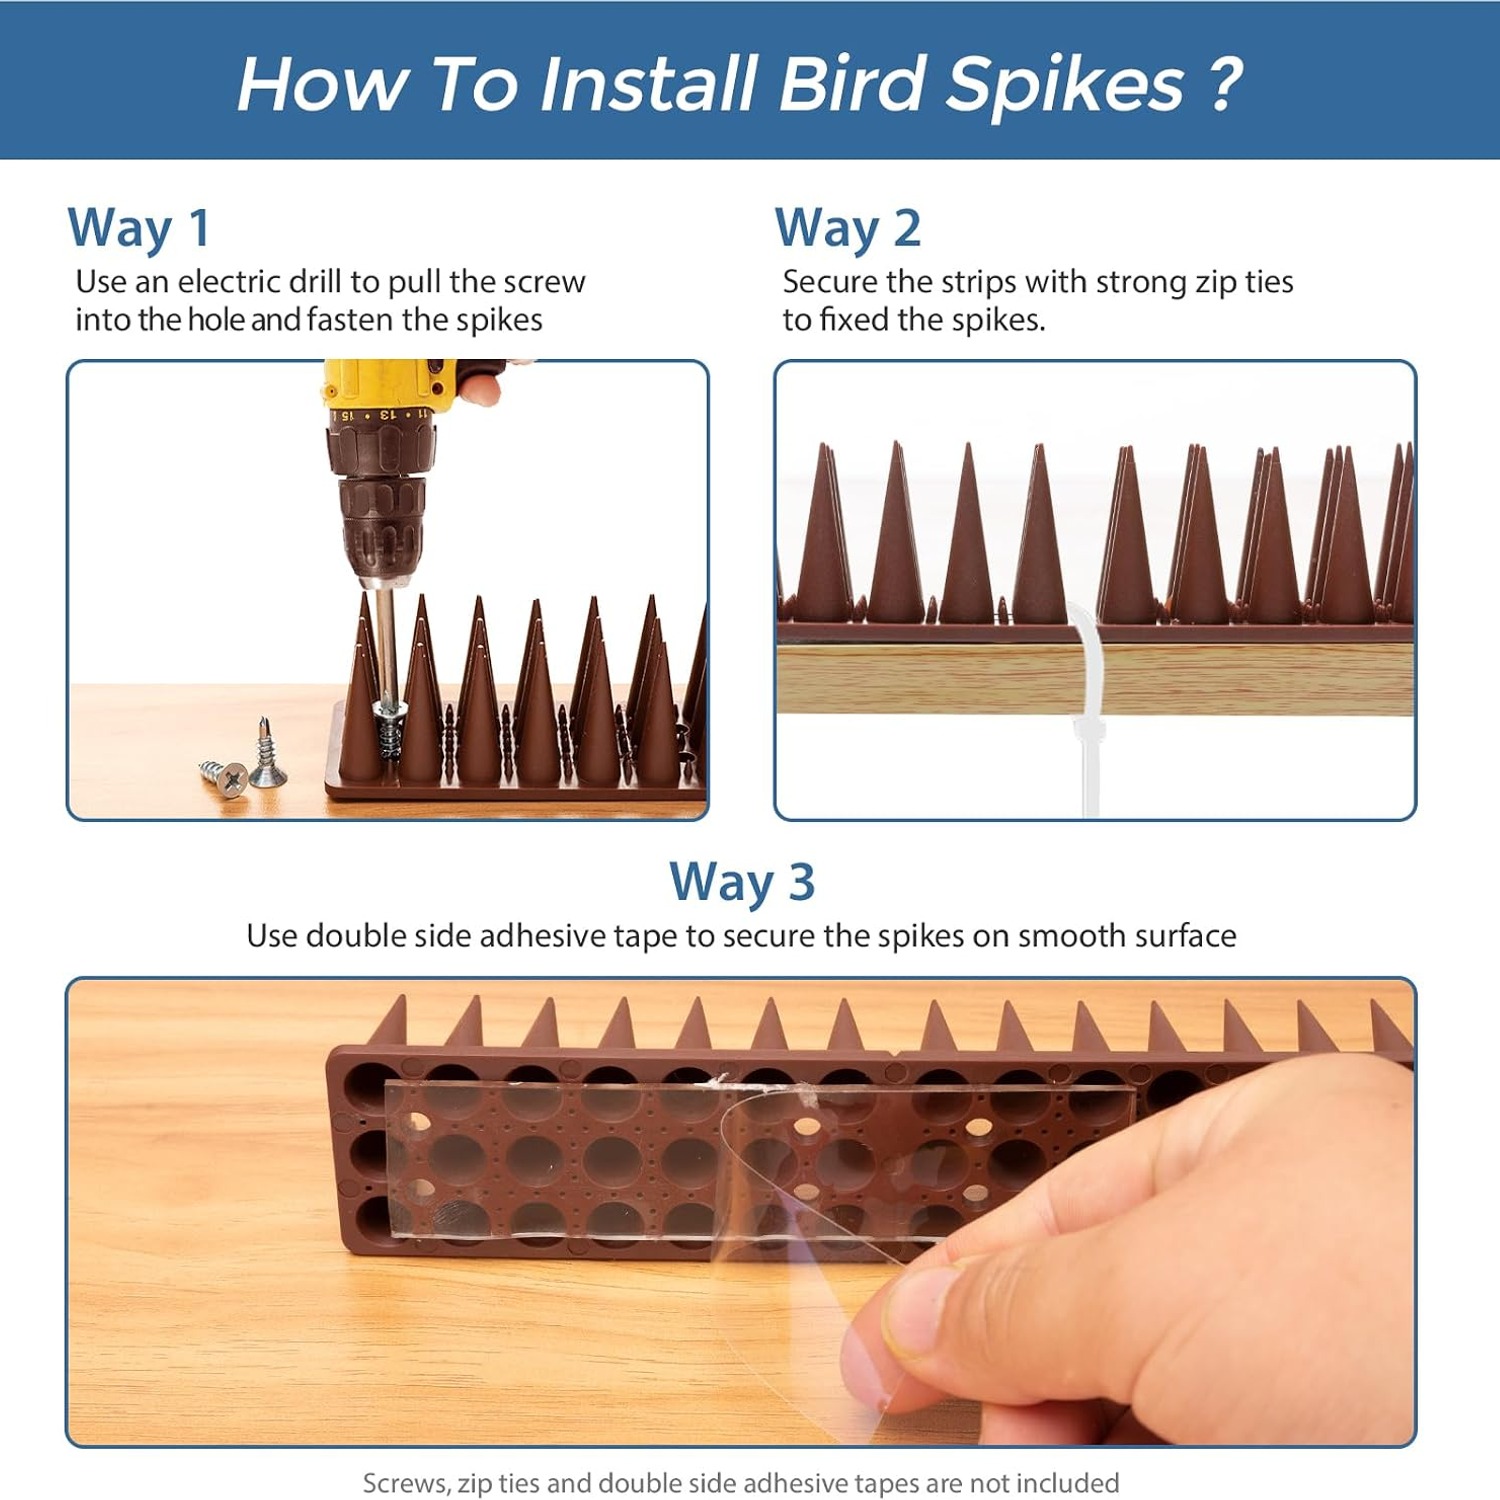
Each strip carries pre-drilled holes, and that gives you three sensible ways to mount.
Screws or nails are the strongest option and the right choice for timber fence caps, pergola beams, gate posts and shed edges. Drive the fixing through the pre-drilled hole and keep the strip flat to the surface. On brick or block, drill a pilot hole, push in a plug, then screw.
Zip ties suit anything round or barred. Balcony railings, downpipes, metal fence rails, wrought iron. They are fast, they are reversible, and if one perishes you replace it in seconds. Use UV-stable ties and trim the tails flush so nothing flaps in the wind.
Adhesive or outdoor double-sided tape is for smooth surfaces you do not want to put holes in. Painted window sills are the classic case. Clean the surface properly, let it dry fully, then bond. A dusty or damp sill will let go after the first cold snap, and the failure is always the prep, not the glue.
Decide the method before you climb the ladder. Most failed installations are failed plans.
Who this suits
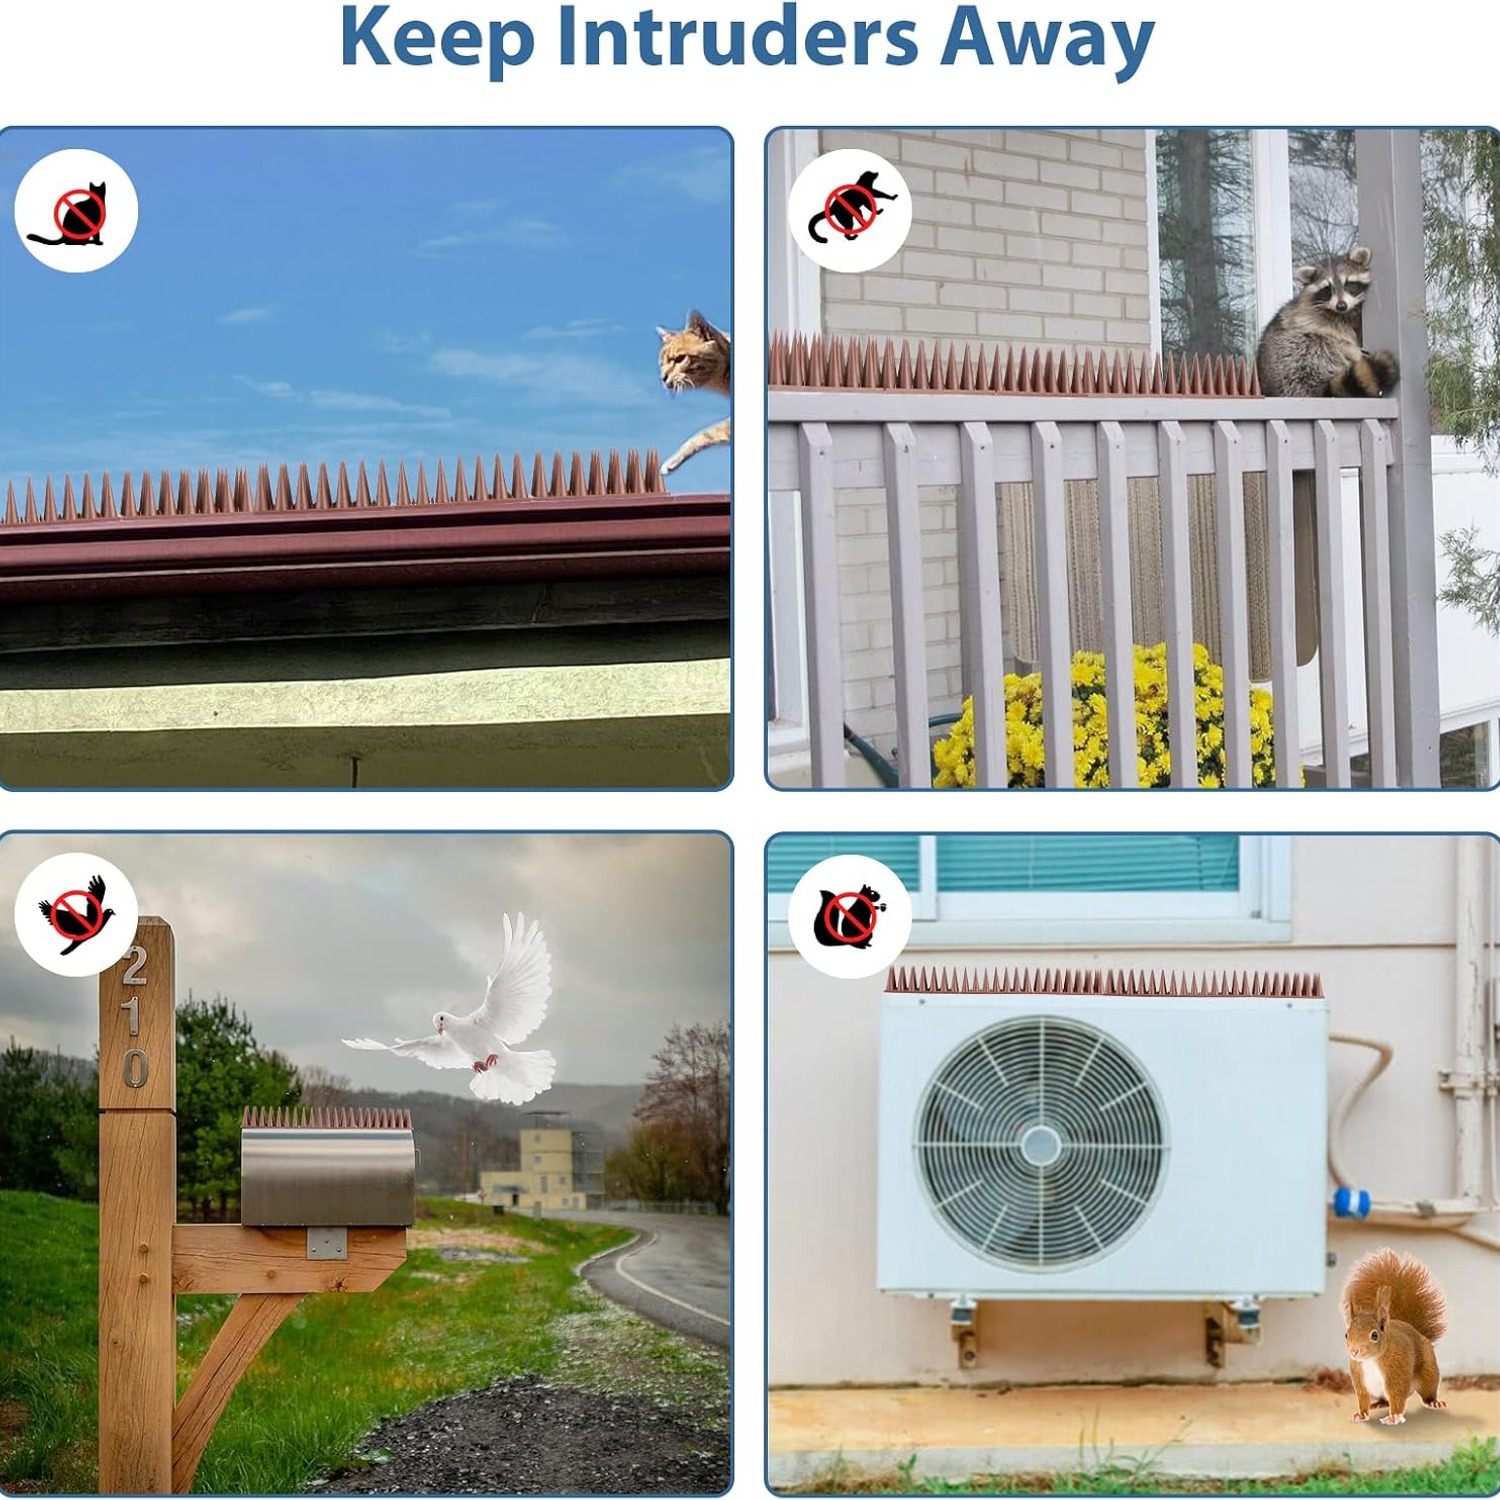
Homeowners with a cat problem on the back fence get the most obvious benefit. So do people dealing with raccoons on a deck rail, or pigeons settling on window ledges above a front door.
It also suits renters and apartment dwellers, because the zip tie and adhesive routes mean you can protect a balcony rail without drilling anything you would have to explain later. Gardeners use them on raised bed edges and greenhouse frames. Anyone with a flat roof edge collecting droppings has a use for them too.
Where they are less suited: large open expanses. If an animal has a hundred alternative routes onto the same roof, blocking one meter of edge will not change much. Spikes work best on pinch points, the specific narrow places an animal has to cross.
Choosing where to put them
Walk the boundary and look for evidence rather than guessing. Droppings, scuff marks, flattened moss, claw scratches in timber. Animals are creatures of habit and they use the same two or three crossings over and over.
Then think like the animal. Where does it launch from, and where does it land? Protect the landing. A cat jumping from a shed roof onto a fence cap is defeated by spikes on the cap, not on the shed.
Cover the full width of whatever you are protecting. A fence cap with spikes down the middle and bare timber either side is a fence cap with two clear walkways. The same goes for length. Protect the crossing point, then extend a reasonable distance past it in both directions, because the first thing an animal does is test the next meter along.
Finally, count before you buy. Twenty strips at roughly 28 centimeters each gives you a little over five and a half meters laid end to end. Measure your runs, add some margin for corners and overlaps, and you will know straight away whether one pack covers it.
Looking after them
This is close to zero-maintenance kit, but close to zero is not quite zero.
Leaf litter is the main thing to watch. If debris packs in between the points, it eventually forms a flat mat on top, and you have accidentally rebuilt the surface you removed. A rinse with the hose and a sweep with a soft brush a couple of times a year handles it. Autumn is the obvious time.
Check the fixings seasonally. Screws can loosen as timber moves through wet and dry cycles. Zip ties eventually perish, particularly in strong sun. Adhesive is worth a gentle tug test after the first winter. None of this takes long, and catching a loose strip early saves you hunting for it in the garden after a storm.
Avoid solvents and avoid blasting the strips with a pressure washer. Plain water and patience do the job without stressing the plastic or the fixings.
A note on expectations
Spikes are very good at one thing: making a specific surface unattractive. They are not a whole-property animal exclusion system. If a raccoon is getting into your bins, deal with the bins. If birds are nesting in a soffit gap, the gap needs closing. Spikes stop perching and climbing at the point you install them, and they do that well for years.
Used that way, with honest placement and a fixing method that matches the surface, a 20 pack solves most domestic fence and ledge problems in a single afternoon.
The short version
Find the places animals actually cross. Cover the full width of those surfaces with no gaps. Pick screws for timber and masonry, zip ties for rails and pipes, adhesive for smooth sills you cannot drill. Snap the strips into thirds wherever a full length will not sit neatly. Rinse out the leaves once or twice a year and check the fixings after rough weather.
Do that and the fence top stops being a highway, the sill stops collecting droppings, and you get your outdoor space back without harming anything that was only ever looking for somewhere convenient to sit.