
The complete guide
How To Choose And Fit Animal Deterrent Spikes
The problem these solve
There is a particular kind of annoyance that comes from a surface you own being used by something else. A cat that walks your fence capping every night and sets the dog off. Pigeons on the eave above the back door, with the paving below telling the story. Raccoons using the shed roof as a shortcut between gardens. A fence post that keeps collecting droppings no matter how often you scrub it.
What all of these have in common is a flat, convenient surface. Animals are efficient. They take the easiest route and the easiest perch. The moment that route stops being easy, most of them pick a different one, usually within a few days.
That is the whole idea behind deterrent spikes. You are not building a wall. You are removing the comfortable footing, and that is enough to change the habit.
How spike strips actually work
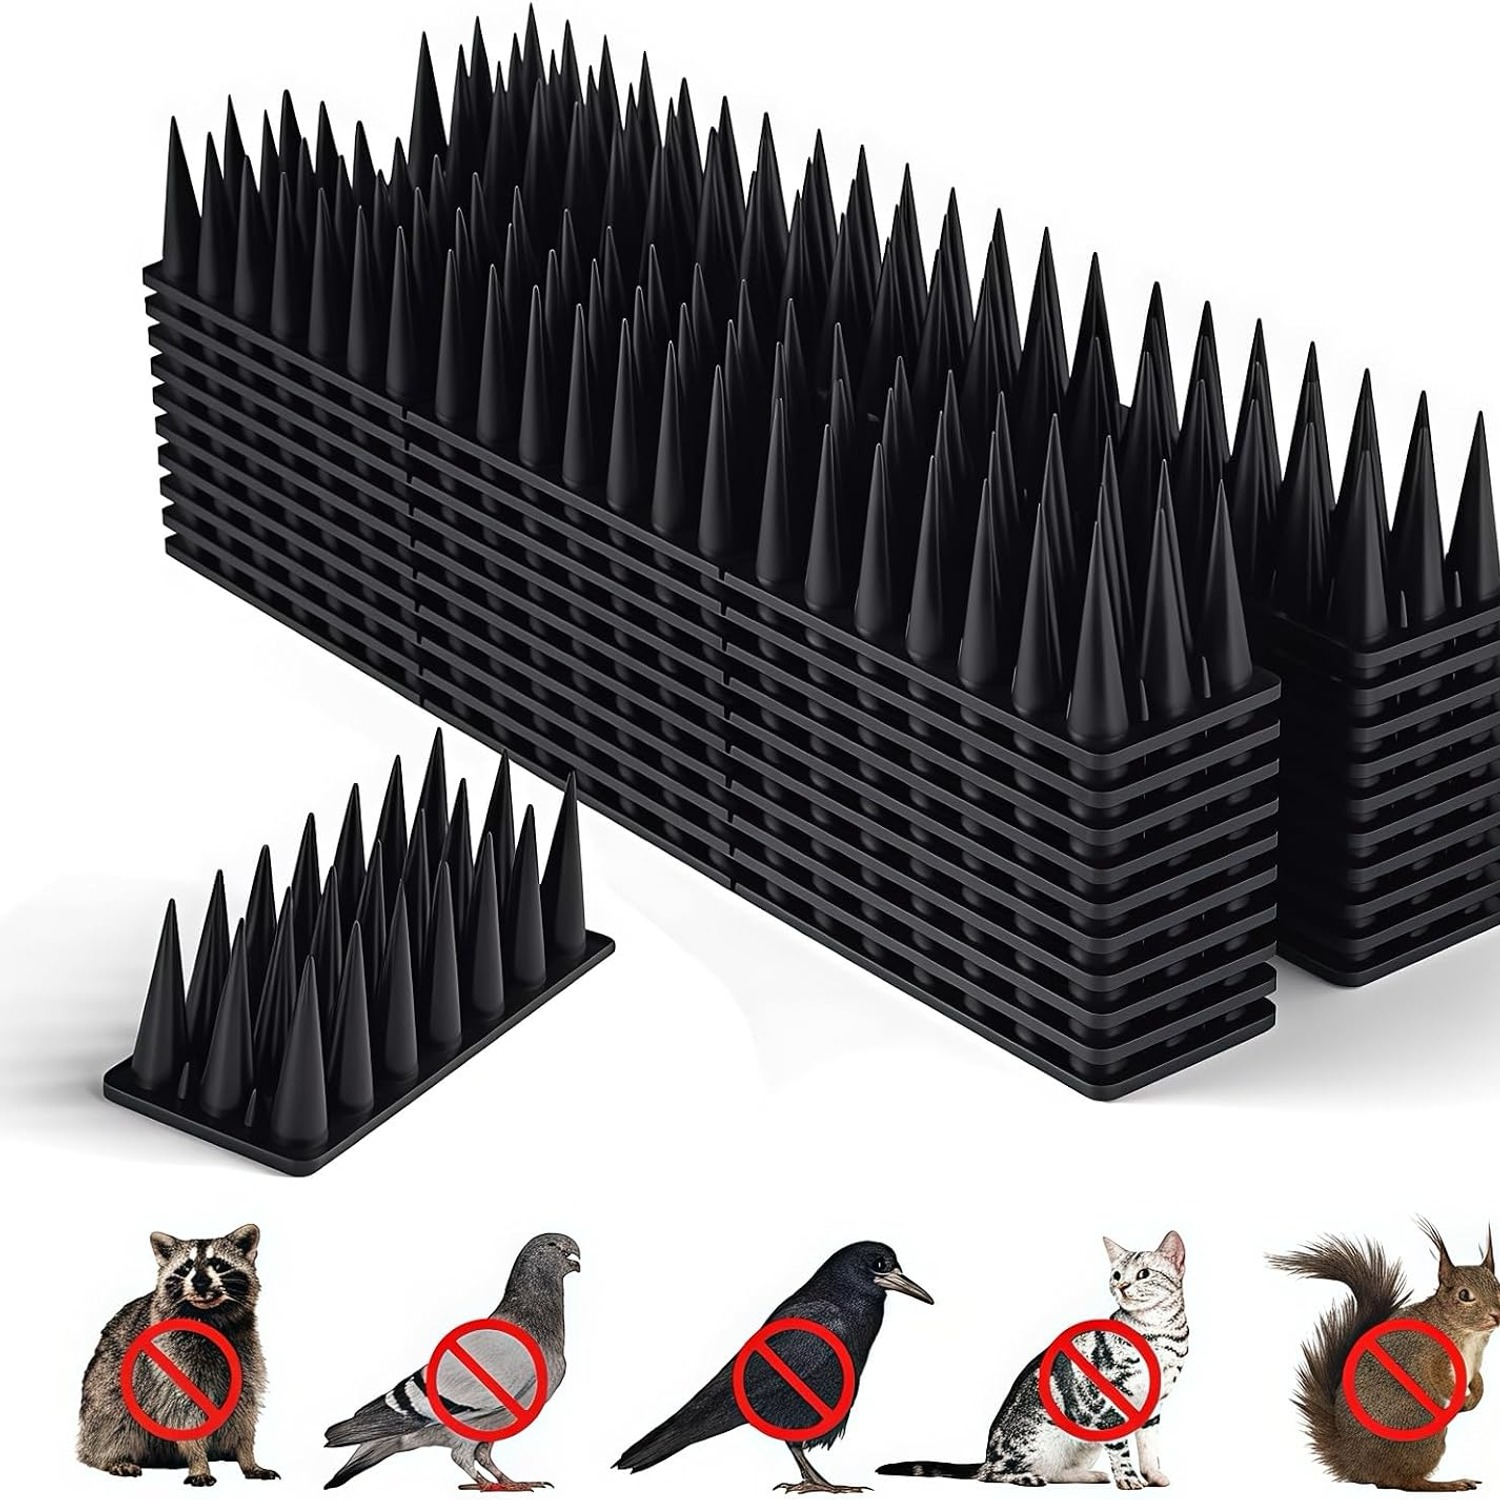
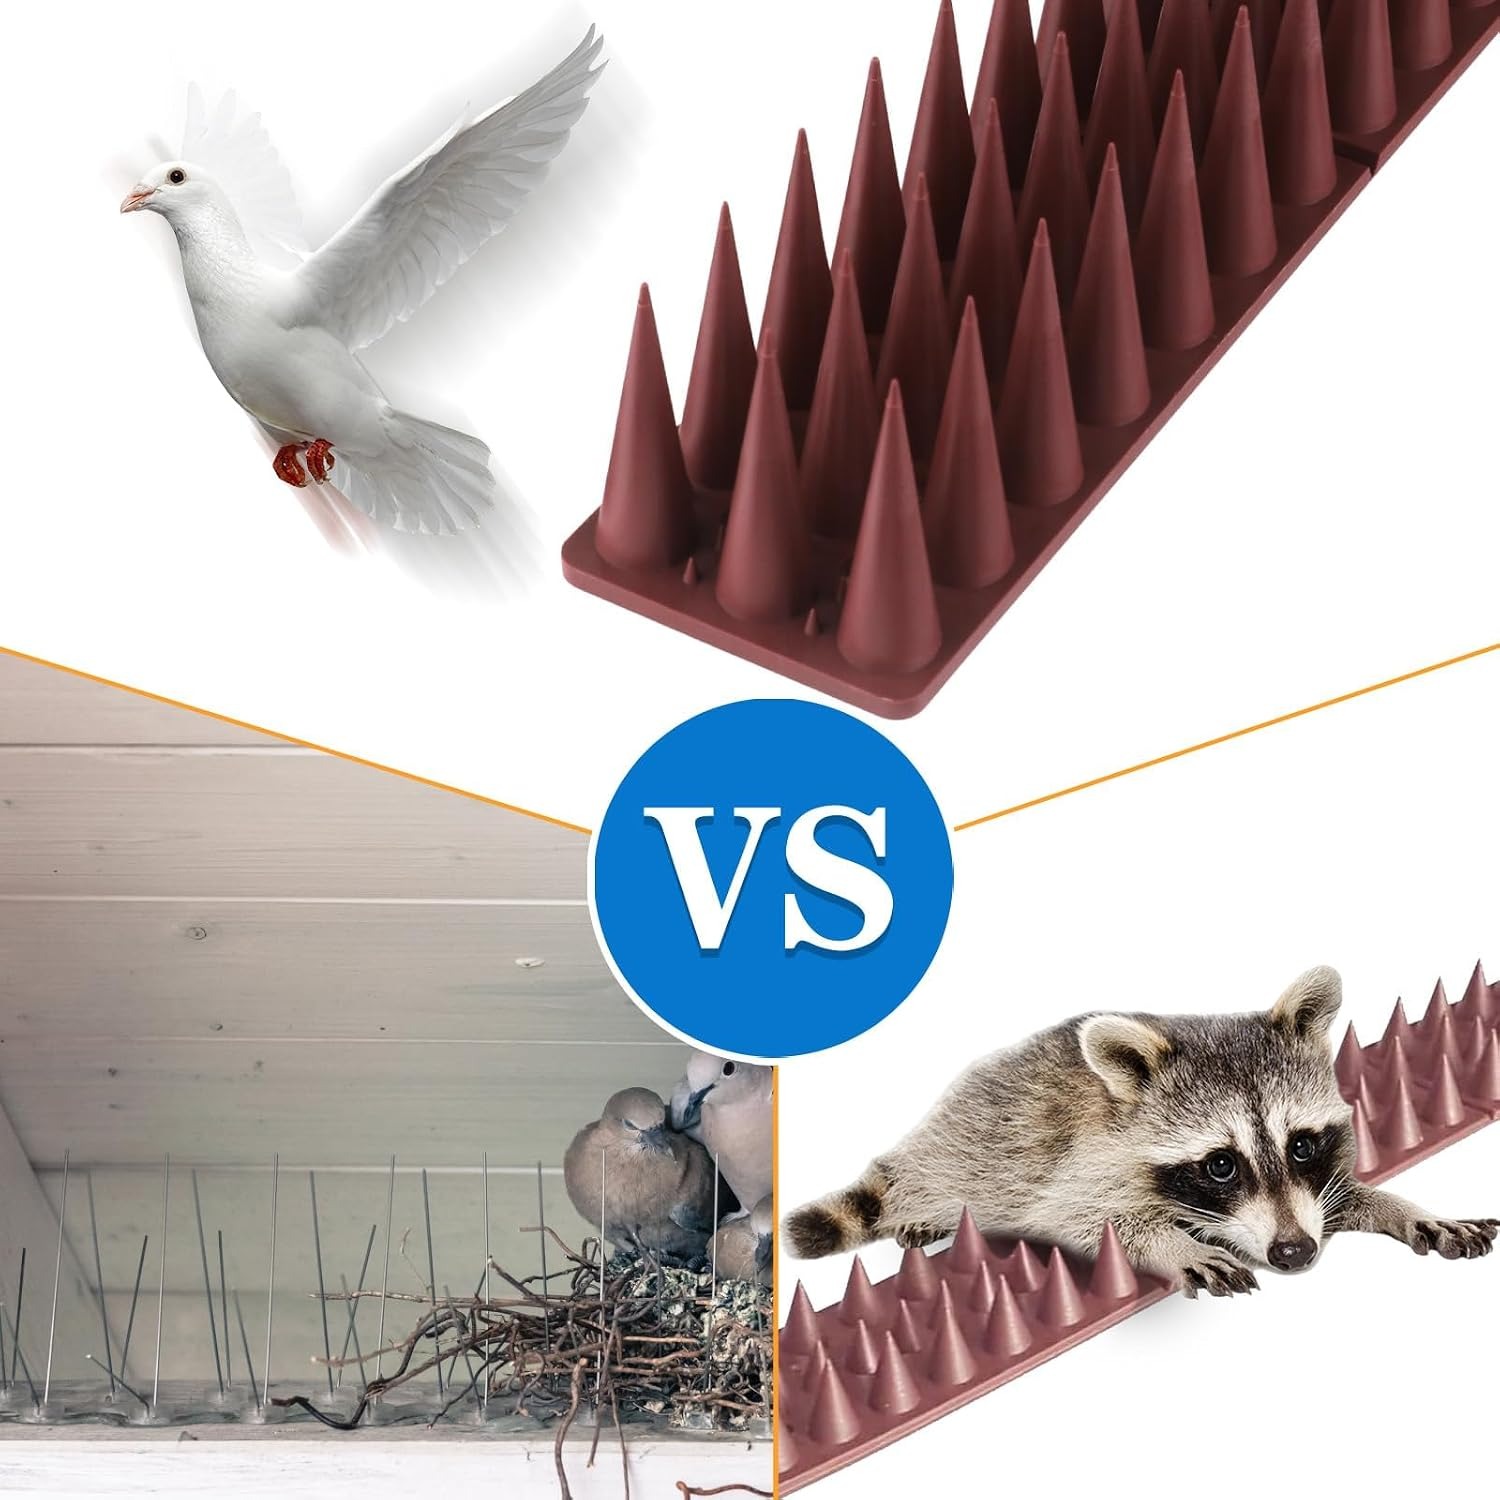
A spike strip sits on top of the surface you want to protect. The points stand up and interrupt the flat plane. A bird coming in to land sees an unstable mess instead of a ledge. A cat stepping up onto the capping finds nothing level to place a paw on. Neither animal is hurt. Both decide the effort is not worth it.
The detail that separates the good strips from the disappointing ones is what happens between the tall spikes. On cheap single-row designs, the gaps between points are wide enough for a pigeon to tuck its feet in or for a cat to find a flat spot. Birds in particular are very good at finding the one gap you did not think about.
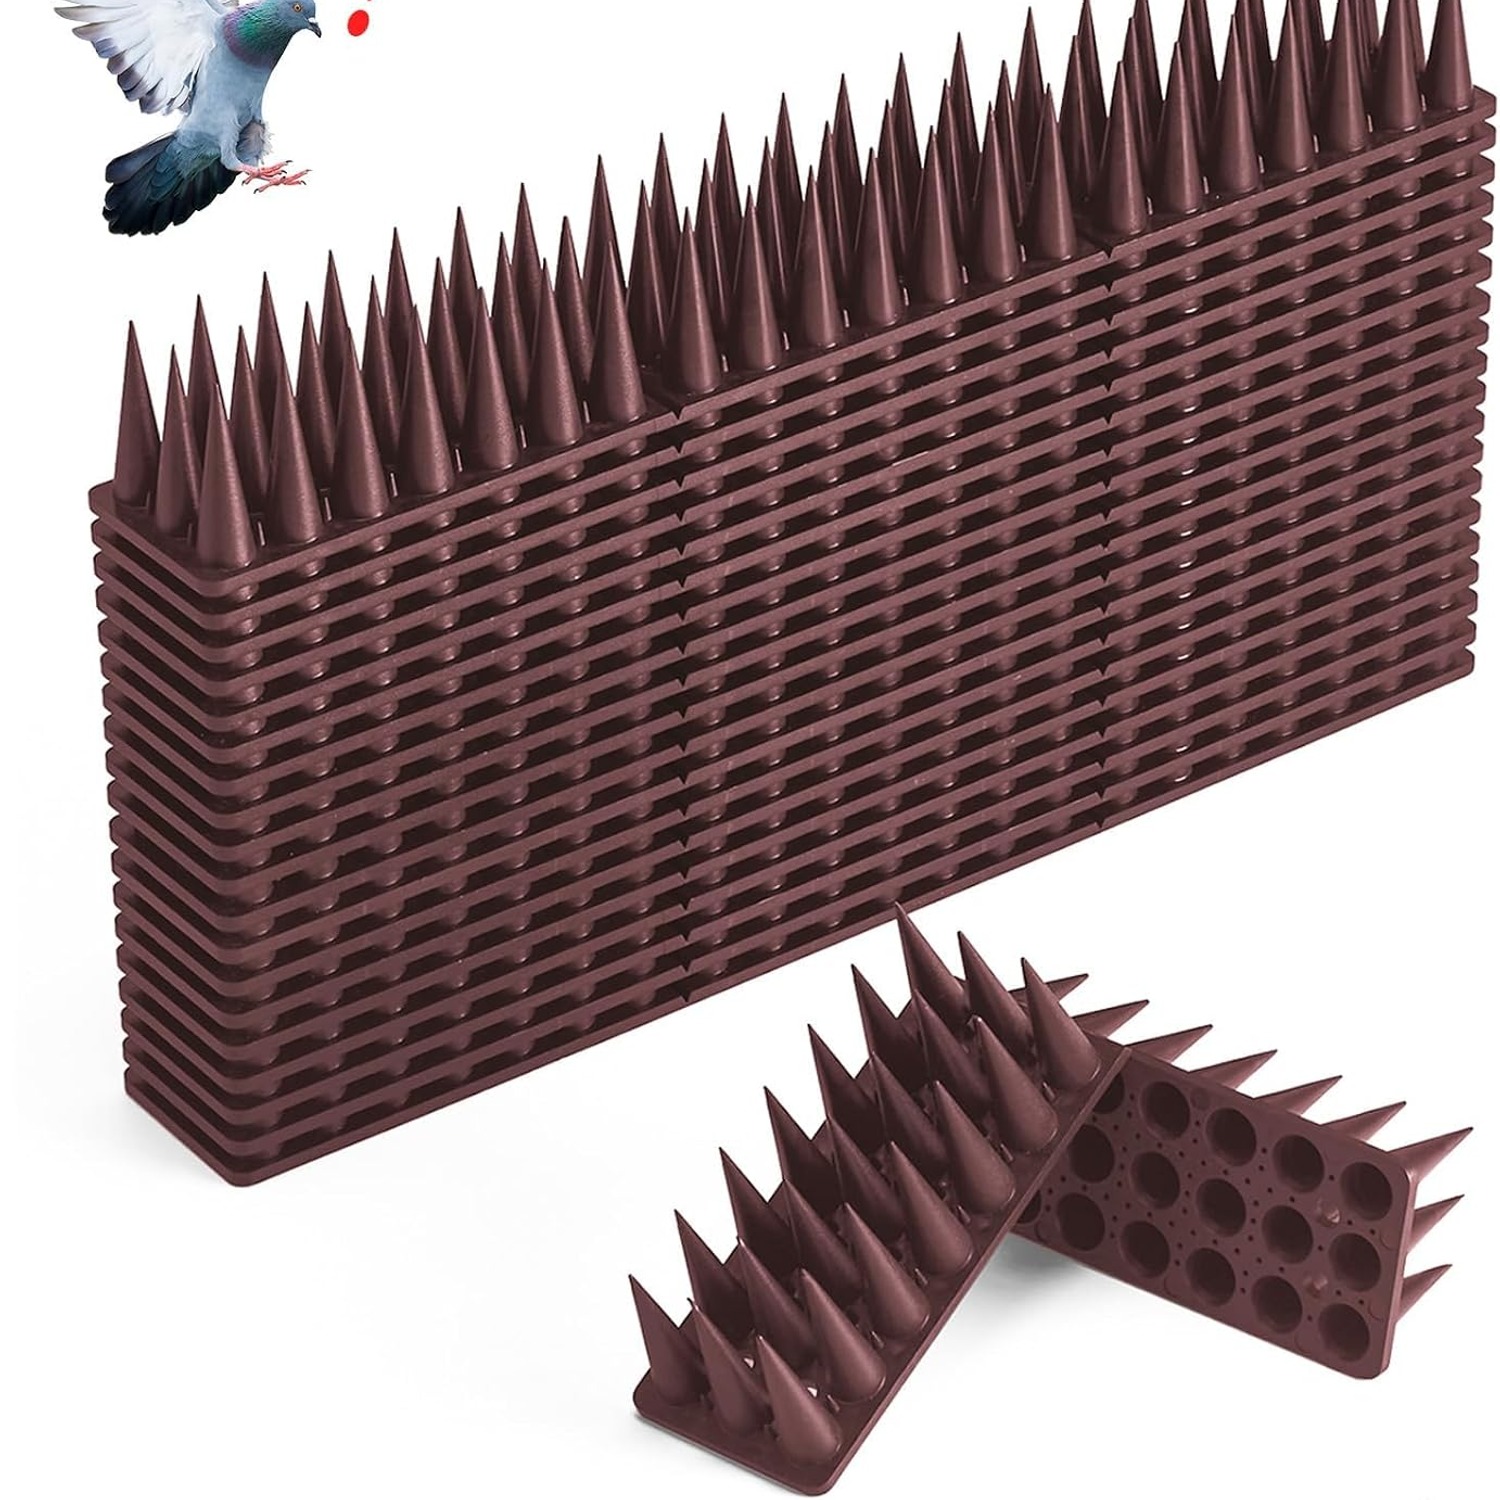
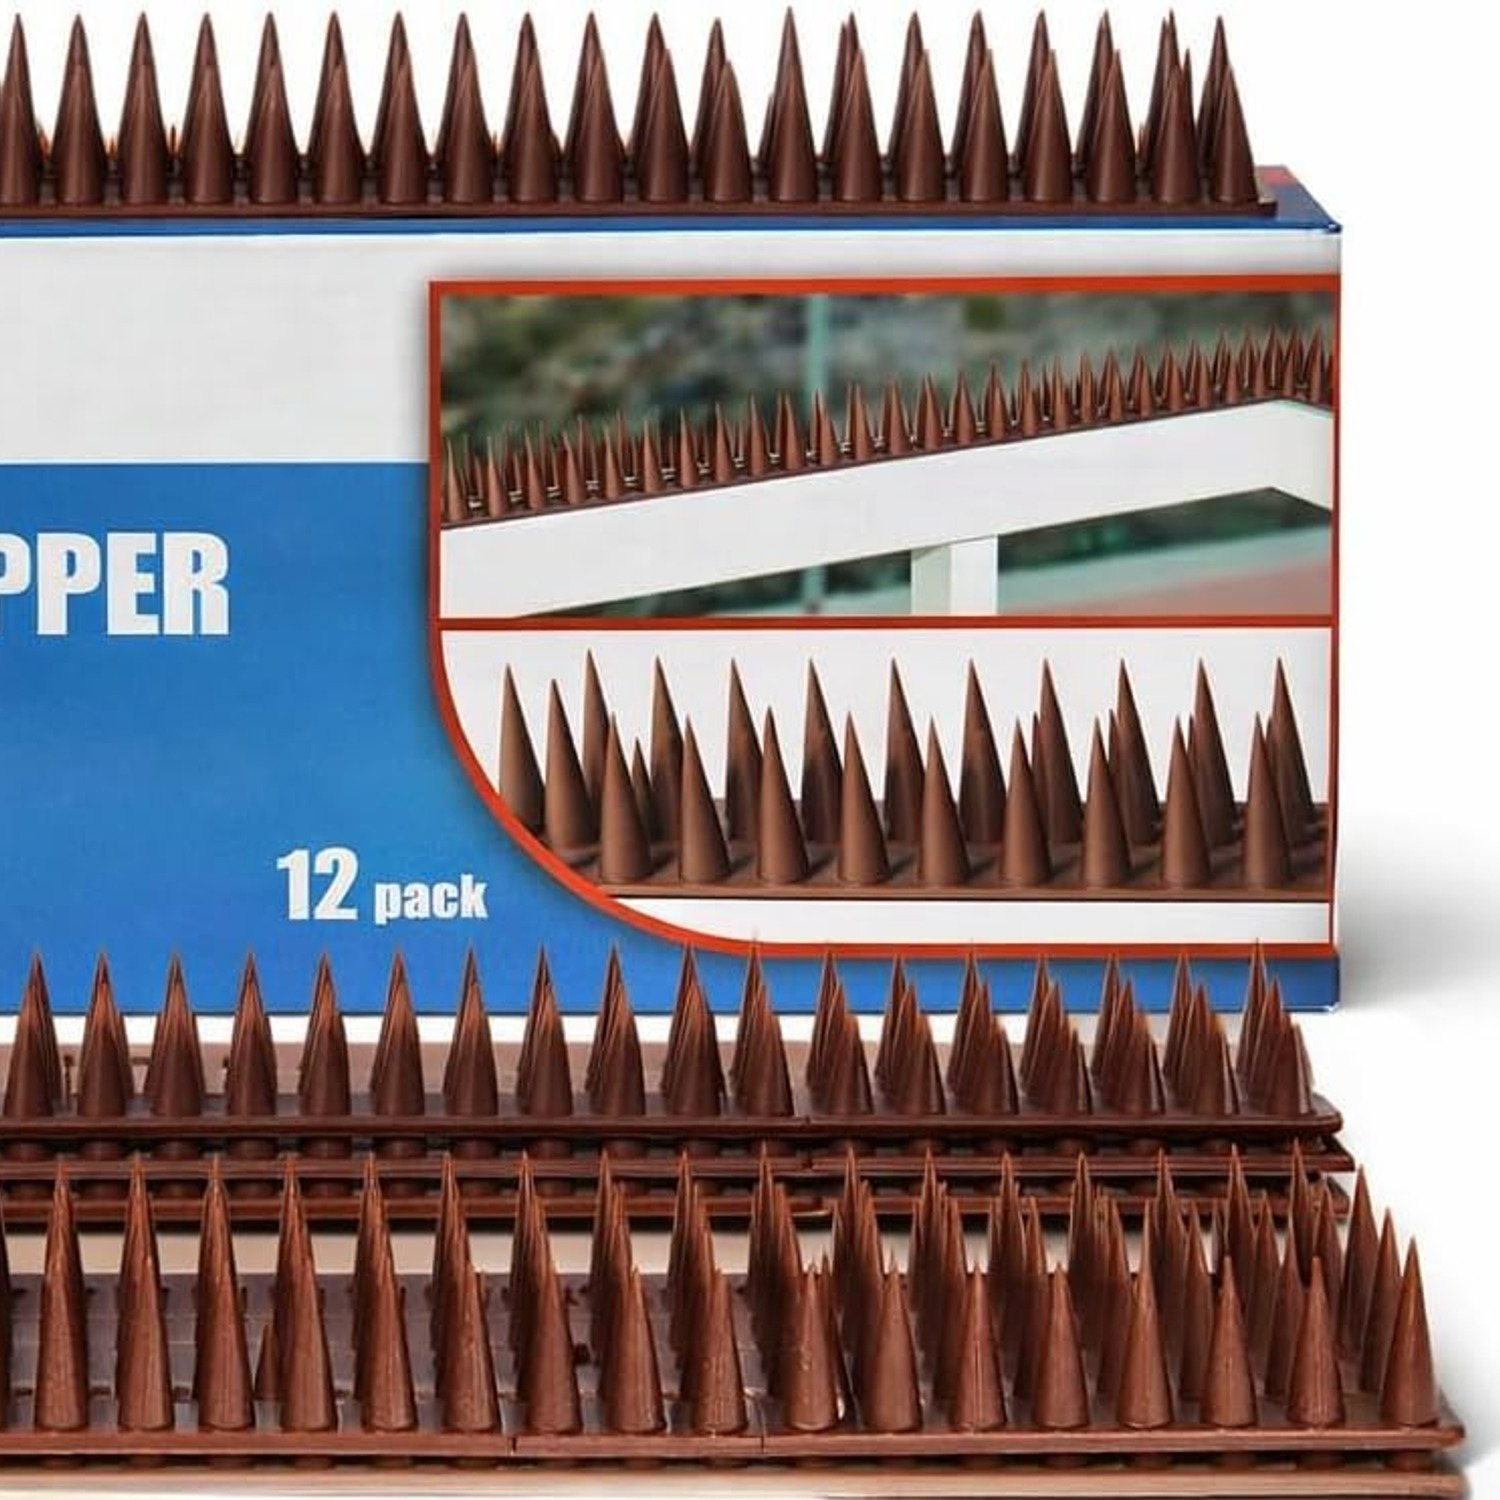
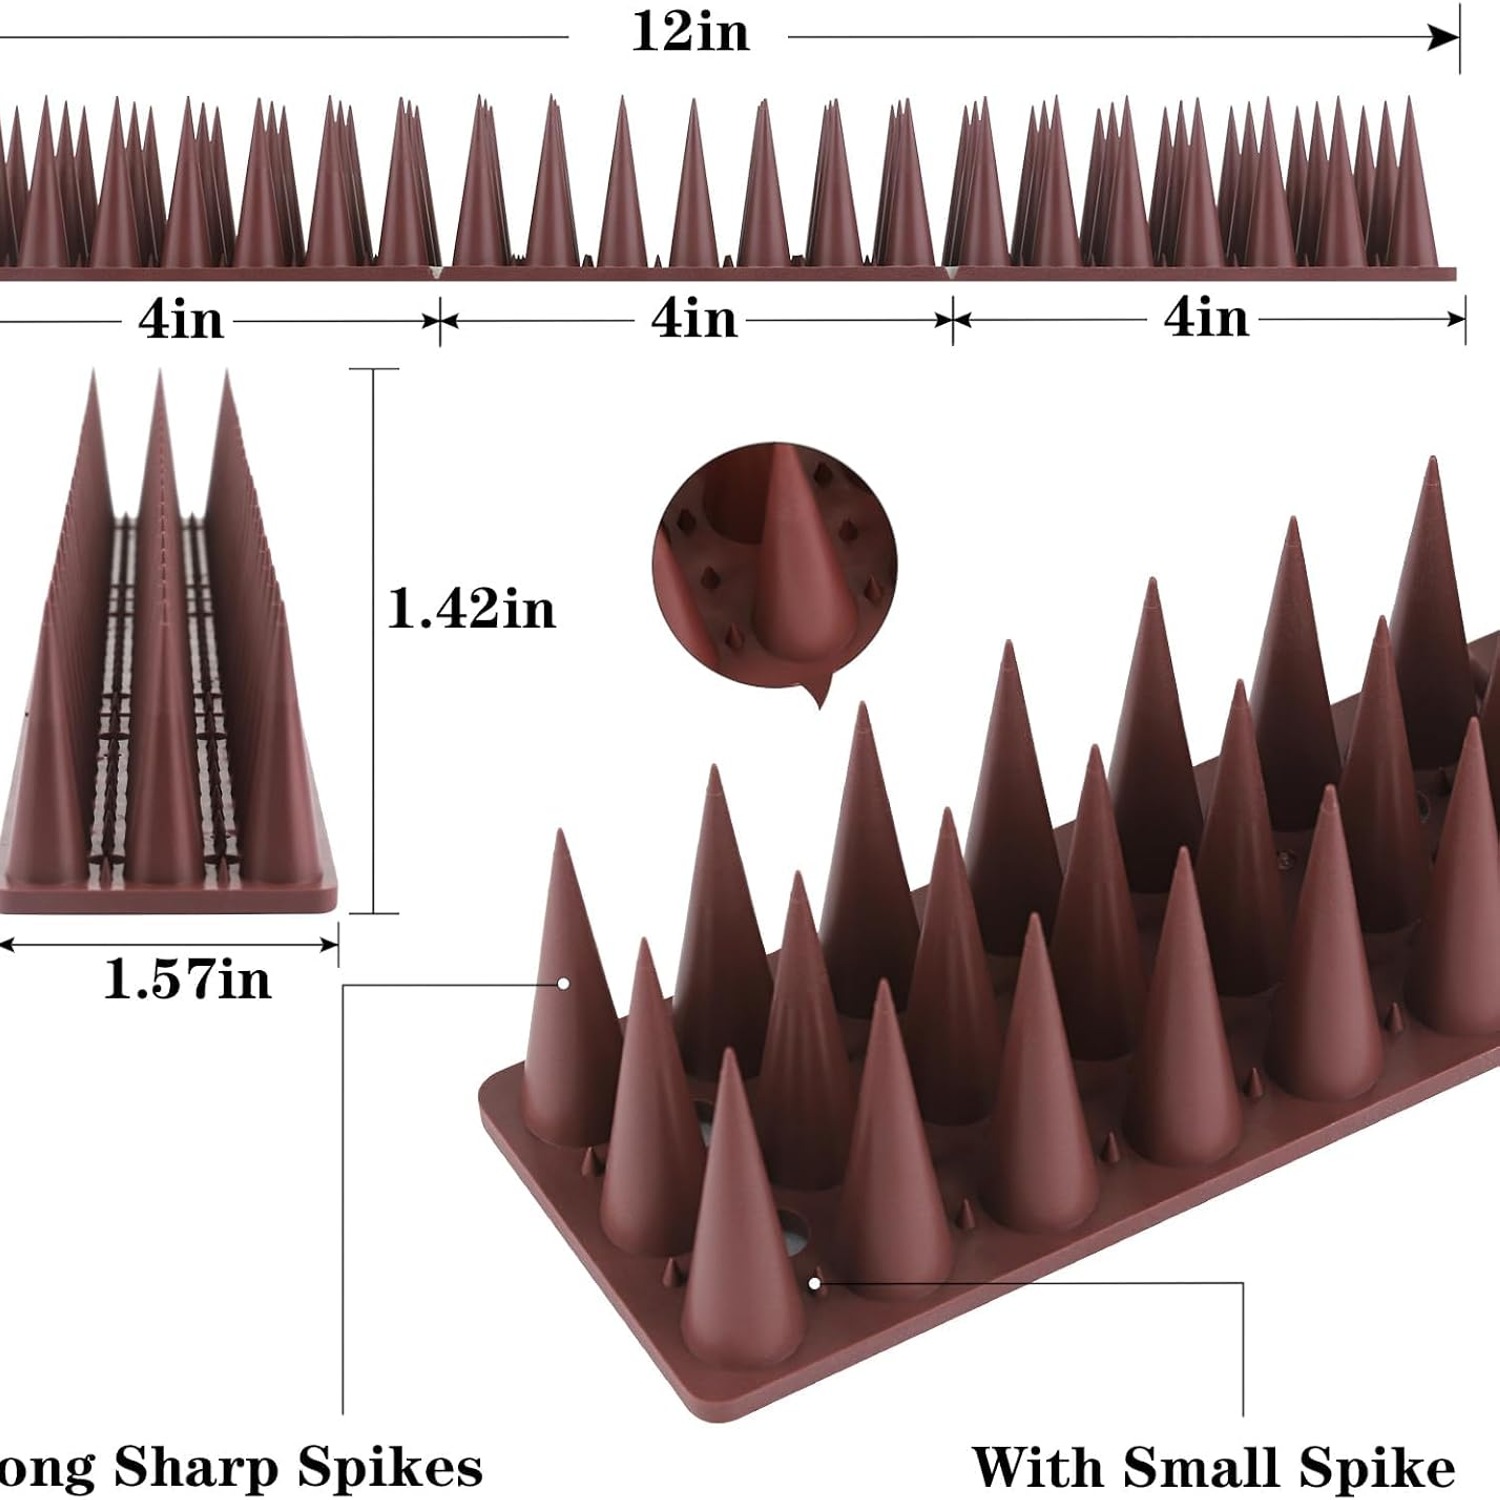
This pack uses a mixed-height pattern. Long spikes along the strip, with shorter spikes filling the spaces between them. That means there is no gap along the length of the strip that offers a flat landing. It is a small design decision that makes a noticeable difference to how quickly animals give up.
What is in the pack
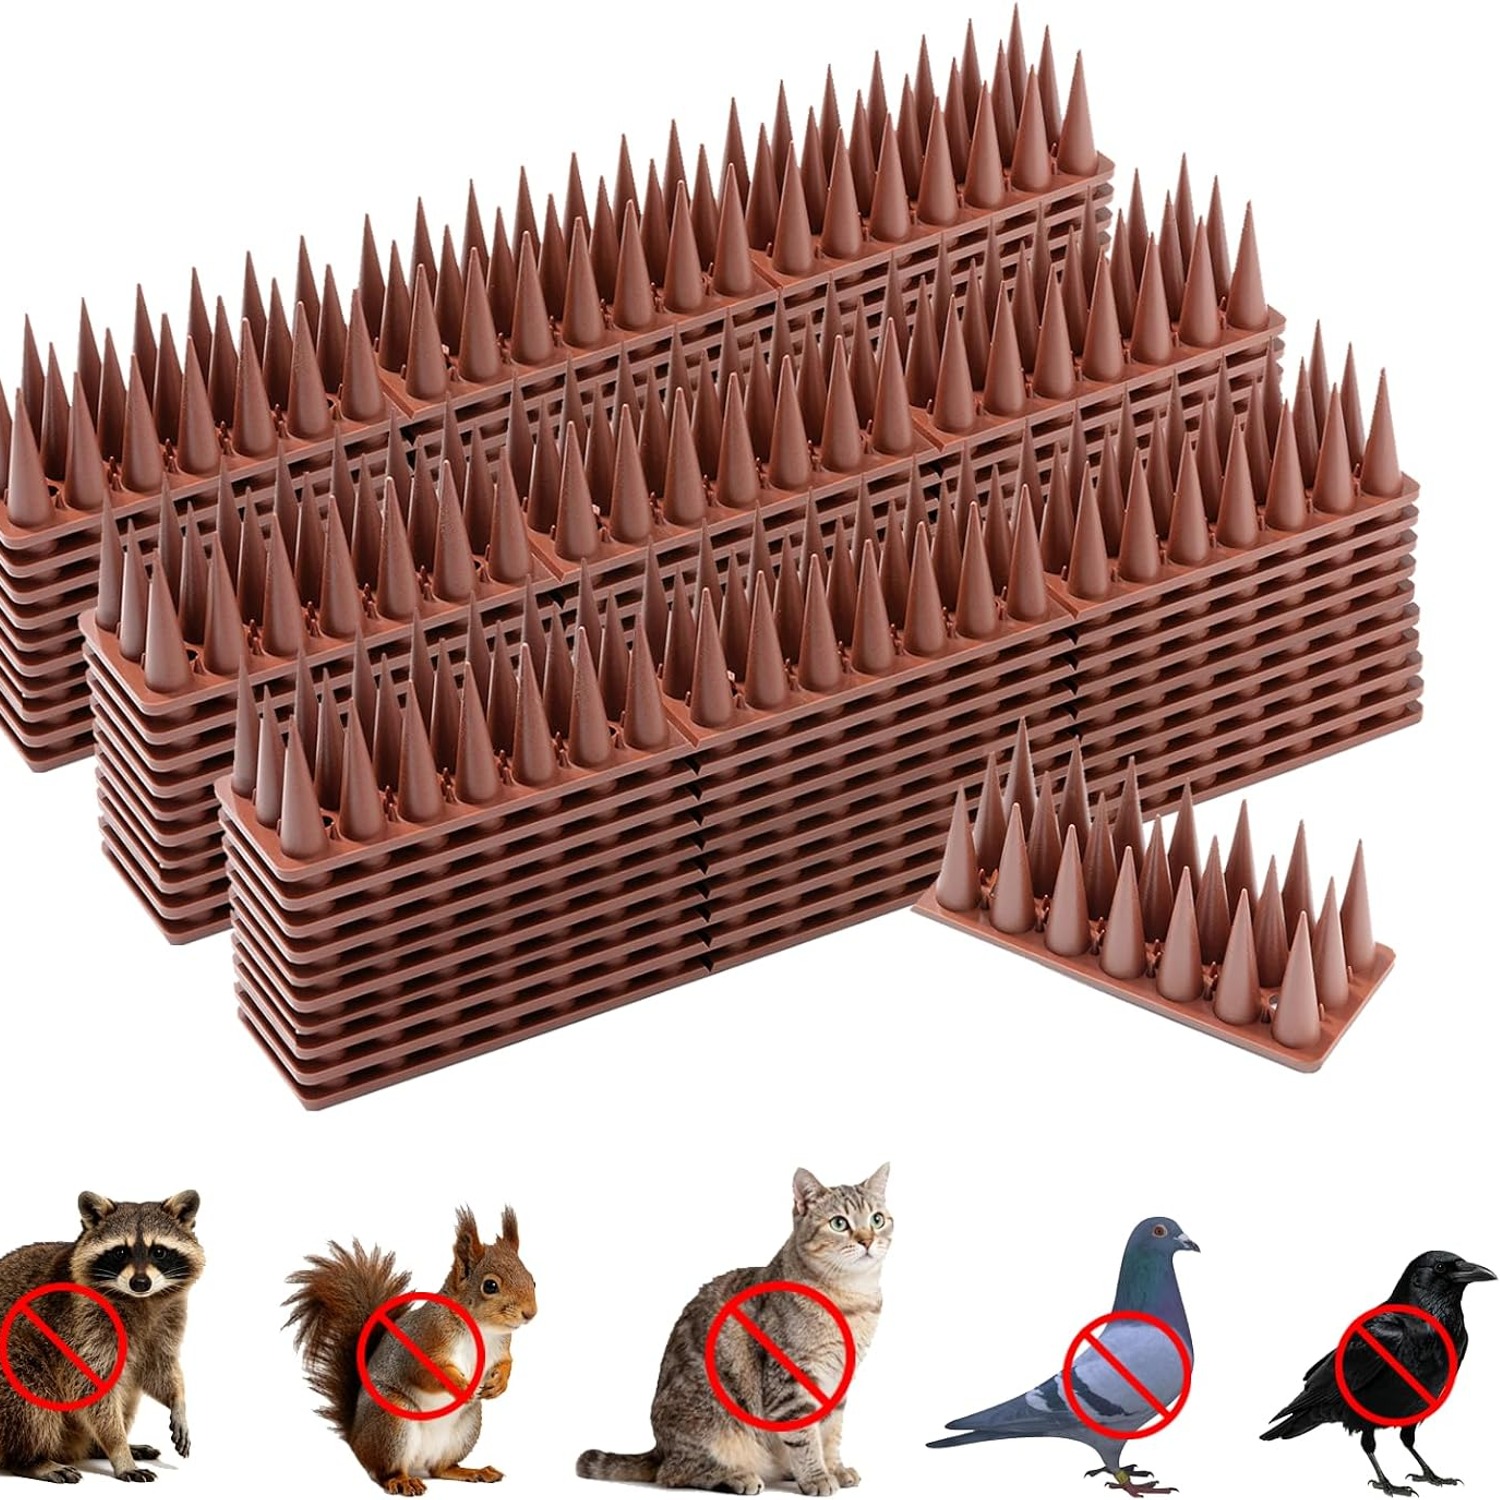
You get twenty strips. Each one measures 11.22 inches long, 1.57 inches wide and 1.37 inches tall. The whole pack weighs 1.7 pounds, which is 0.77 kg, so it is light to carry and easy to work with on a ladder.
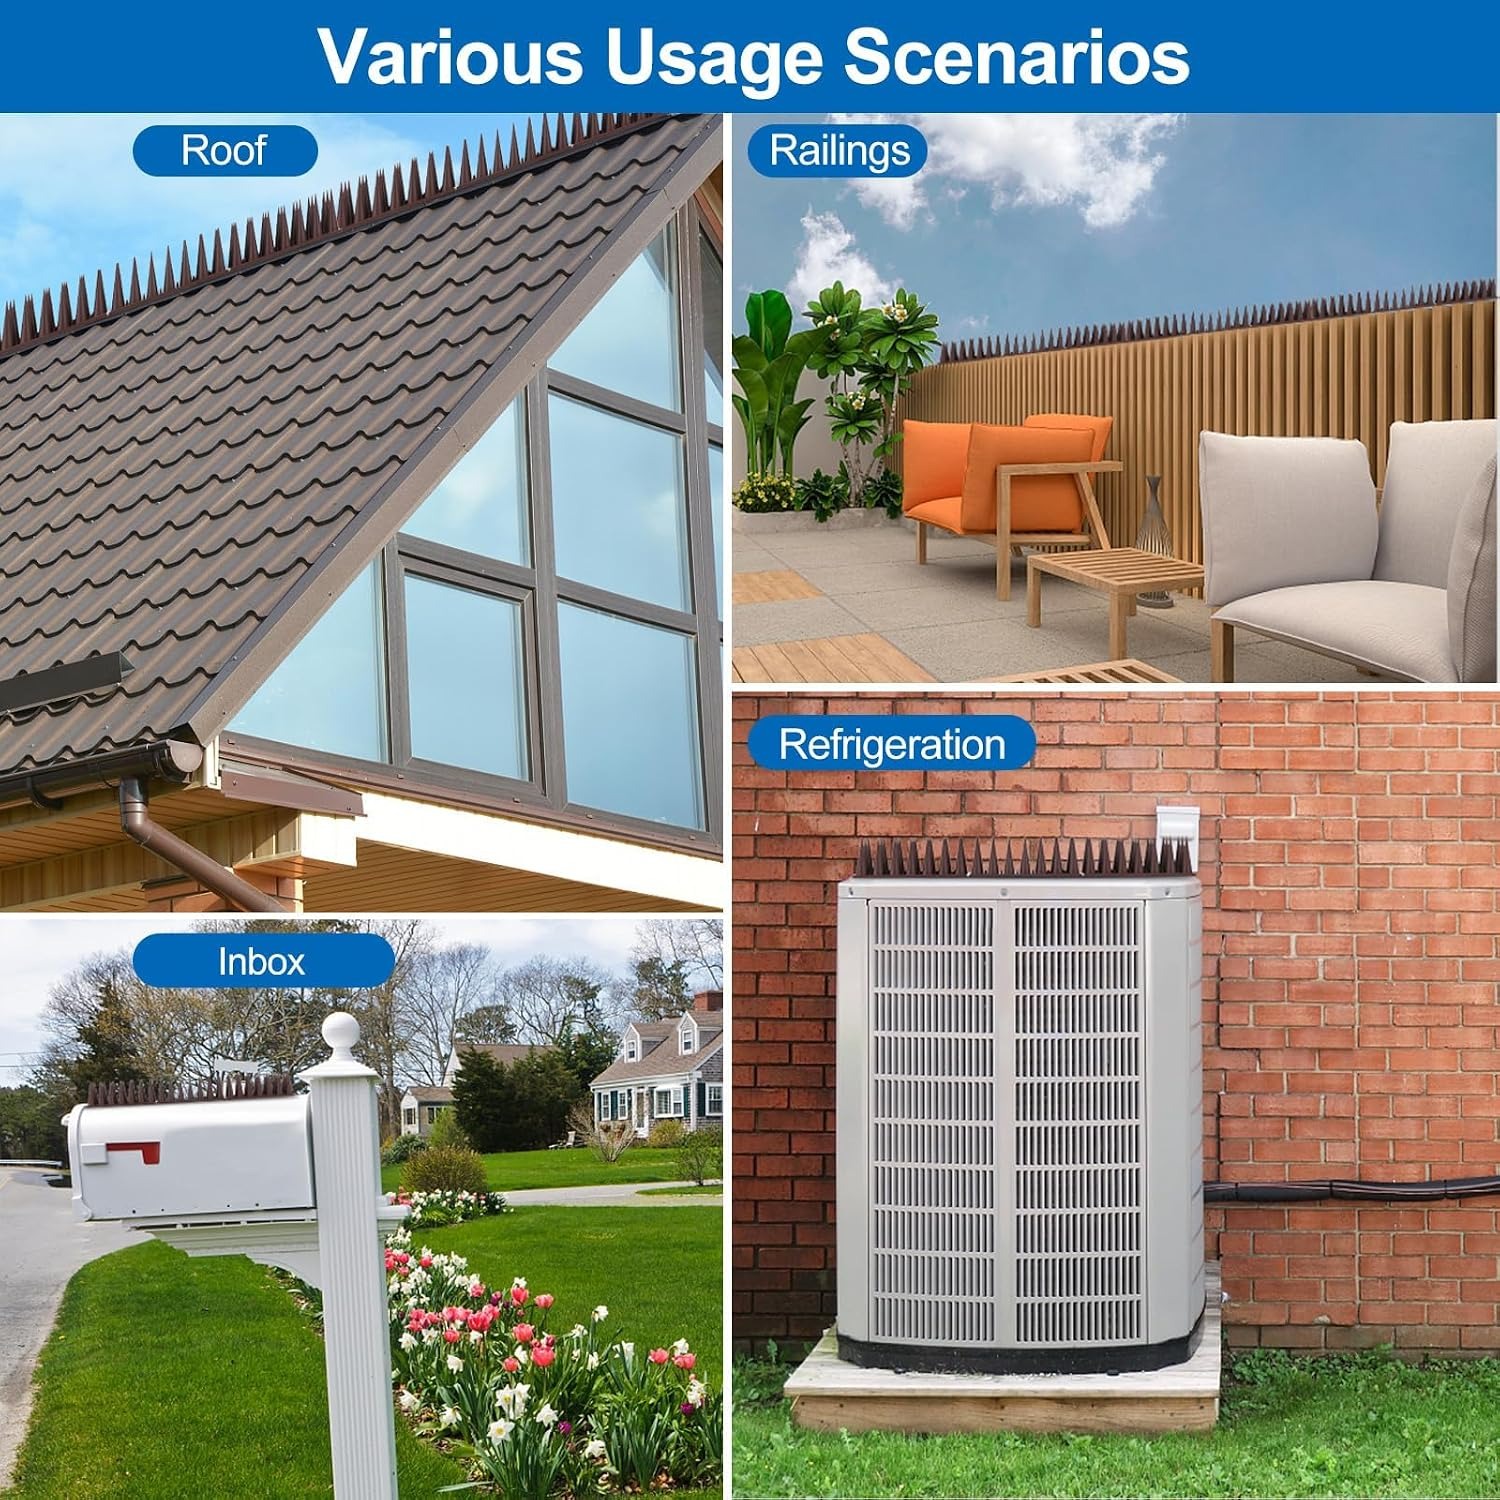
Twenty strips end to end gives you a little under six meters of coverage. In practice that might be a long section of back fence capping, or a shed roofline plus a couple of window ledges, or both sides of a gate and the posts either side. Because the strips are separate pieces rather than one long roll, you can split the coverage across several problem areas without wasting material.
The color is brown. On a timber fence or a weathered roof edge that reads as far less obvious than a bright white spike would. If you care about how the finished job looks from the garden, that matters.
Who these suit
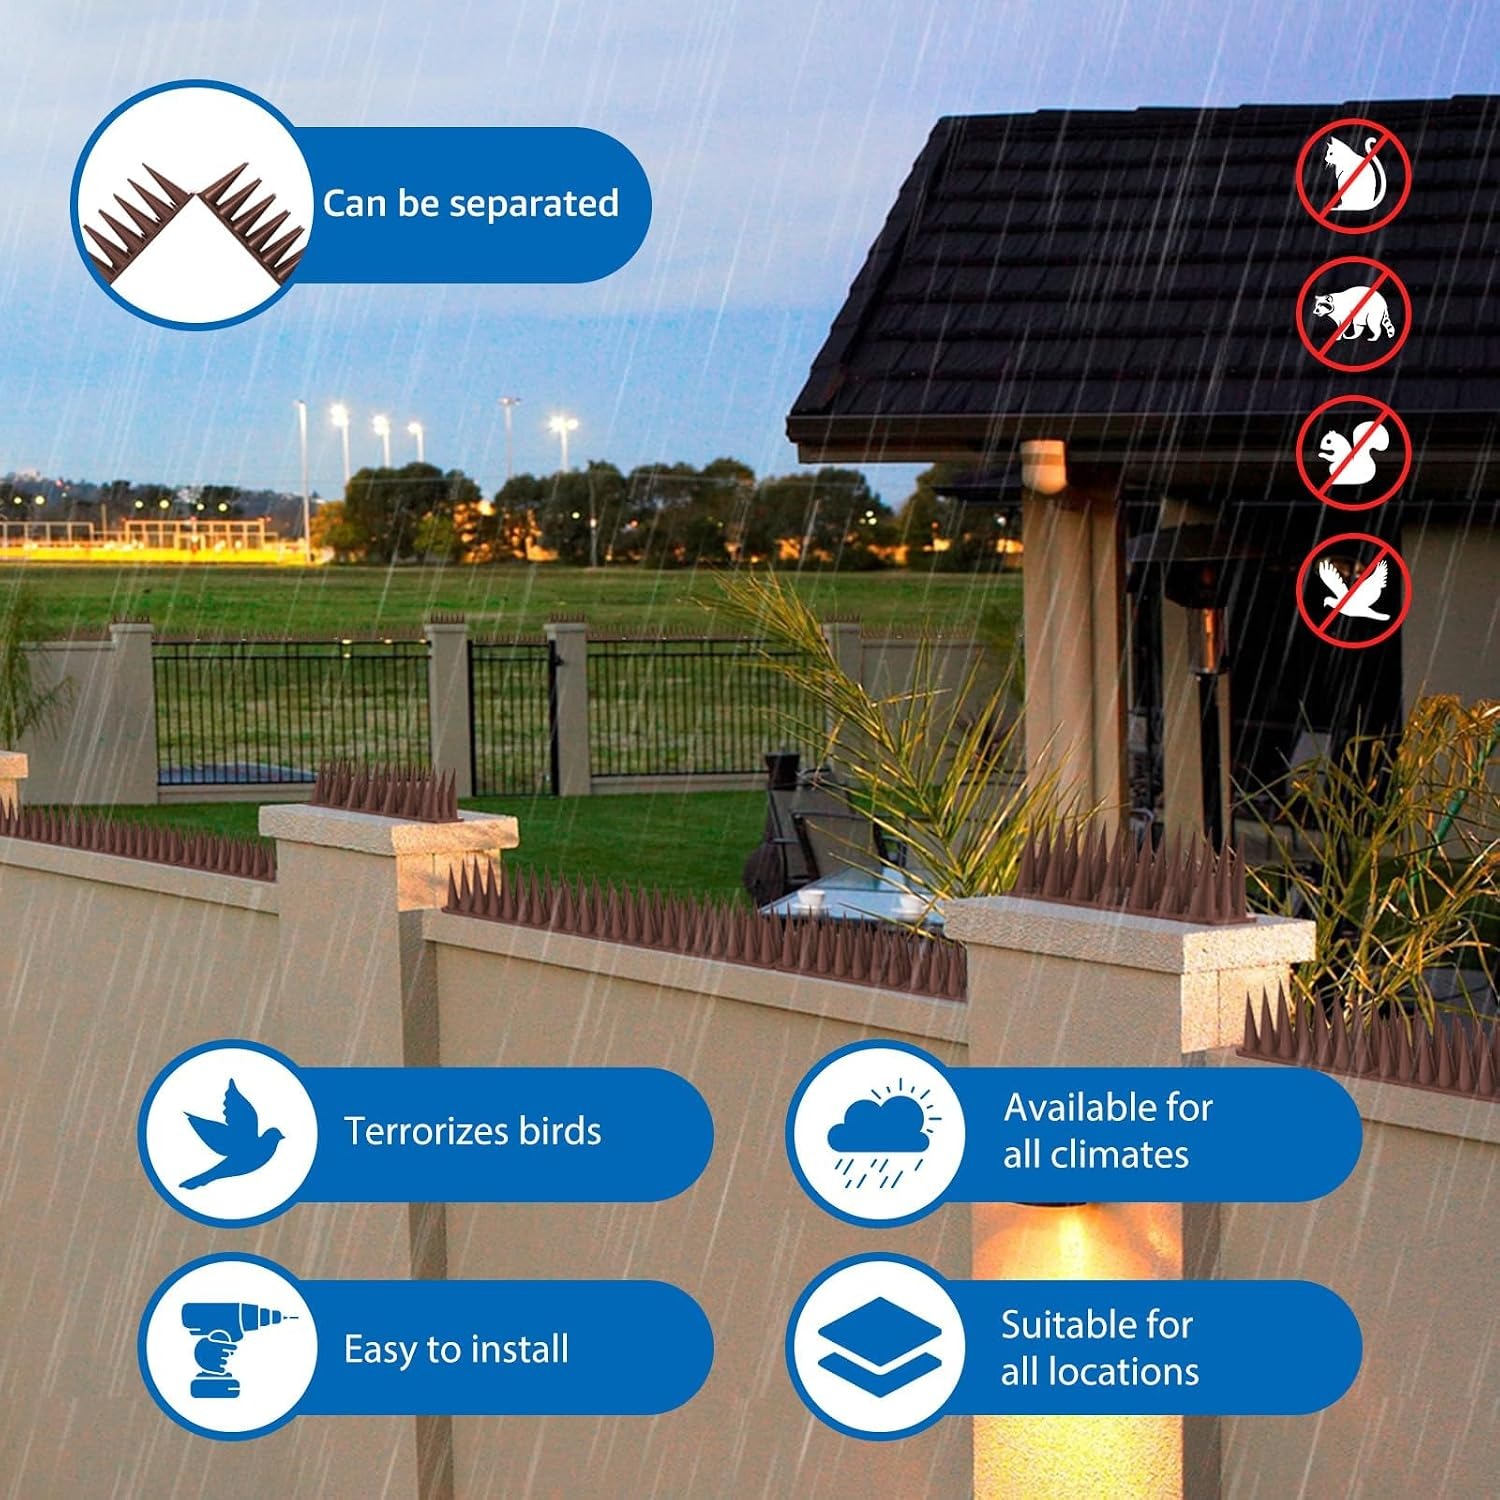
Homeowners with a fence line that has become a cat motorway. Anyone dealing with birds on an eave, a window ledge, a sign or a pergola beam. People whose shed or garage roof has become a raccoon route. Gardeners who are tired of finding prints and mess on a wall cap.
They also suit renters and apartment residents in a limited way. Cable ties and removable tape mean you can fit strips to a balcony railing without drilling anything, though it is worth checking your building rules first.
The one group these will not help much is people dealing with ground-level animals. A spike strip on a fence top does nothing about something digging under the fence. For that you need a different approach entirely.
Choosing the right fixing
This is where most installations succeed or fail, so it is worth thinking about before you start.
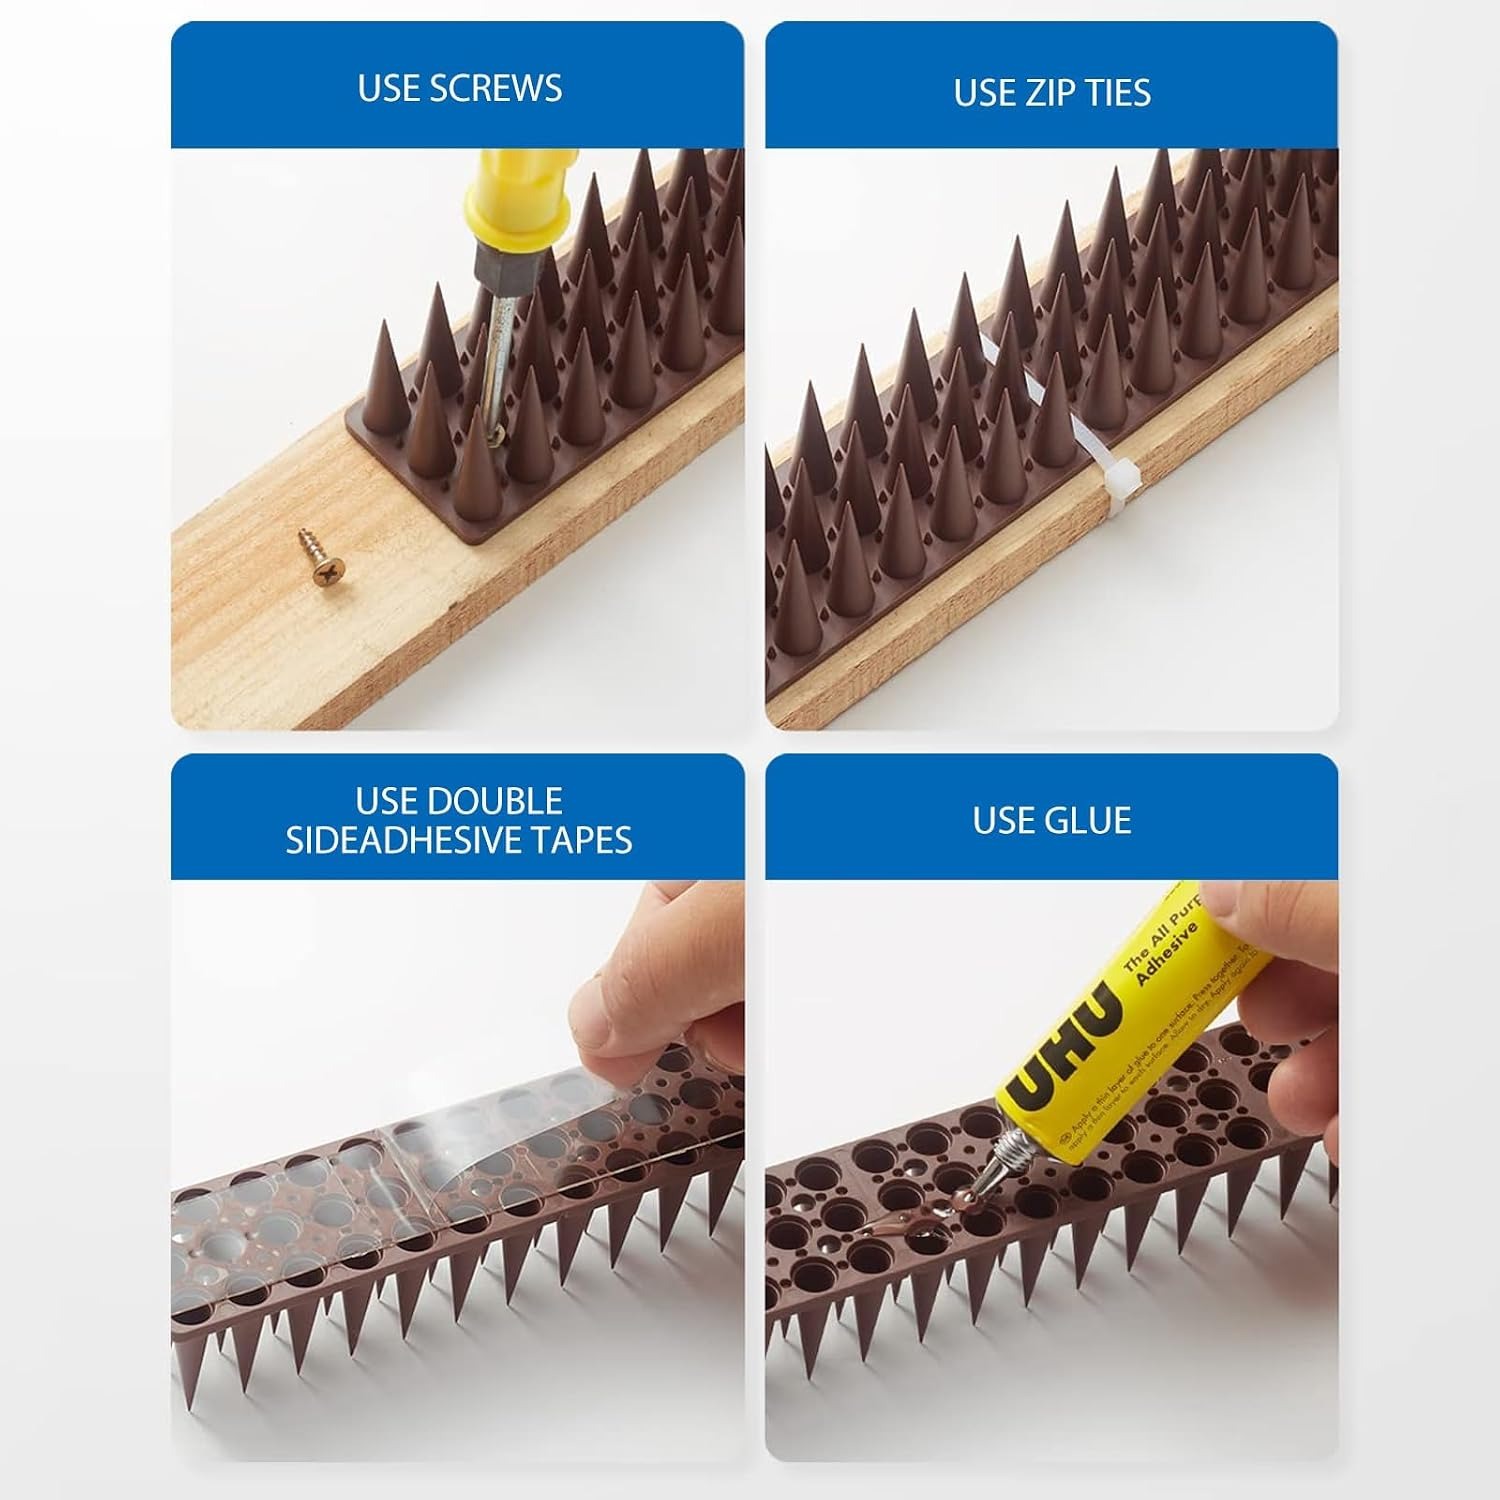
Screws or small nails are the strongest option and the right choice for timber. Fence capping, shed roof edges, timber pergola beams, window frames. The strip is not going anywhere once it is screwed down, and weather makes no difference to the hold.
Strong outdoor double-sided tape works well on smooth, clean, dry surfaces where you do not want to make holes. Painted render, smooth concrete ledges, metal flashing, signage. The key word is clean. Tape fails on dust and on anything still damp, so wipe the surface down and let it dry fully before you start.
Cable ties are the answer for anything round or open. Railings, pipes, mesh fencing, wrought iron. Thread the tie through the strip base and around the rail, pull it snug, then trim the tail. Use UV-stable ties if you can get them, since standard indoor ties can go brittle after a couple of summers in strong sun.
Fitting them well
Measure your run first and work out how many strips you need. Then trim. The strips are designed to be cut down, so a ledge that needs a strip and a half does not have to end with an awkward overhang. Sturdy snips or a pair of secateurs will cut through plastic of this size without much effort.
Work from one end and keep the strips butted close together. Small gaps between strips are the places animals will test. If you have a corner, cut a short piece to fill it rather than leaving the corner bare, because corners are exactly where a cat likes to pause.
Cover the whole route, not just the spot where you have seen the problem. A half-covered fence usually means the animal walks the covered part, steps down, and carries on. Think about where the animal gets up onto the surface and where it gets off, and treat both.
If you are working at height, use a stable ladder and get someone to foot it. There is no job on a roof edge that is worth a fall.
Care and maintenance
There is not much to do, which is part of the appeal. Leaves, seeds and dust will collect between the spikes over a season, especially under trees. A rinse with the hose and a gentle sweep with a soft brush clears that out. Let everything dry afterward.
Avoid strong solvents and avoid high-pressure washers aimed directly at the strips. Both can loosen tape bonds and stress the fixings. Plain water and patience do a better job.
Once or twice a year, walk the run and check your fixings. Retighten screws that have backed out, replace cable ties that look chalky or brittle, and press down any taped sections that have lifted at the edges. Plastic will not rust, but sun and frost age all outdoor plastic eventually, so swap out any strip that has gone brittle or cracked.
Keep leftover strips flat and out of direct sunlight so they are ready when you need them.
A few realistic expectations
Spikes change behavior, they do not erase it overnight. Give it a week or two for an established route to be abandoned. Animals test new obstacles before they accept them.
They also work best as part of a tidy-up rather than in isolation. If there is a food source nearby, an open bin, a bird feeder right above the ledge, or a branch that drops an animal straight onto the roof, deal with that at the same time. Spikes on the fence plus a branch trimmed back will outperform spikes alone every time.
Finally, think about your neighbors. Spikes on a shared boundary fence are usually fine and are widely used, but a quick conversation beforehand saves a lot of awkwardness later.
The short version
Twenty brown plastic strips, each 11.22 inches long, with tall and short spikes combined so there is no flat footing anywhere along the length. Trim them to fit, then screw, tape or cable tie them to fence tops, walls, railings, shed roofs, balconies or eaves. They will not rust. They deter rather than harm.
Measure your run, cover it properly from entry point to exit point, keep the fixings matched to the surface, and check them once a year. Do that and the fence top goes back to being yours.